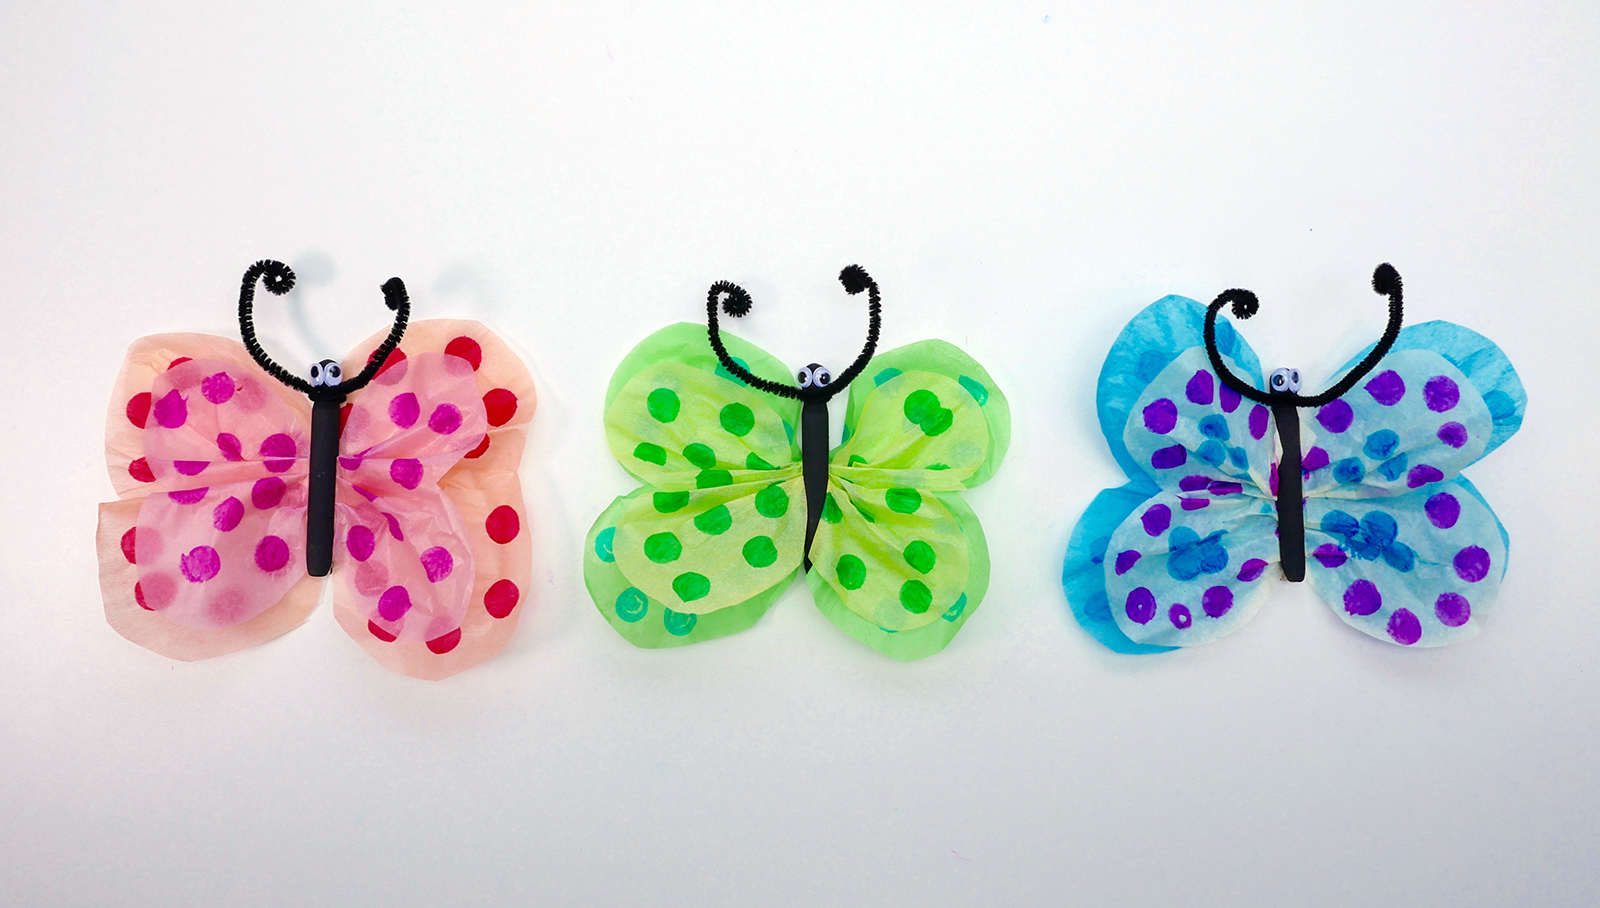
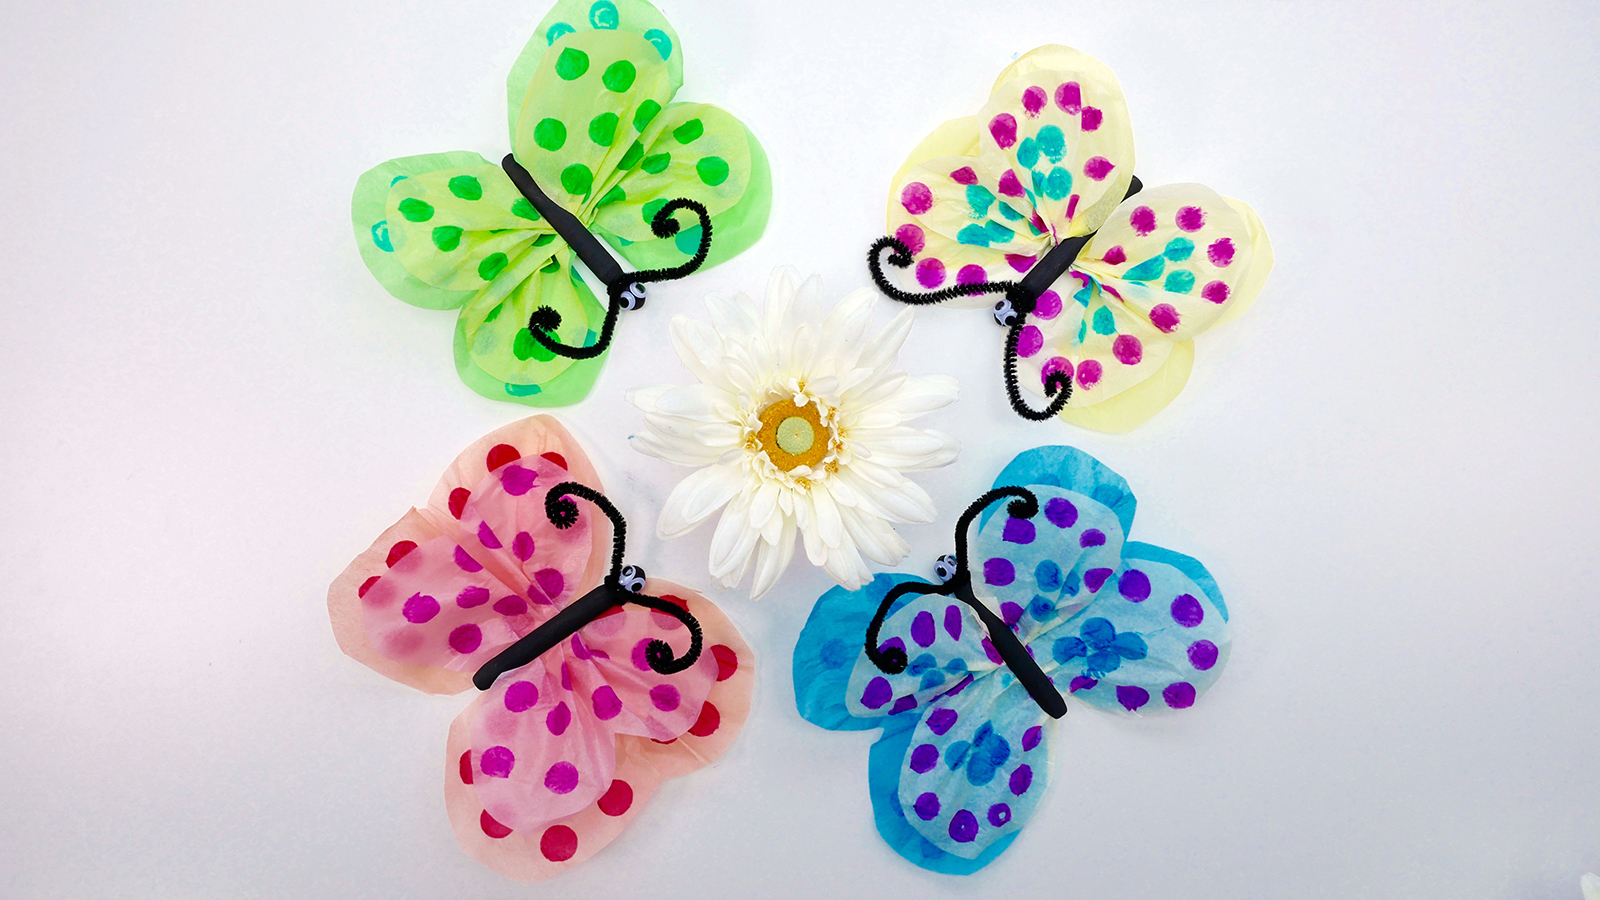
 This week on Caitie’s Classroom we learned all about butterflies! Here is the step by step guide on how to make your very own butterfly with tissue paper and a clothespin. We’d love to see your finished crafts, share them on social media using the hashtag #CaitiesClassroom!
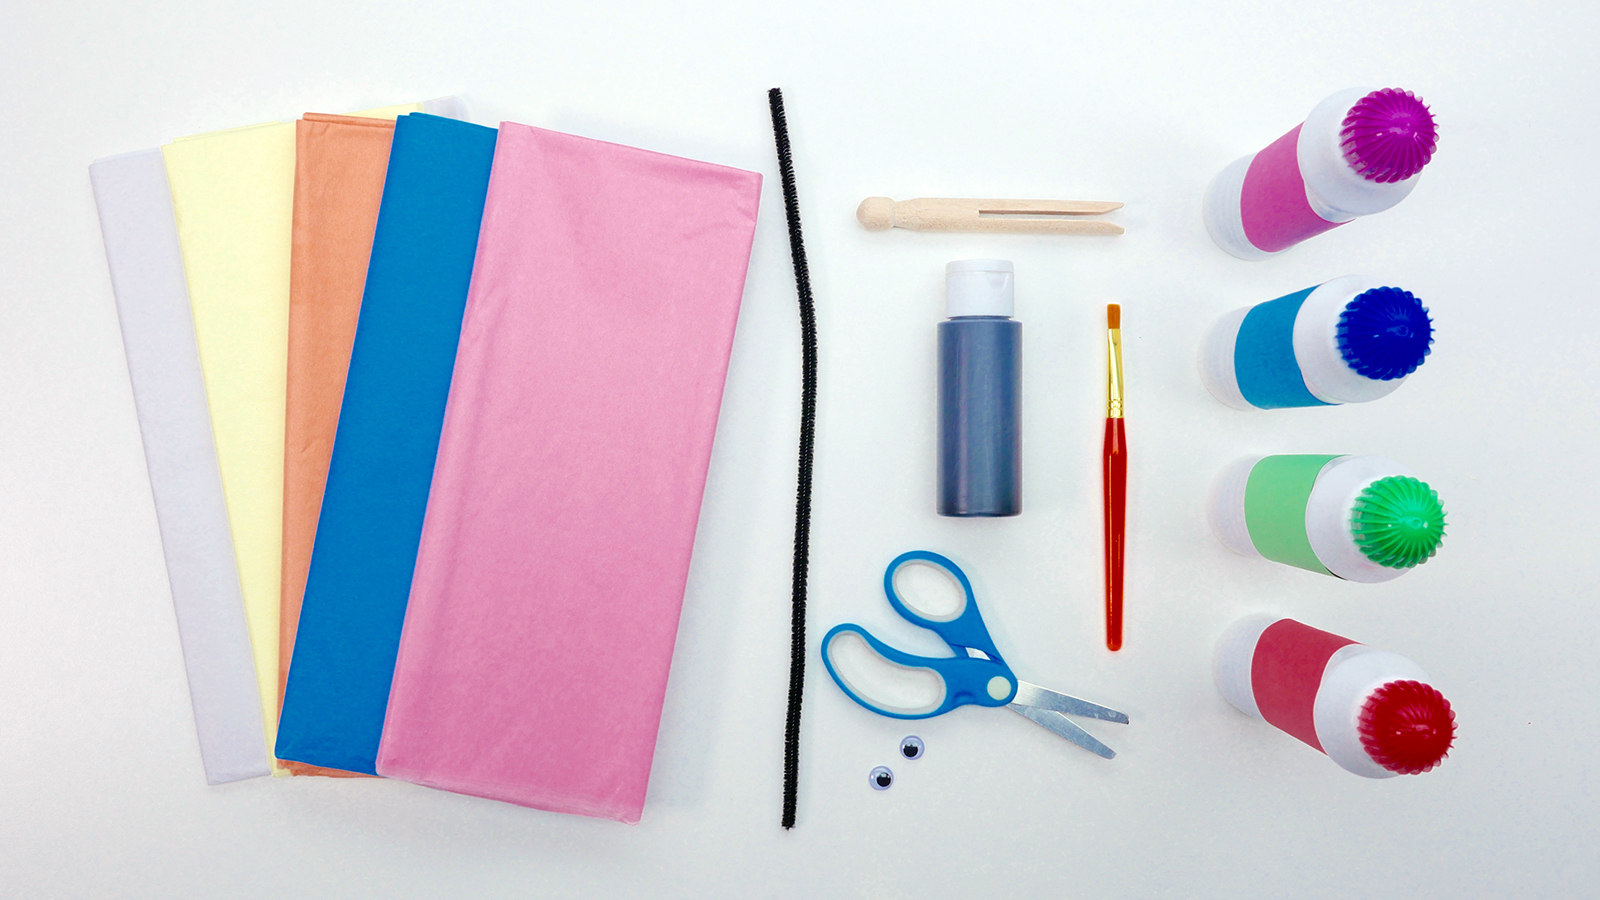
Materials
- wooden clothespin
- tissue paper
- colored daubers
- small googly eyes
- black pipe cleaner

Steps
- Paint the clothespin black and let dry.
- Fold one sheet of tissue paper and cut in half. Take one half and fold again twice ending with a square. Draw a 1/4 section wing shape on the 2 open edge sides. Cut and unfold your butterfly shape. Repeat again with a smaller butterfly shape for a layered look.
- Open the cut out butterfly shape and decorate with colored daubers.
- Let dry.
- Layer tissue paper colours and accordion fold the centre and slide into clothes pin slot (if using hinged clothespins, open and clasp the paper).
- Fold pipe cleaner in half and twist around top of the clothespin.
- Glue googly eyes to the top of clothespin.


Let’s Pretend to Be Butterflies with Caitie!
Don’t forget to follow us on Twitter, Instagram, Pinterest, and Facebook!
 Contributor
This post accompanies a video from Caitie’s Classroom. Join Caitie in the classroom for kids songs, games, activities, stories, crafts, and much more! Catch up on past episodes and segments, follow Caitie on Facebook and Instagram, and subscribe to Super Simple Play so you never miss an episode. Don’t forget to ring the bell for notifications!
Original content © 2018 Super Simple. Not to be reprinted without express written permission. Terms of Service.

