Dinosaurs and play dough. The perfect combination for a whole lot of play! Sometimes getting the play dough out with your normal tools is enough to keep your children occupied… and sometimes it’s not! Children without a doubt require some sort of sensory play on a week to week basis. It allows them to switch off from the world around them and concentrate on what is right in front of them. How things feel, look and smell. By adding a few simple items from your house and nature, you can easily make a themed sensory activity that will keep them occupied and fill that ‘need’ for the week.
This week is all about dinosaurs! So come and join us to create your own dinosaur inspired invitation to play. It centres around dinosaur toys and play dough, sprinkled with sensory items that can be collected from your kitchen, garden, woods or parks. If you want to inspire your children further, why not scatter a book about dinosaurs nearby or watch a dinosaur related film afterwards to keep the theme running through the day. Either way, I think it’s going to be a roarsome day of fun!
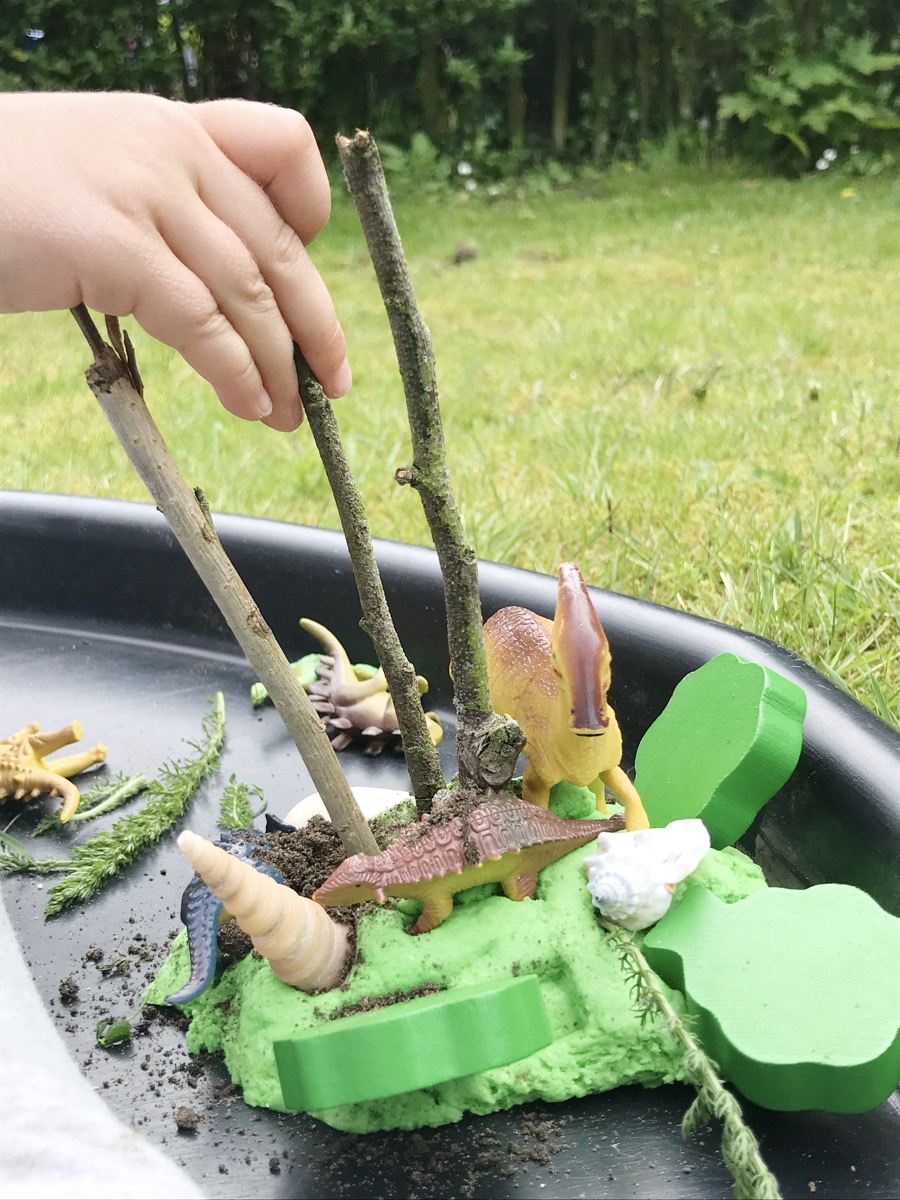
Creating your Dinosaur Themed Sensory Tray
What you will need:
- Small plastic toy dinosaurs
- Play dough – shop bought or homemade
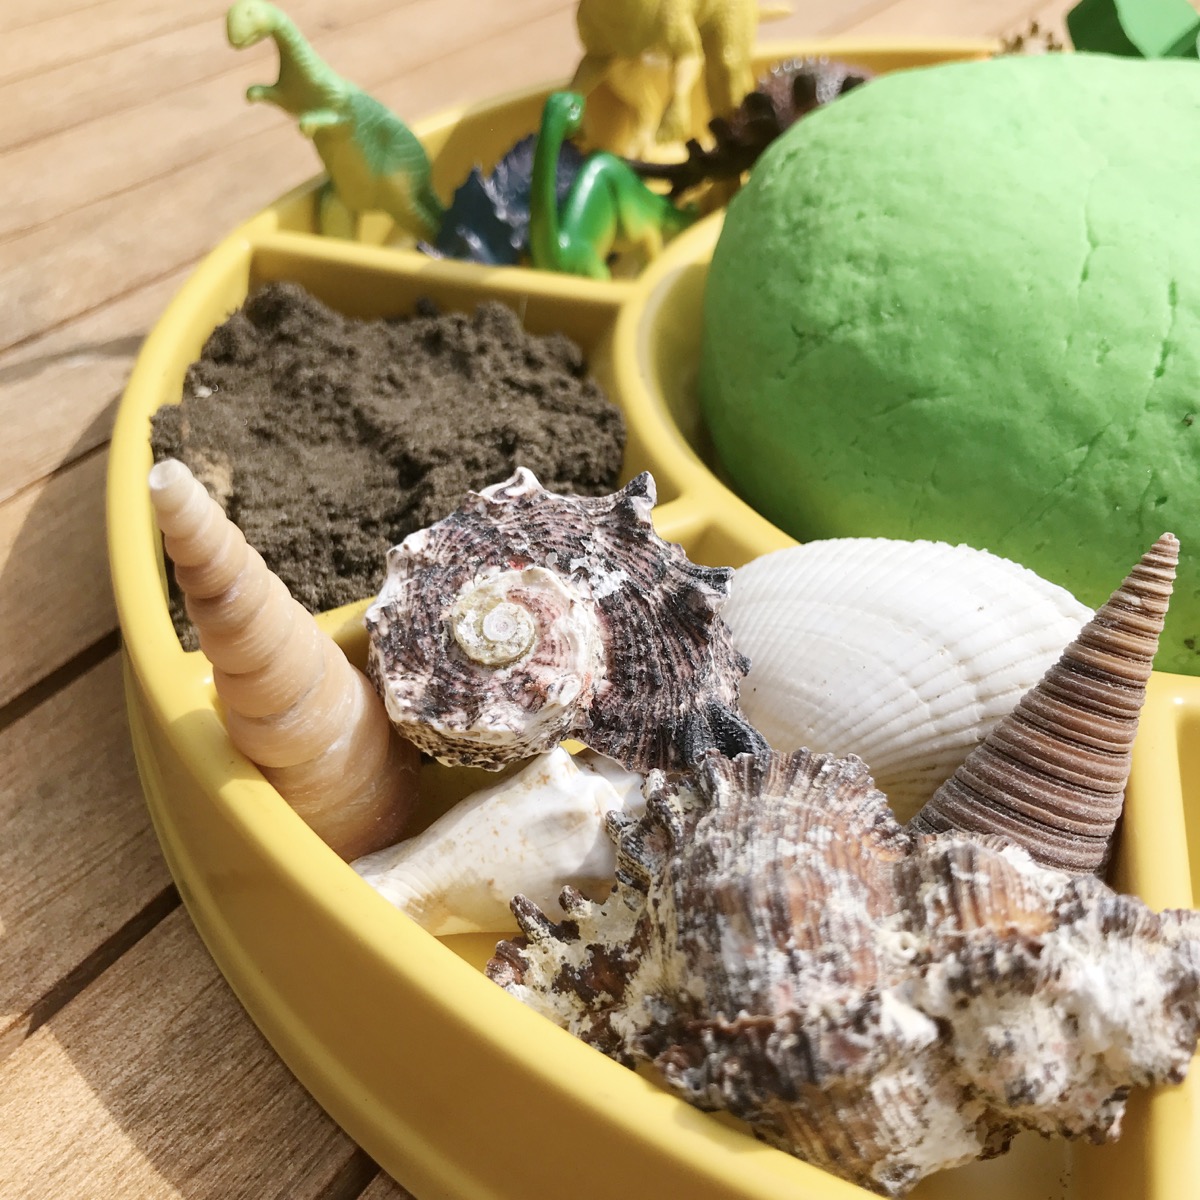
- Shells
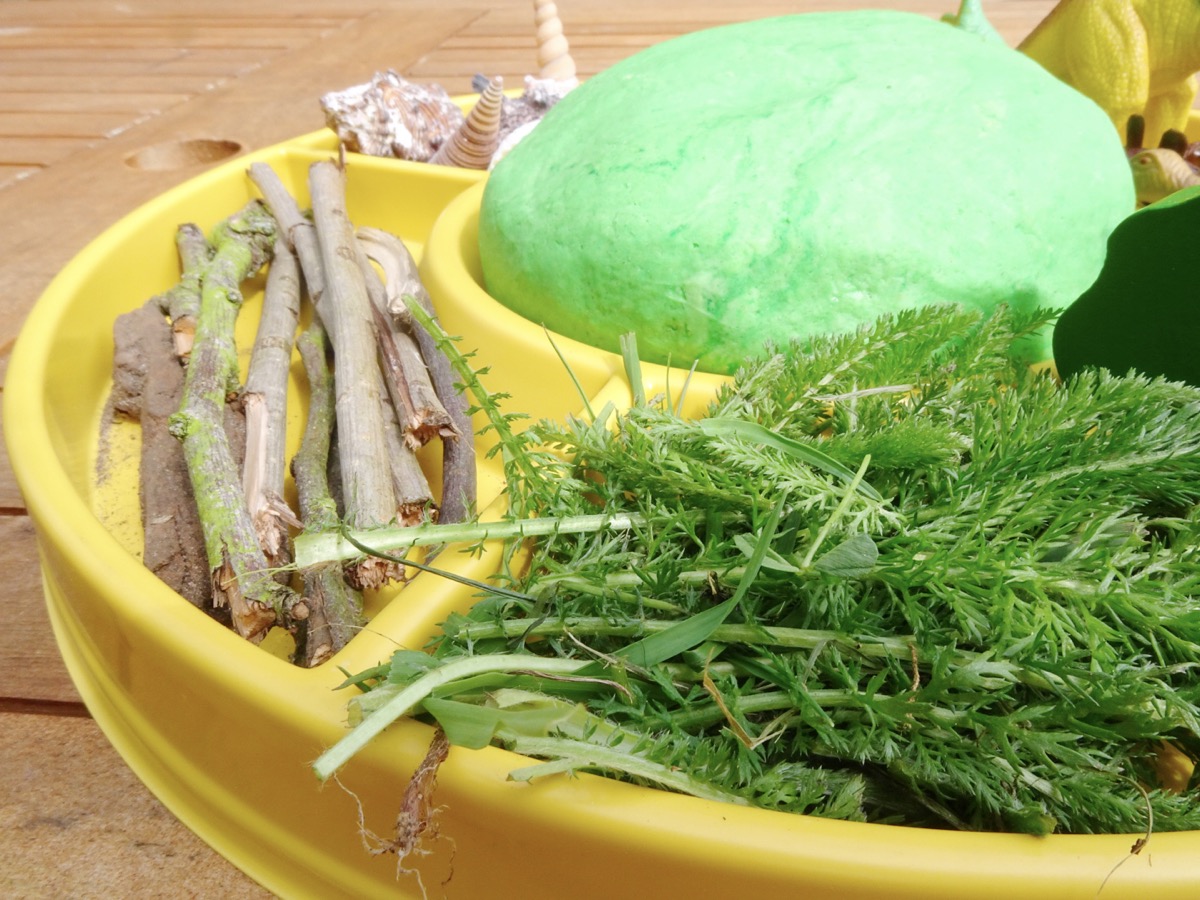
- Grass/weeds
- Sticks
- Soil/sand
- Twigs
- Mini Trees – toys or broccoli
- Sorting tray/normal tray/ baking tray/ different bowls
Instructions:
-
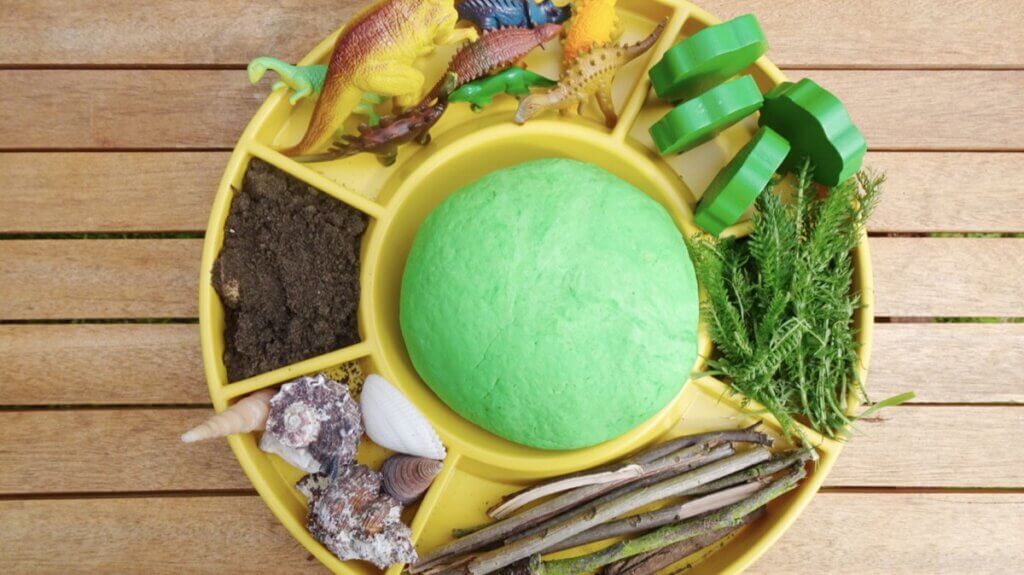
- First of all one must have decided what they will be putting all the items on/in. We used a sorting tray, with lots of different sections. It is however, not necessary to have one. Any normal tray or small bowls are perfectly fine. Your children won’t be looking at the tray when they see what is put in front of them!
- If you have decided to make some homemade play dough then do so now. You can find the ingredients and instructions below. If you are using shop bought ones then take it out of the pot, roll it into a ball and place it centrally on your tray.
- Place your toy dinosaurs in a huddle or a bowl.
- Now you will need to decide what other items you are going to put with your themed play. This part is entirely up to you. Ideally you should gather together items that all feel different to touch. For example, something that can slip through their fingers. You could use rice, sand, soil or grains for this. Next something coarse and rough, we used shells. You could use something like rough rocks or instead glass pebbles for something smooth. Items from nature and the garden are fantastic editions, such as grass and twigs. Lastly we added toy trees. Why not add some fresh broccoli for little trees?
- Once you have placed all these items in either their own piles or in separate bowls it is ready to be played with.
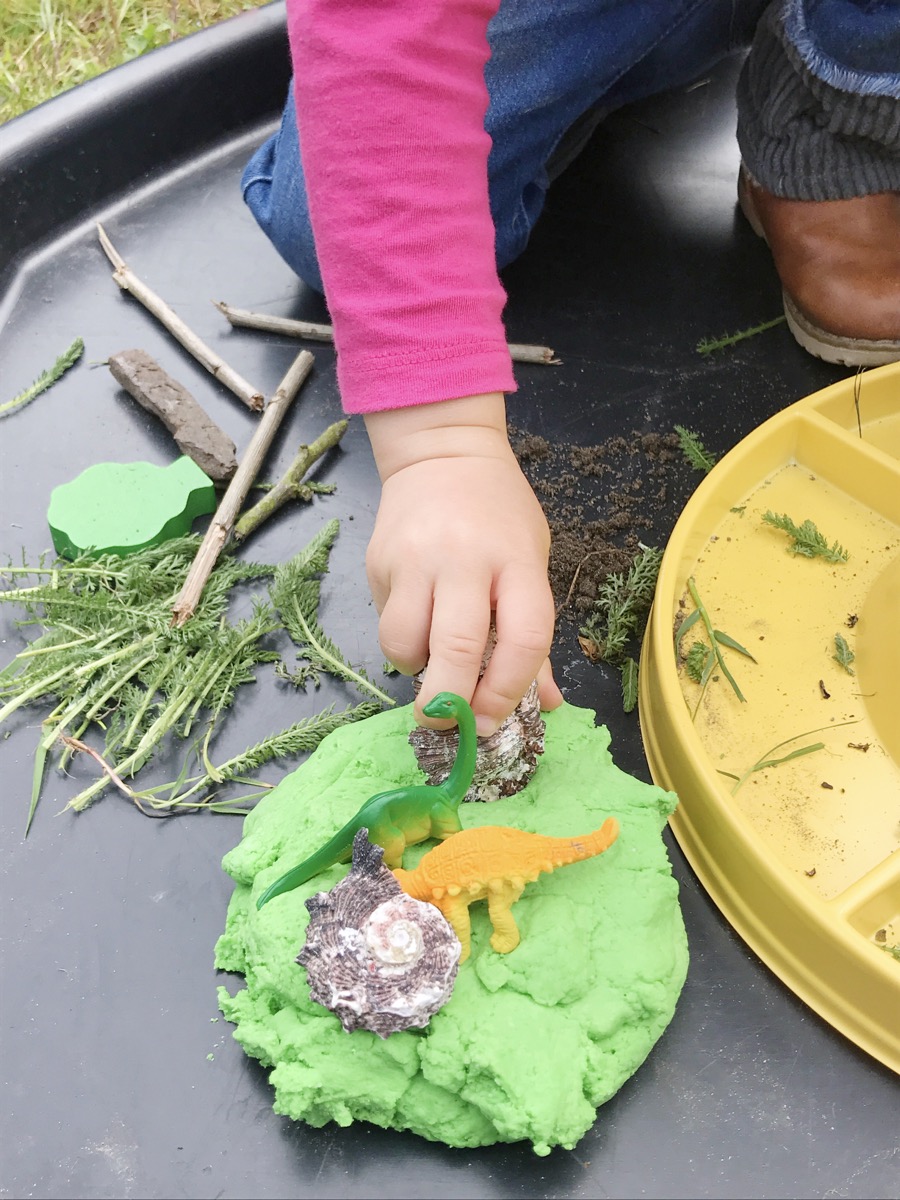
- When you show your children the tray, don’t give them any rules. If you are worried about mess, do it outside, in the kitchen or with a large tablecloth on the floor. The fussing about mess will interrupt their play and could very likely shorten the time they want to play with it.
- When they have been playing with it for a while, why not consider adding normal play dough tools? This will extend the play longer as something new has been added and new options of play have opened.
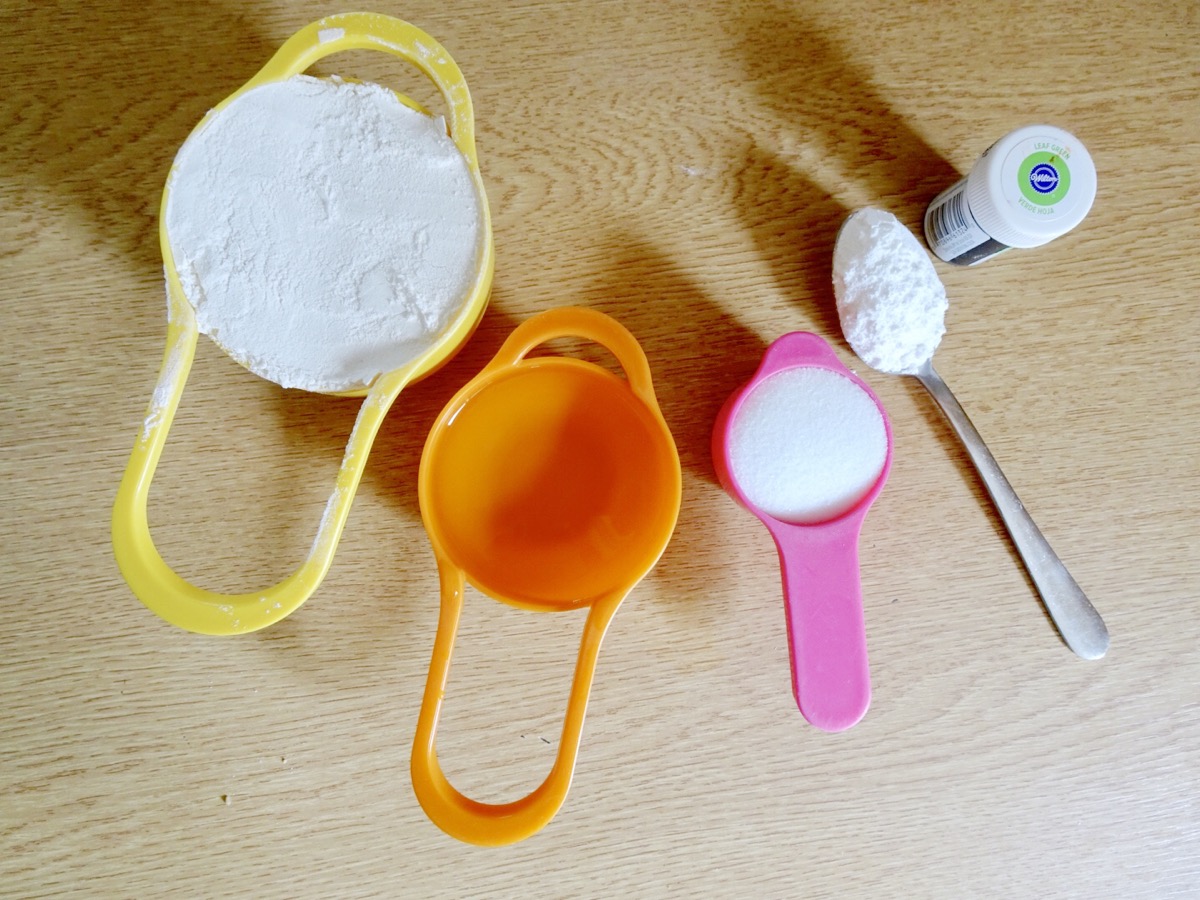
What You Will Need To Make Your Own Play Dough
Note: This makes two batches enough for two children. If you want to make a smaller batch, half all the ingredients.
- 2 cup plain flour
- 1 cup warm water
- 1/2 cup salt
- 2 Tbsp Cream of Tartar
- Half a teaspoon gel food colouring (any you fancy, we used green)
Instructions for play dough:
- In a big bowl pour your flour, salt and cream of tartar and combine.
- Dissolve your food colouring into your cup of warm water. This is important if you want to get an evenly spread and smooth colour throughout your play dough.
- Slowly pour your coloured warm water into the bowl with the dry ingredients and mix slowly. It should come together quite quickly.
- Once it has all stuck to itself and combined into one big ball, take it in your hands and knead it onto a surface until it is all combined. It should not be sticky. If it is, add a touch more flour to absorb the extra moistness.
- It is now ready to be used!
Making your own play dough is entirely optional. We have found however that unlike shop bought stuff, we can make triple the amount of play dough with ingredients just from our kitchen cupboards. It is also more ply-able and you can choose whatever colour you want without having to go hunting for it!
For more fun dinosaur themed activities, watch Caitie’s Classroom episode all about dinosaurs! Happy learning and playing!
Don’t forget to follow us on Twitter, Instagram, Pinterest, and Facebook!
 Contributor
Grace Selous Bull is an arts education author and freelance blogger. Her book, ‘Potty About Pots: arts and crafts for home and school’ is aimed at children from 5-12 years old and takes them through a journey of ceramics through time. She is a full time Mummy of two girls, both of whom love being creative, and is married to her husband, Andrew, who does not.
Original content © 2019 Super Simple. Not to be reprinted without express written permission. Terms of Service.