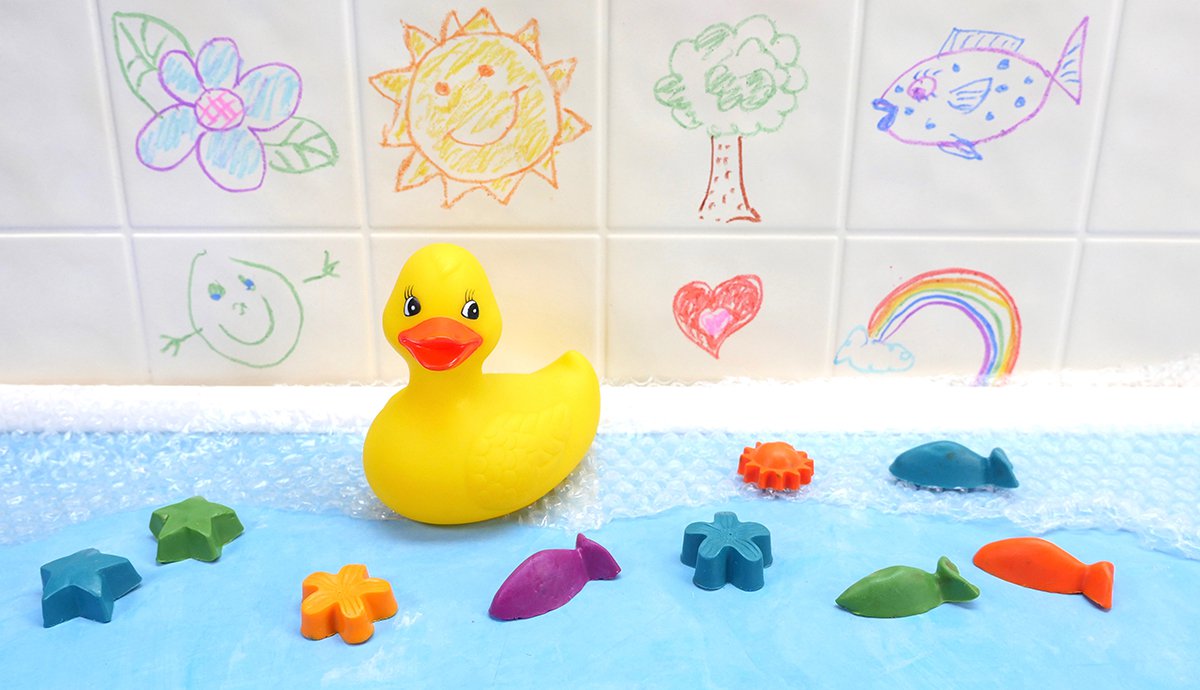
Crayons are fun all the time! Imagine being able to take them into the bath, how fun would bathtime be!? Parents not to worry! Even though we would love to keep all of our children’s masterpieces we know that’s just not always possible. This play time will be super easy to clean up: a quick wipe down with a cloth and warm water and it’s gone.
This is a fun project to get the kids involved with parental supervision, please keep in mind that melting the soaps base makes the soap very hot. Kids 5 and under can participate by choosing scent and colours, while kids older than 5 can mix in the colours and scent and help pour in the mold.
Lets get started on the list of materials and ingredients.
What you will need :
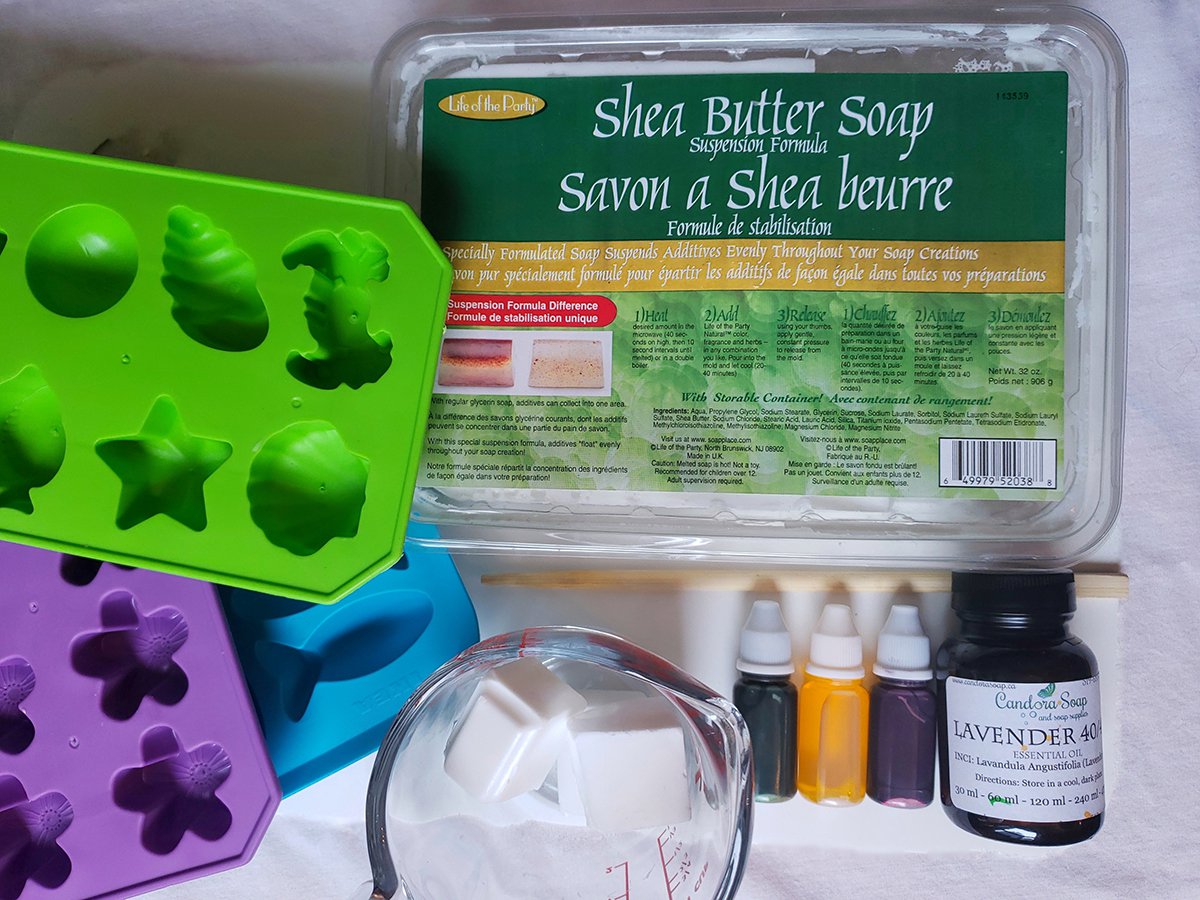
- Melt and Pour Soap base
(I used Life of the Party Shea butter, this base be found in your local art supply store or on Amazon) - Skin safe colorants
(In this case I used Life of the Party colors, also can be found together with the soap base at your local art supply store) - Silicone mold
(I used ice cube molds I got from IKEA, but you can easily find these in craft stores and on Amazon) - Essential oils, Optional
(can be found at local health food store) - Dropper Optional for measuring the essential oil drops
(Also be found at local craft store) - Microwave safe jars (to melt the soap base)
- Knife to cut the soap base
- Skewer to mix in the colorant
Recipe: this recipe made 13 small crayons
- Soap base 9 oz
- Colorants 10 to 15 drops for each color
- Essential oil 2 drops per crayon
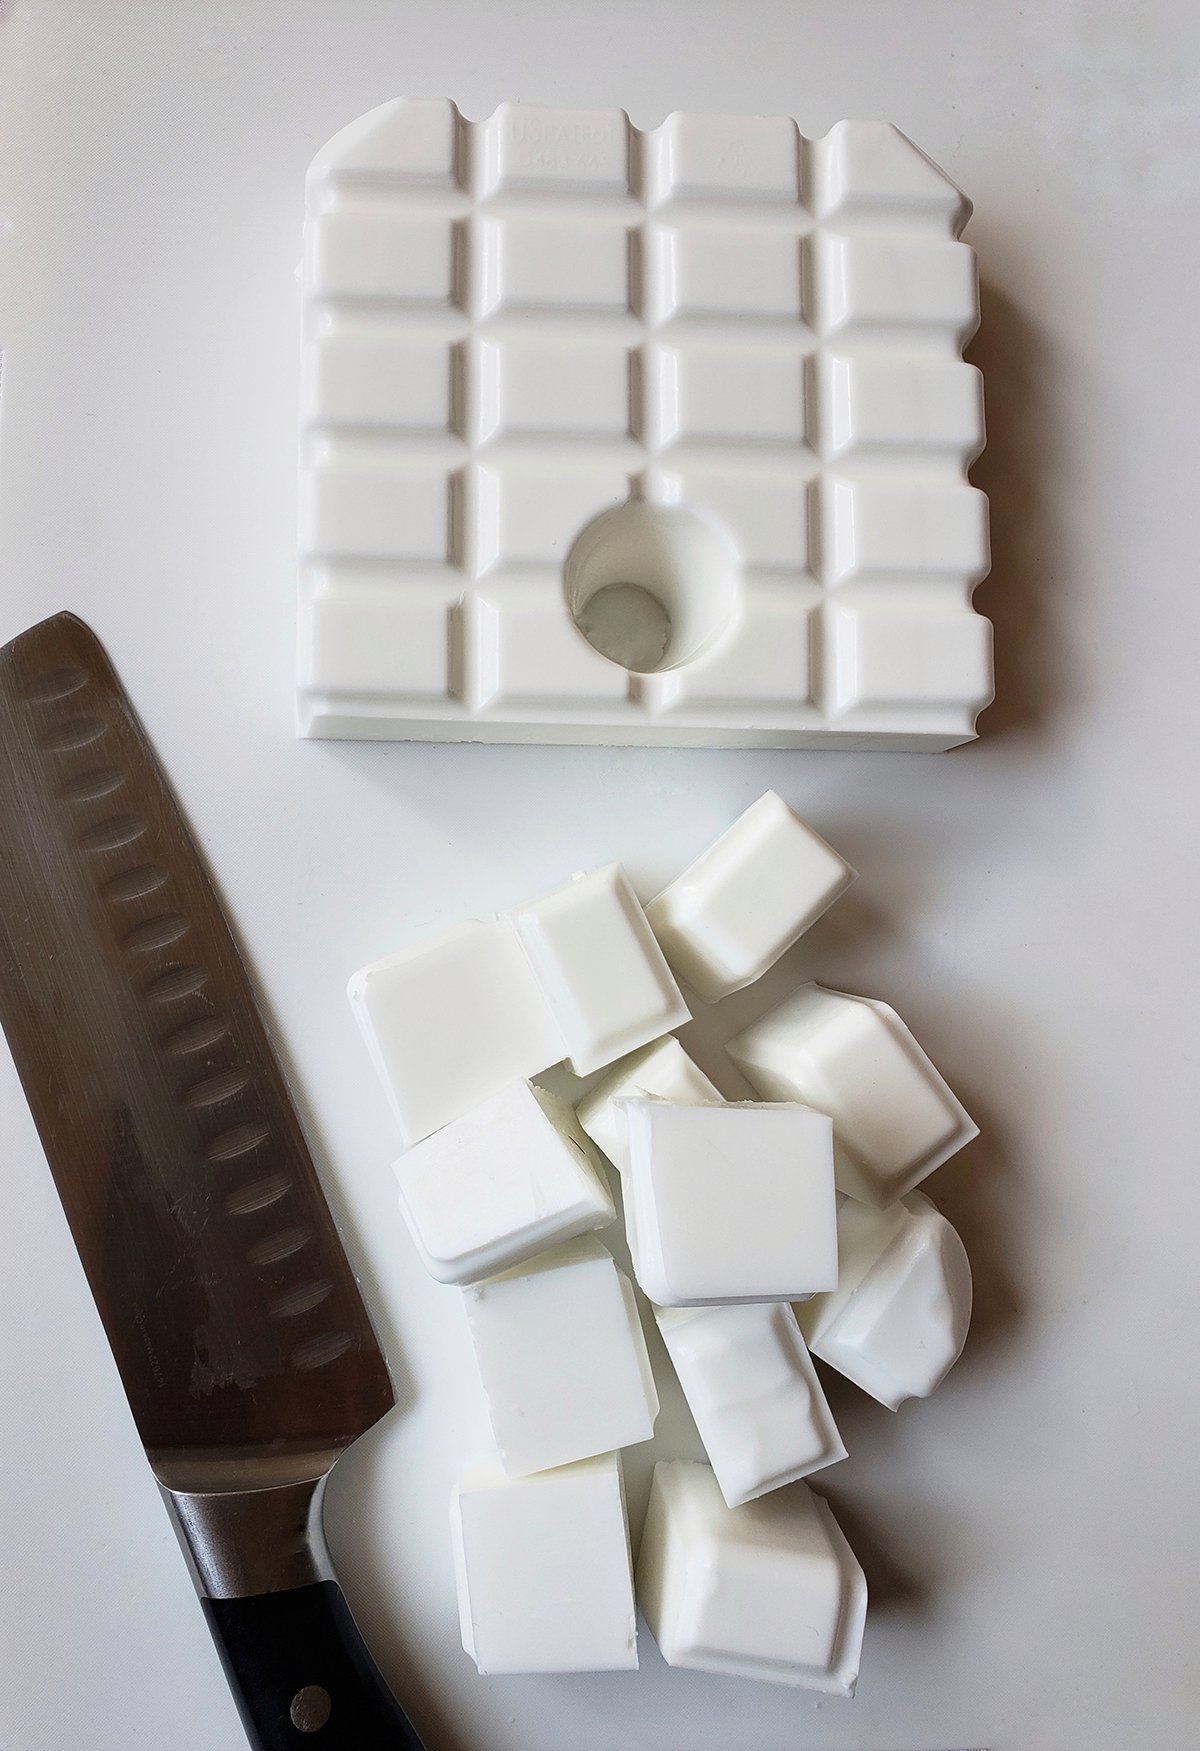
Step One
Use a knife to cut the Melt and pour into cubes, each cube’s weight is 1oz ,
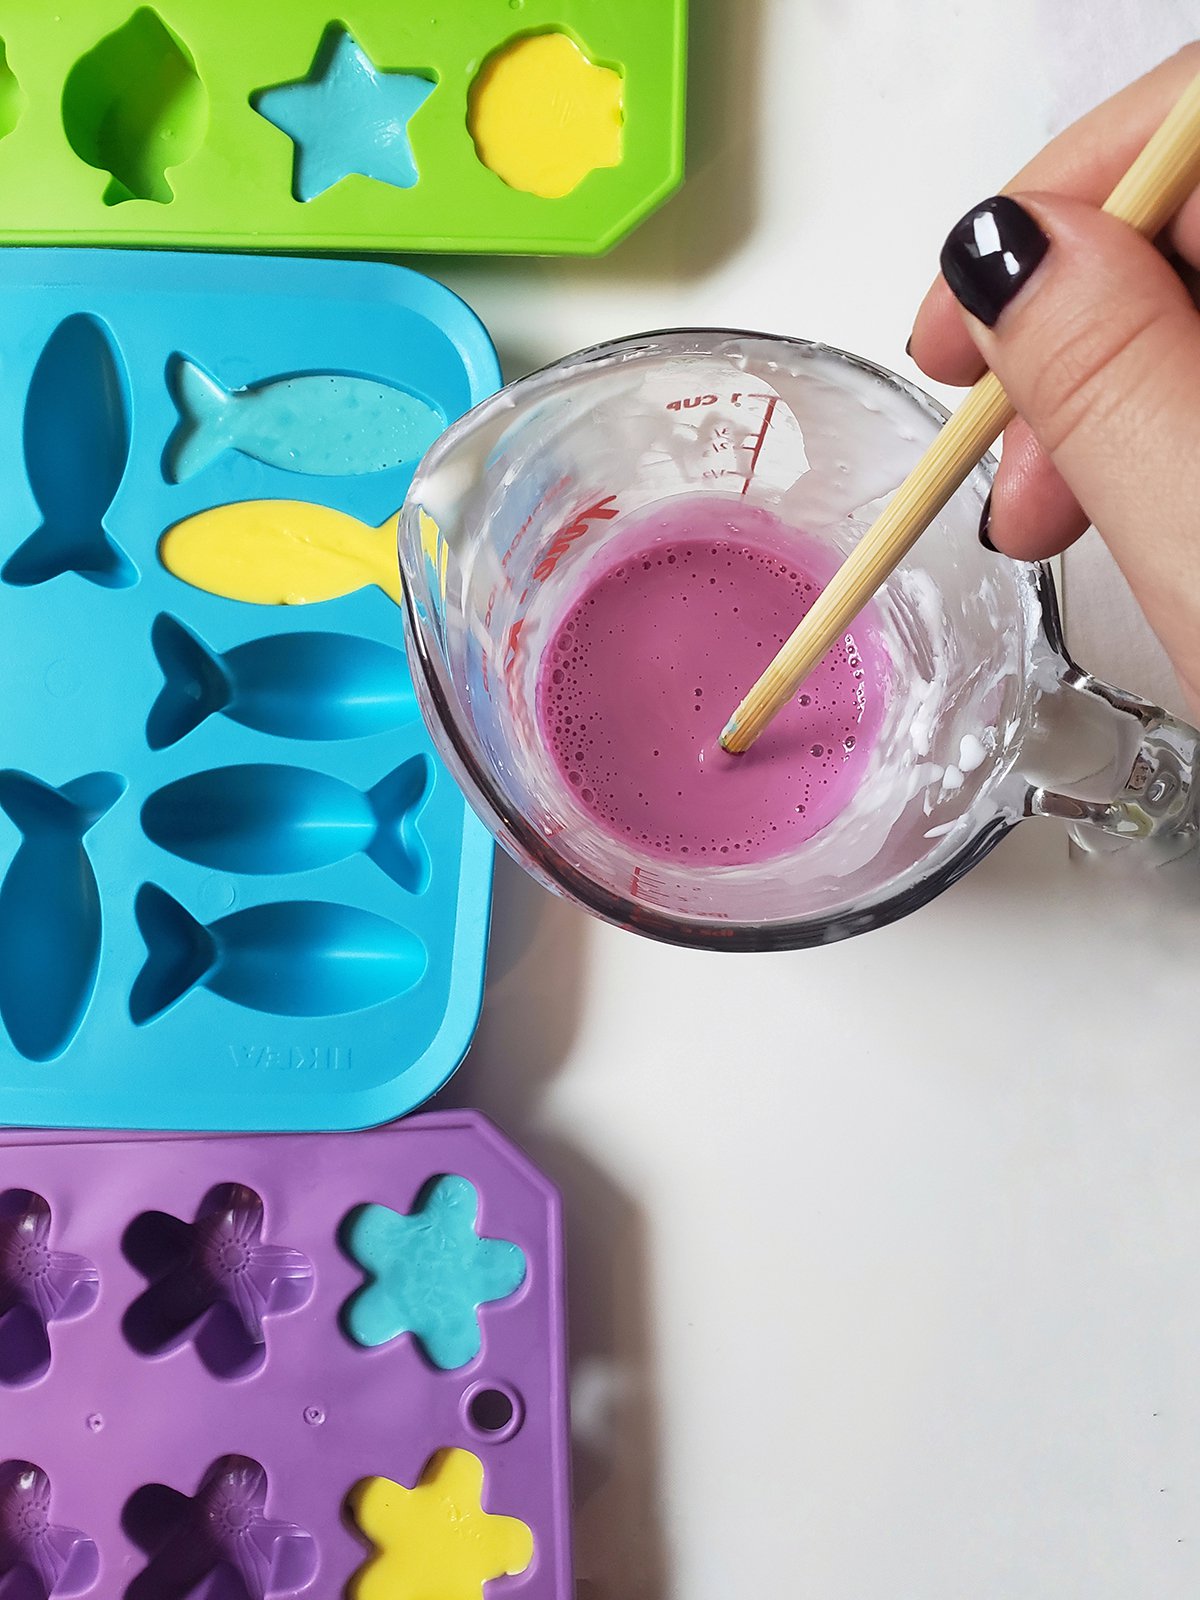
In a glass microwave safe jar, melt the soap base in 30 seconds spurts, until fully melted. If using multiple colors use one jar per colour and do this one at a time (you can also use a double boiler to melt down the soap base).
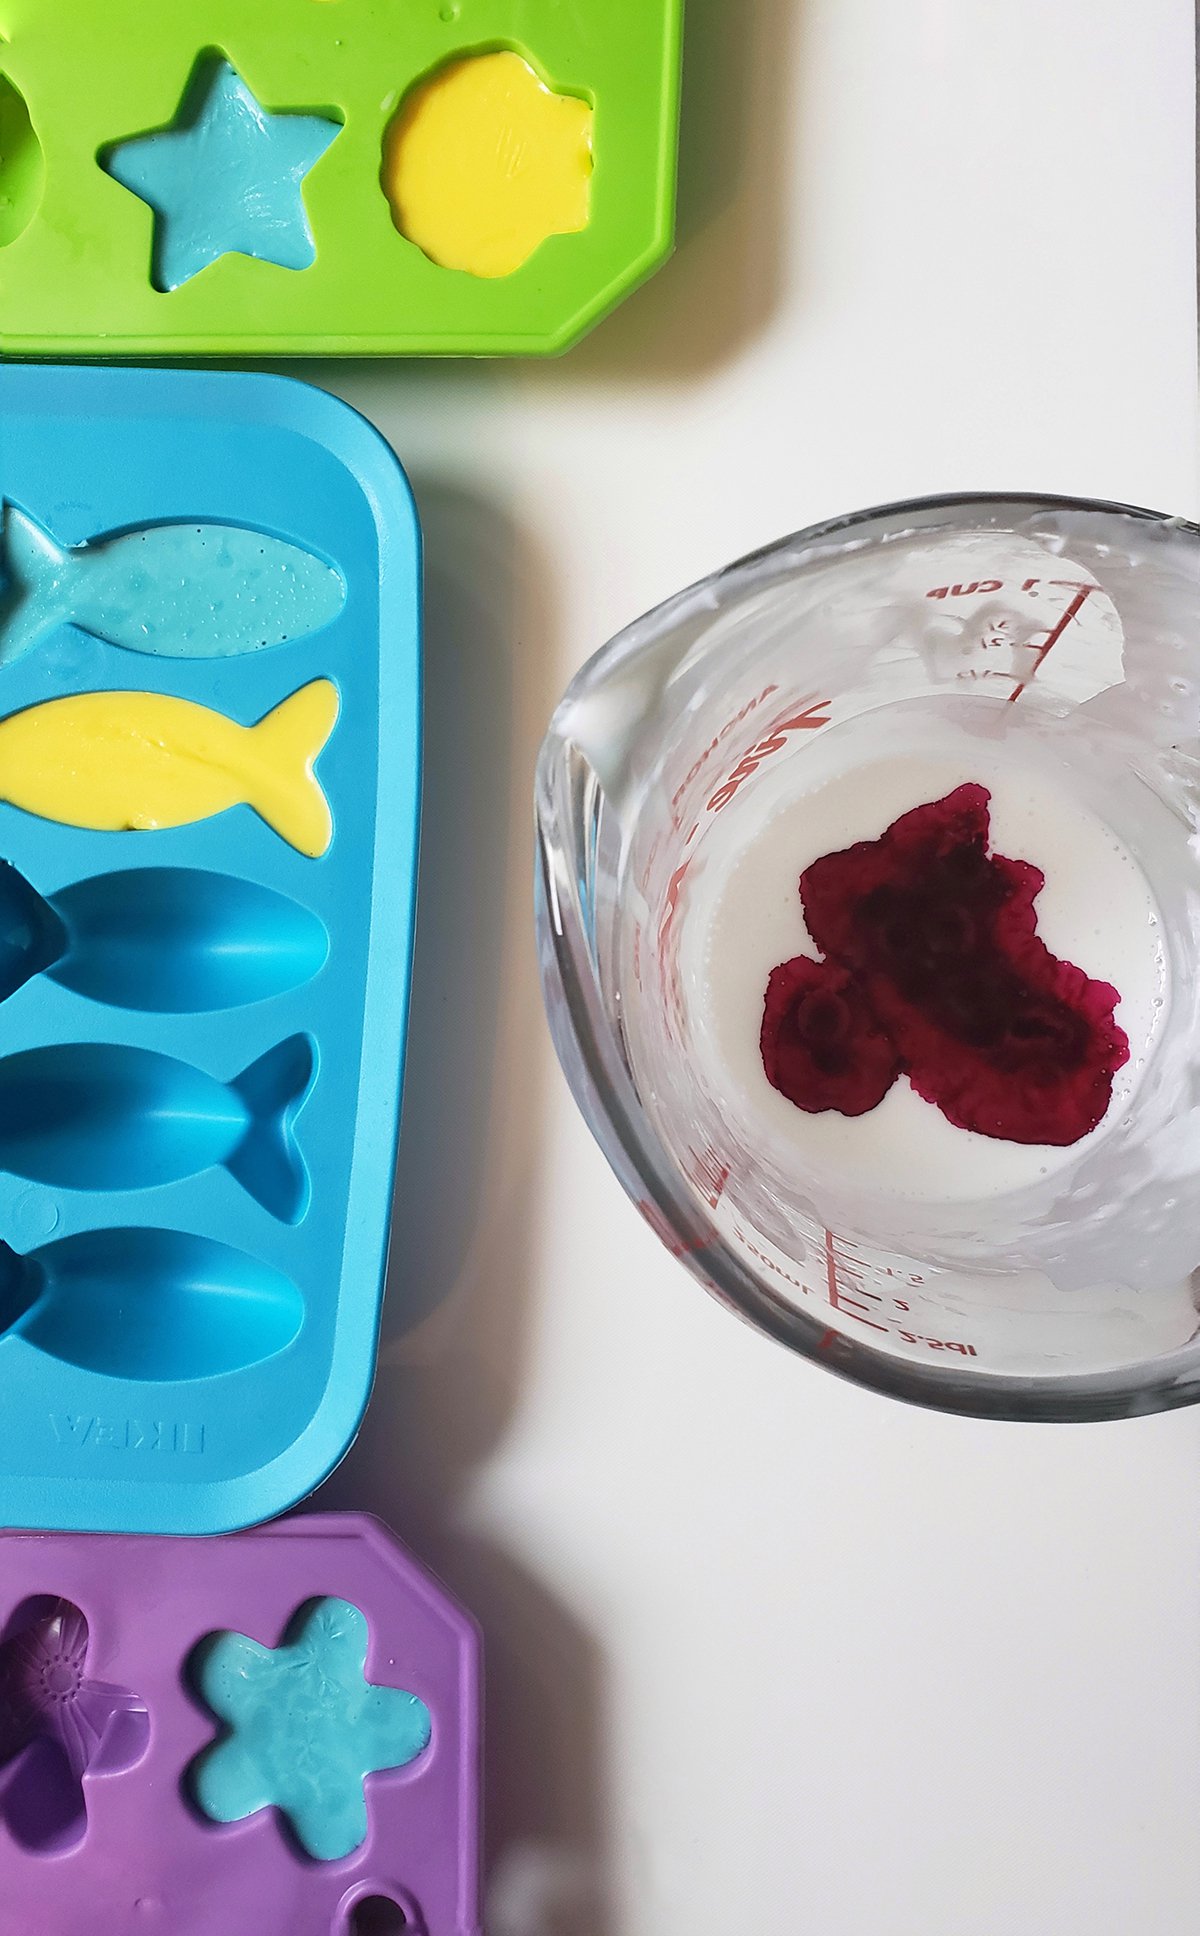
Step Two
Mix in the colour and the scent to the melted soap base, the soap base will harden as soon as it starts to cool off, you have to move quickly and carefully. Add in the colorant and the scent, the colour must be dark and bold in order for it to draw onto the tub and tiles.
Older kids can join in and help mix the colors and the scent.
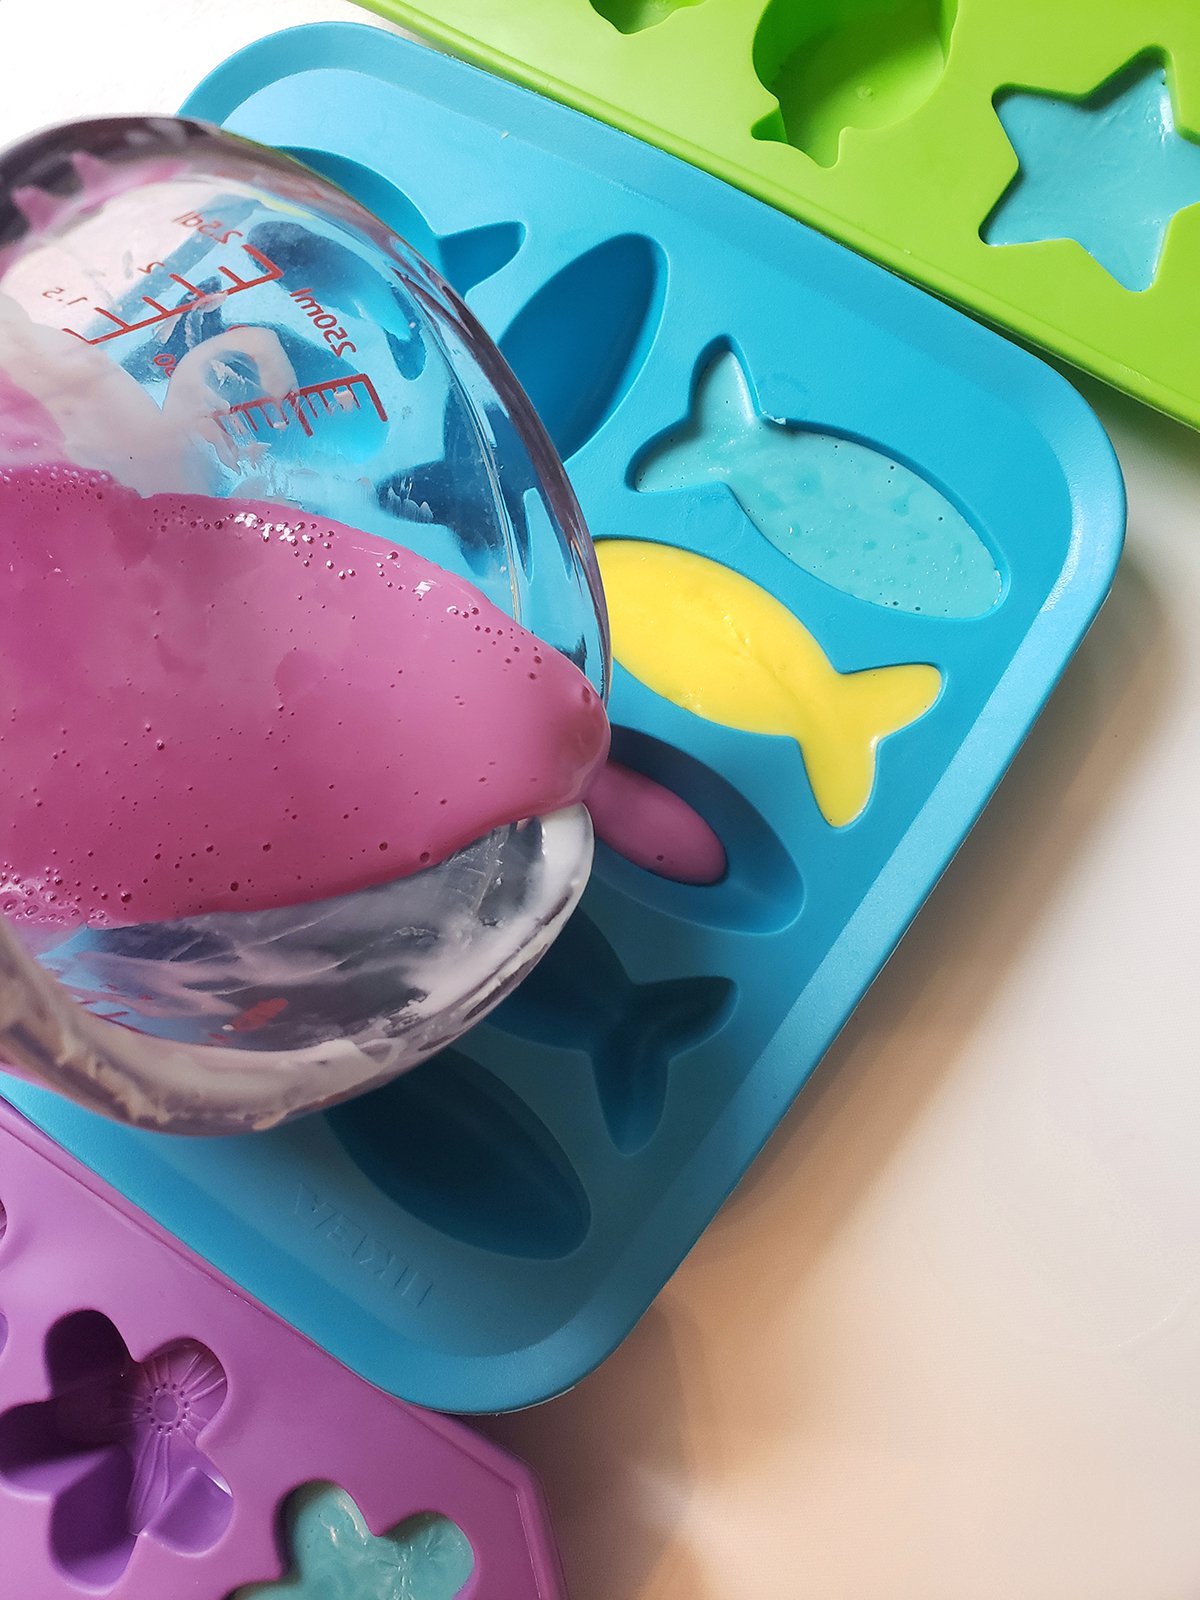
Step Three
Let the soap base fully cool off and dry before trying to remove the soaps form the mold. To speed up the process you can put the mold in the fridge.
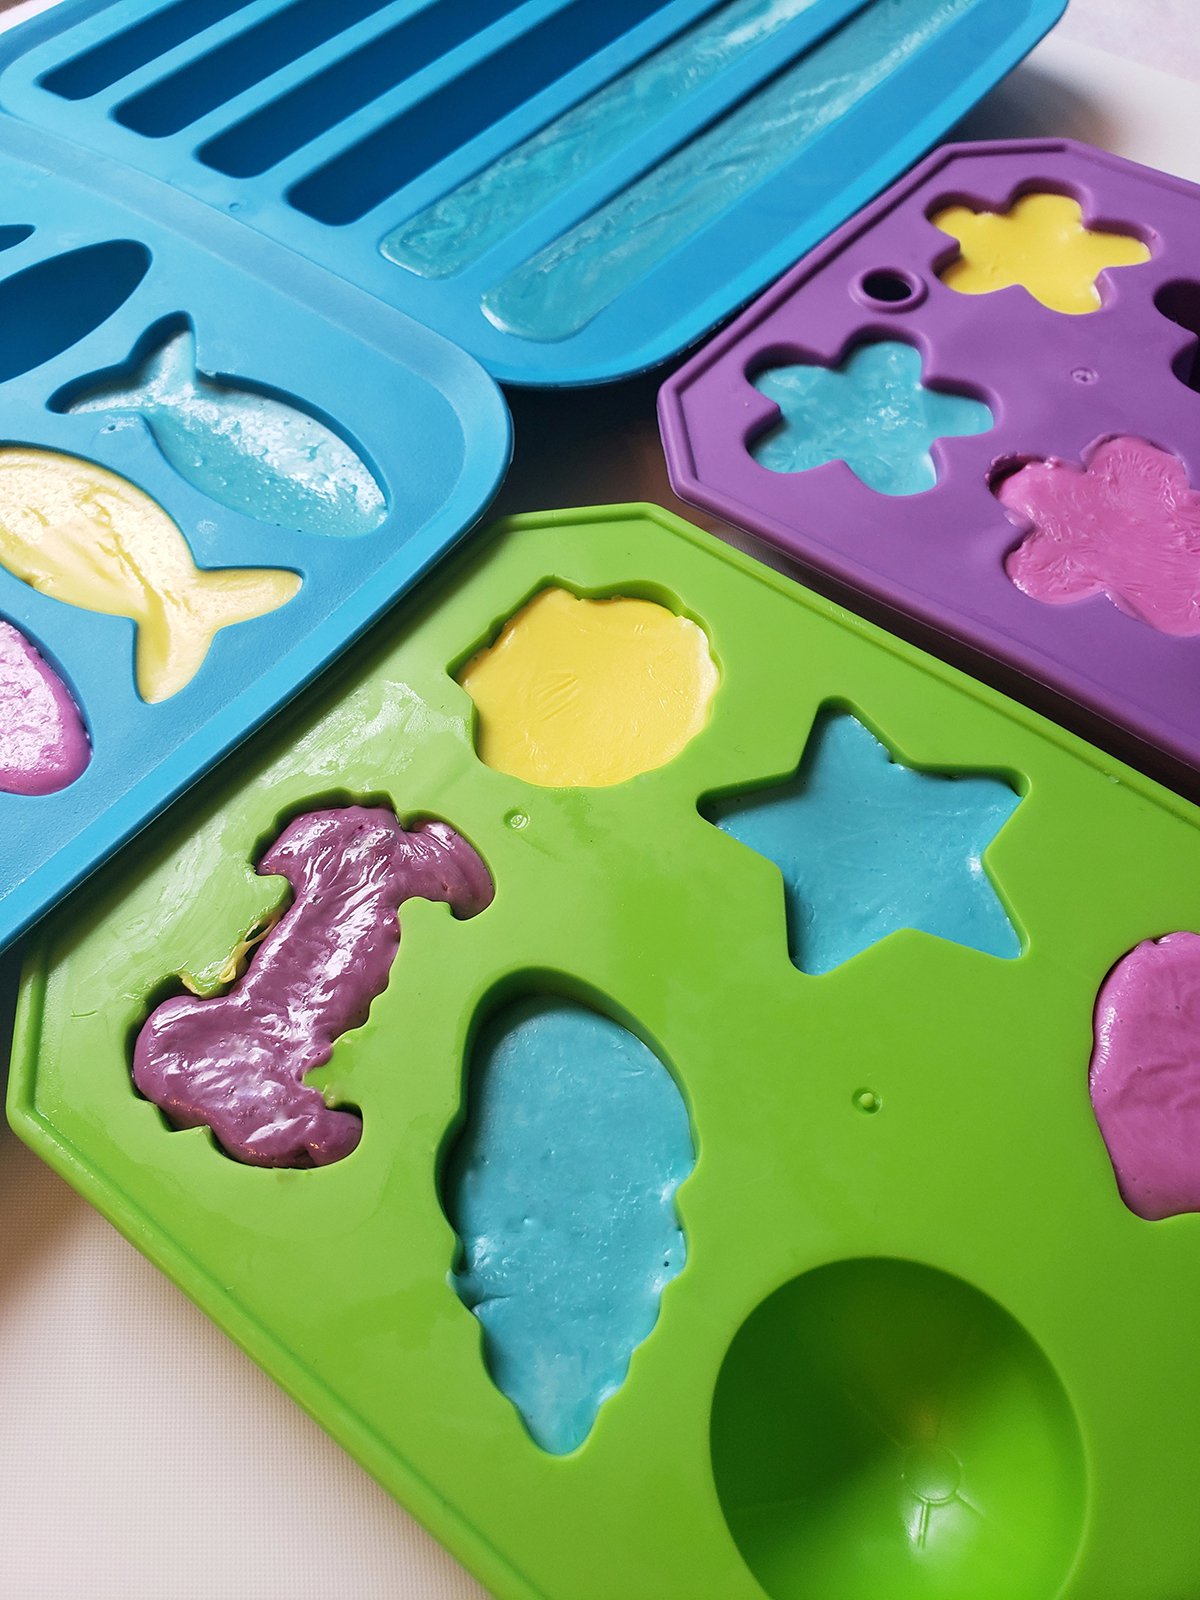
Once fully dry, remove from the mold just like you would ice cubes from their mold, and your new bath crayons are ready to use. If packaging these for a later use or for gifting use an airtight container. Melt and pour soap can sweat if left in open humid or hot air.
Don’t forget to follow us on Twitter, Instagram, Pinterest, and Facebook!
Contributor
Born in Brazil, Jaqueline Leal now lives in Toronto, Canada. She is a wife, mother to two amazing children and the founder of JBL Natural Skincare. She handcrafts each item she sells, creating small batches using all natural, vegan ingredients. Using choice oils, butters, and plant infusions, Jaqueline’s creations are sold through her website and in local markets and shops. You can follow her on Instagram here.
Original content © 2018 Super Simple. Not to be reprinted without express written permission. Terms of Service.