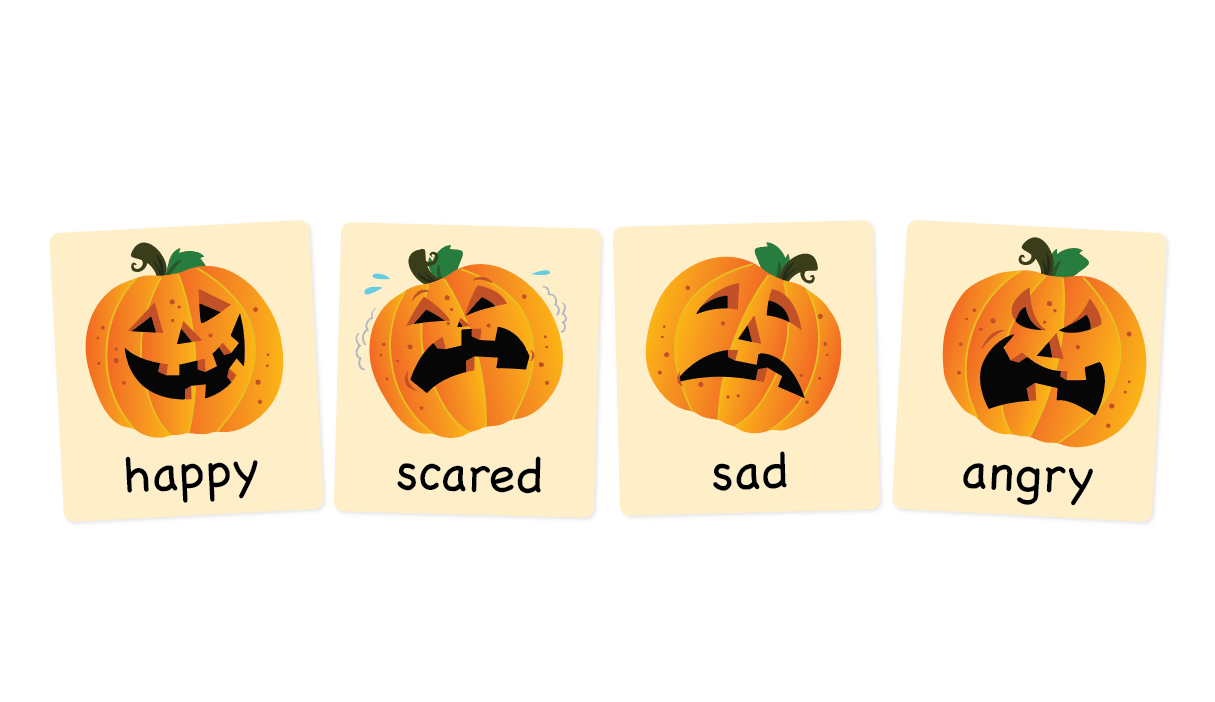
Not only are jack-o’-lanterns perfect for practicing emotions, they are also great for introducing young learners to parts of the face.
This Is The Way We Carve A Pumpkin
This Is The Way We Carve A Pumpkin, turns a regular ol’ pumpkin into a happy jack-o’-lantern. Step-by-step, students learn how to scoop him out and make his face by adding his eyes, nose, and mouth.
A great activity is to bring actual pumpkins into your classroom. Draw faces on mini pumpkins with a black marker instead of carving them. Or make a big jack-o’-lantern for decoration.
If you are short on pumpkins where you live, there are many jack-o’-lantern crafts you can do together.
Here are just a couple of ideas.
Class activity – Face Fun
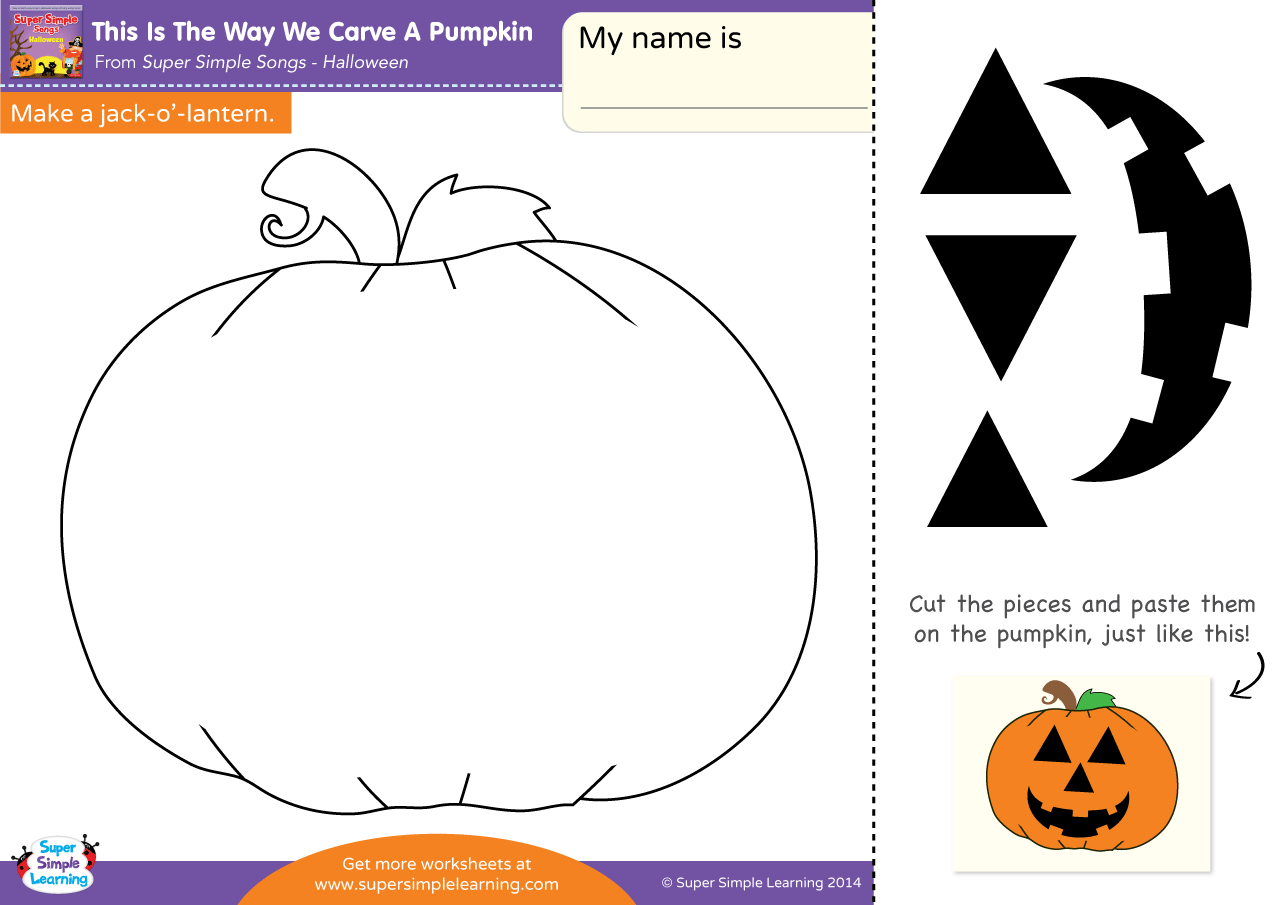
 Print out copies of this worksheet. Have each student color their pumpkin. Next, cut out the eyes, nose and mouth. Make a jack-o’-lantern by arranging them in different ways. What happens when the mouth is turned upside down? How about adding eyebrows? This is a great time to practice emotions again. Make additional eyes, noses, and mouths in different shapes from black paper.
After playing with the various faces for a while, glue them on and hang your jack-o’-lanterns on the wall to help create a Halloween atmosphere.
You can also use paper plates, construction paper, orange balloons or draw the pumpkins yourself on copy paper.
How about a felt pumpkin with removable eyes, nose, and mouth so that you can practice making different faces over and over? Students love being able to change the pieces around.
Here’s a kid friendly way to carve a jack-o’-lantern, no sharp knife needed!
Don’t forget to follow us on Twitter, Instagram, Pinterest, and Facebook!
Original content © 2011 Super Simple. Not to be reprinted without express written permission. Terms of Service.

