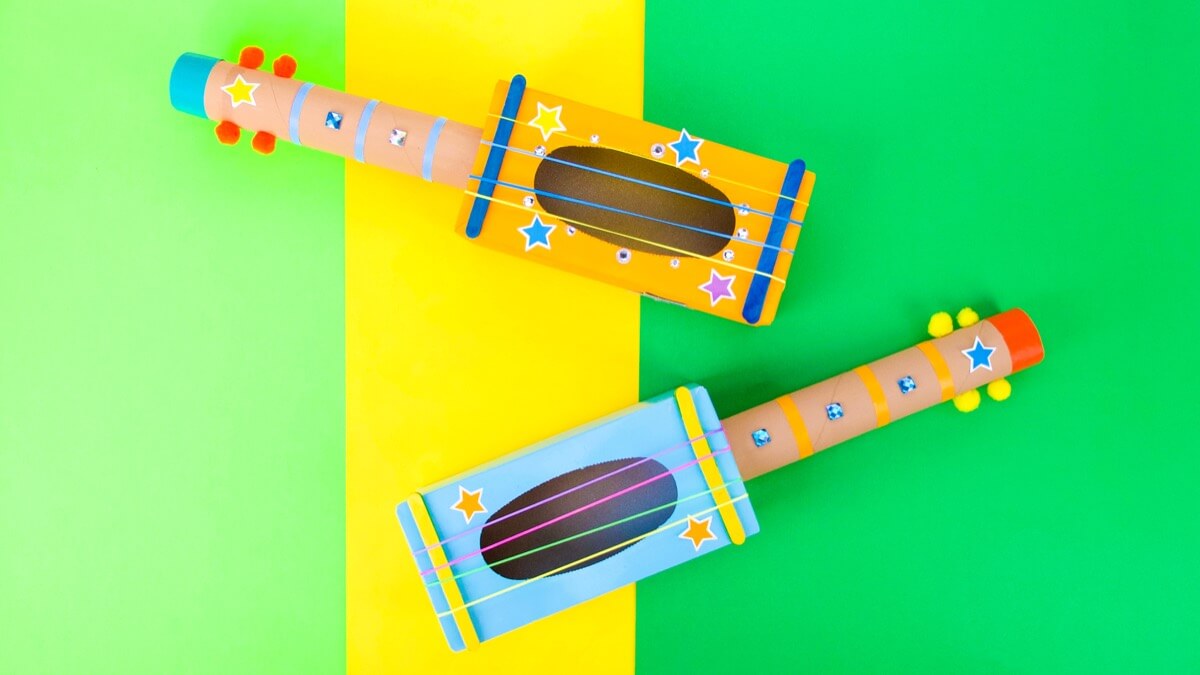
Let’s get ready to rock..with a homemade guitar! This little guitar might look fancy, but it’s surprisingly simple to put together, and is made with things you probably already have around the house! Little music lovers will love having their very own guitar to play, and friends of Caitie can play along as Caitie plays guitar and sings. You can explore different sounds by using different rubber bands, and decorate your guitar any way you like. Be sure to check out the Caitie’s Classroom episode all about Musical Instruments to see Caitie make the craft, and to explore other amazing instruments and the sounds they make!
Things you’ll need
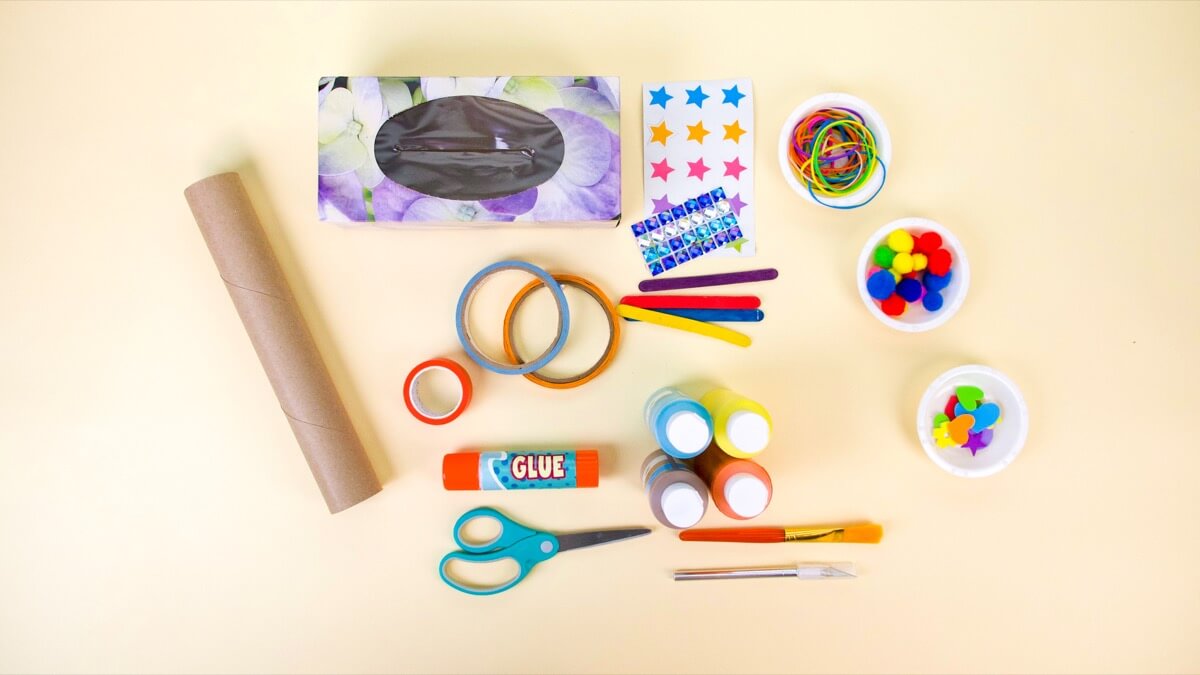
For the guitar:
- Tissue box
- Cardboard paper towel tube
- Rubber bands – use different sizes and thickness for different sounds!
- Scissors
- Craft knife
- Craft paint
- Paint brush
- 4 Popsicle sticks
- Glue stick
Decorations:
- Pom poms
- Decorative tape
- Stickers
Steps
We are going to use a tissue box as the body of our guitar. First, remove the plastic parts from the opening of the box, and then paint the outside of the box. You can paint it any color you like – we used the color blue. You may need to paint a few layers to cover the pattern of your box, then leave it to dry.
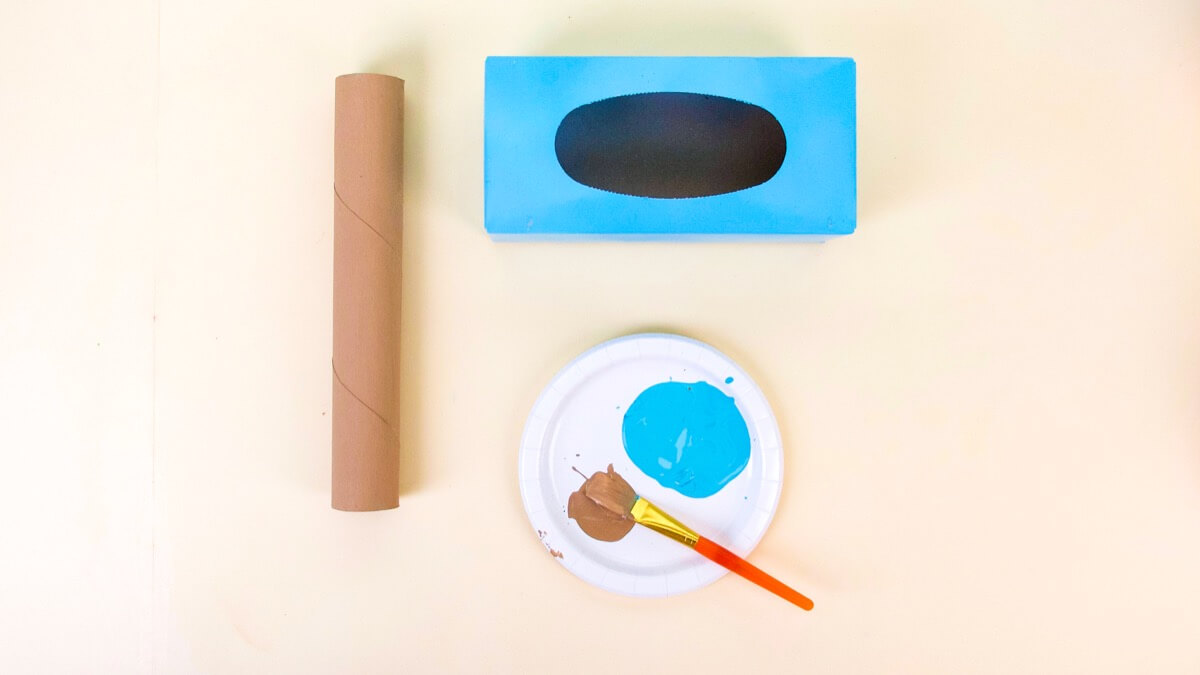
We are going to use a cardboard paper towel tube for the neck of our guitar. Paint the tube any color you like – we painted it brown to look like a traditional guitar neck. Leave your tube to dry.
Assemble
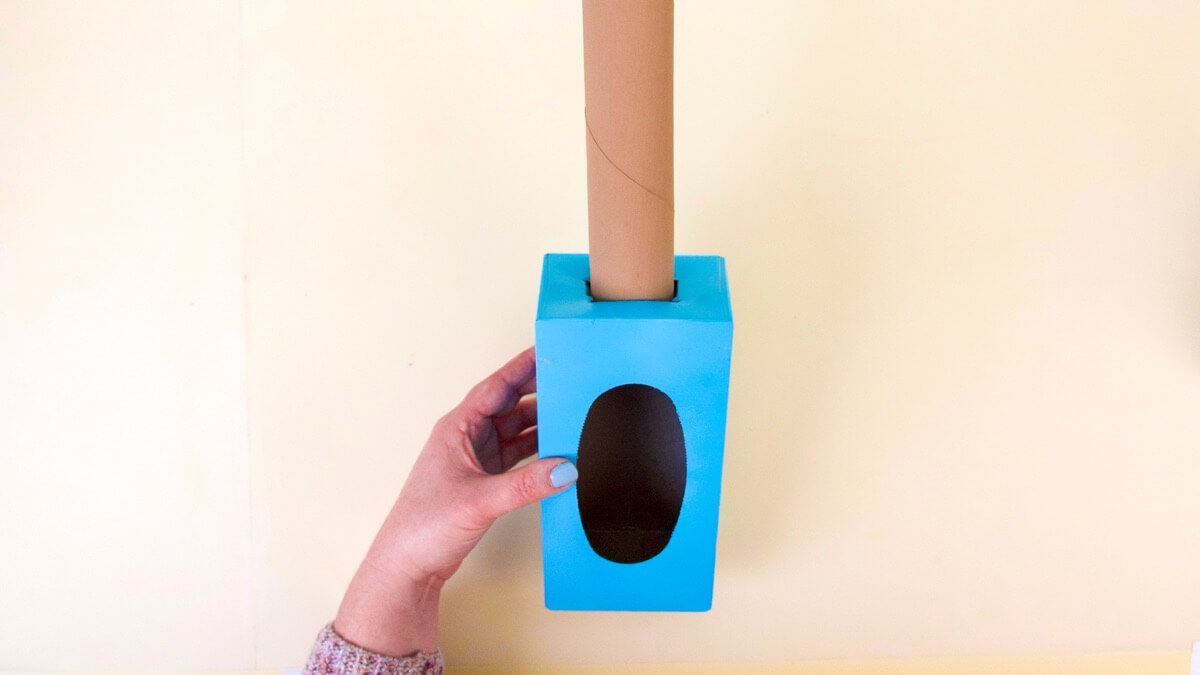
Pick the side of the guitar that your neck will come out of – if you are right handed the neck will come out of the right side of the guitar when looking down at it. If you are left handed (like Caitie!) the neck will come out of the left side of the guitar when looking down at it. Hold the end of the cardboard tube to the side of the guitar body and draw two parallel lines the same width as the end of the tube but slightly closer together than the width of the tube. Connect the lines together with another line making an H shape.
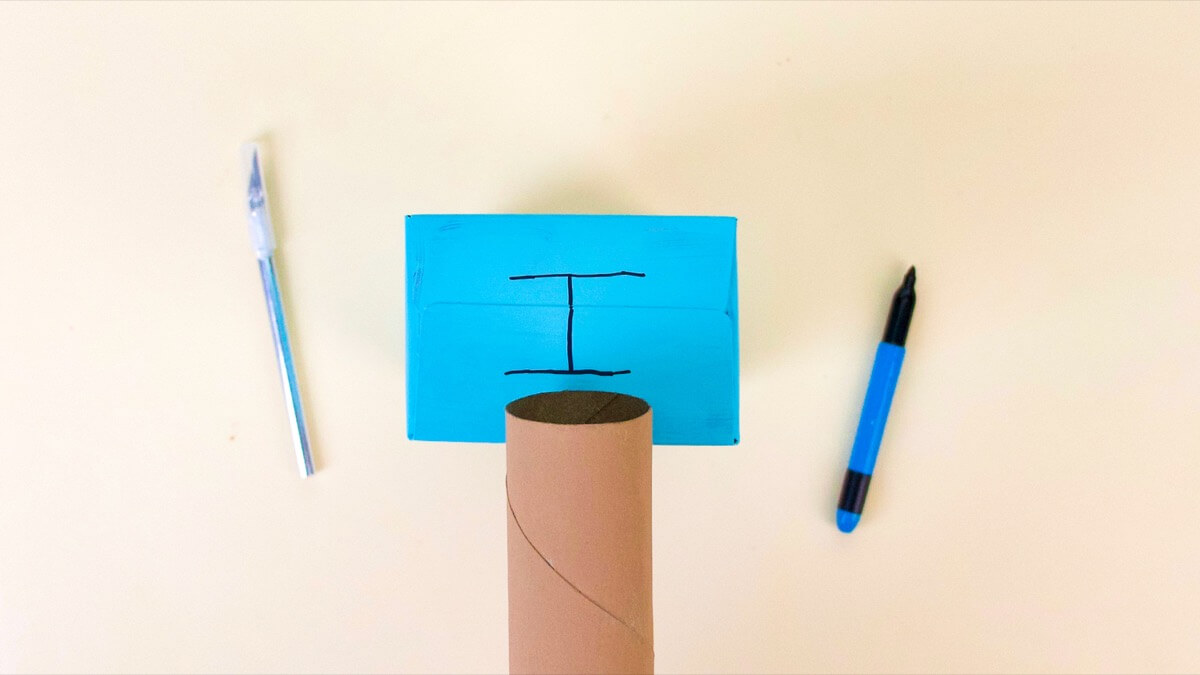
With a craft knife, carefully cut along the lines and push the two tabs inwards. The hole should be slightly smaller than the tube so the tube will fit snugly in the hole without any other support. Then insert the tube into the hole to make your neck!
We are going to use rubber bands for our guitar strings! Most guitars have six strings, but we are using four strings which is a little more like a ukulele, another great instrument!
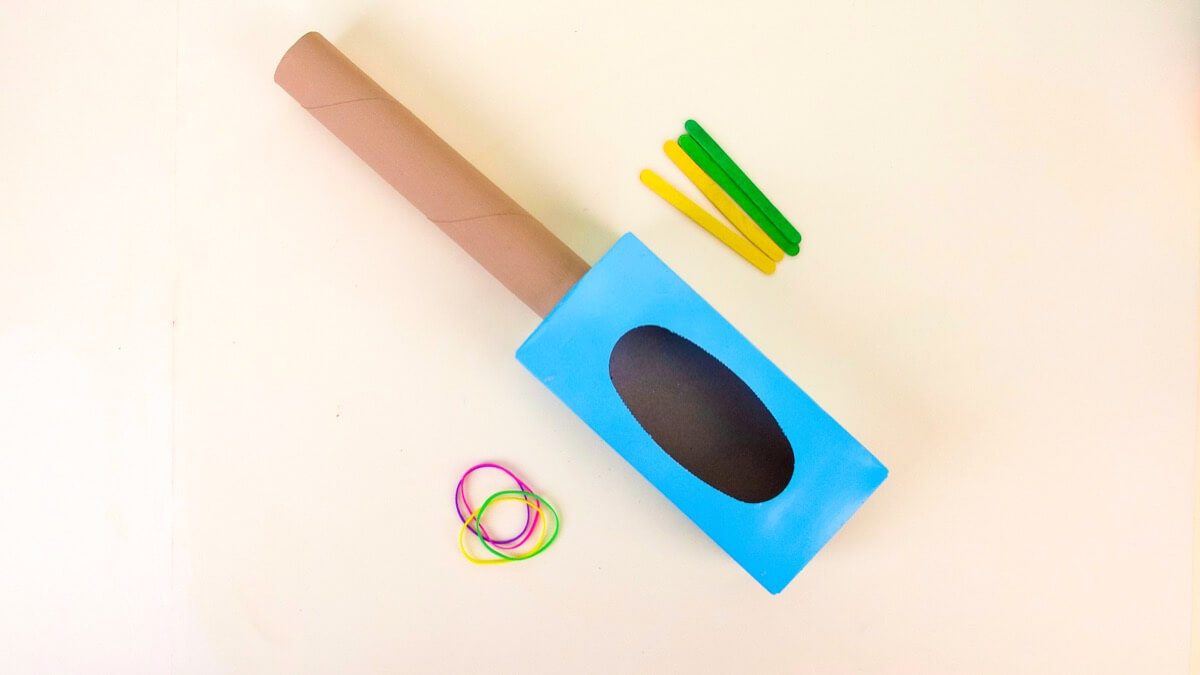
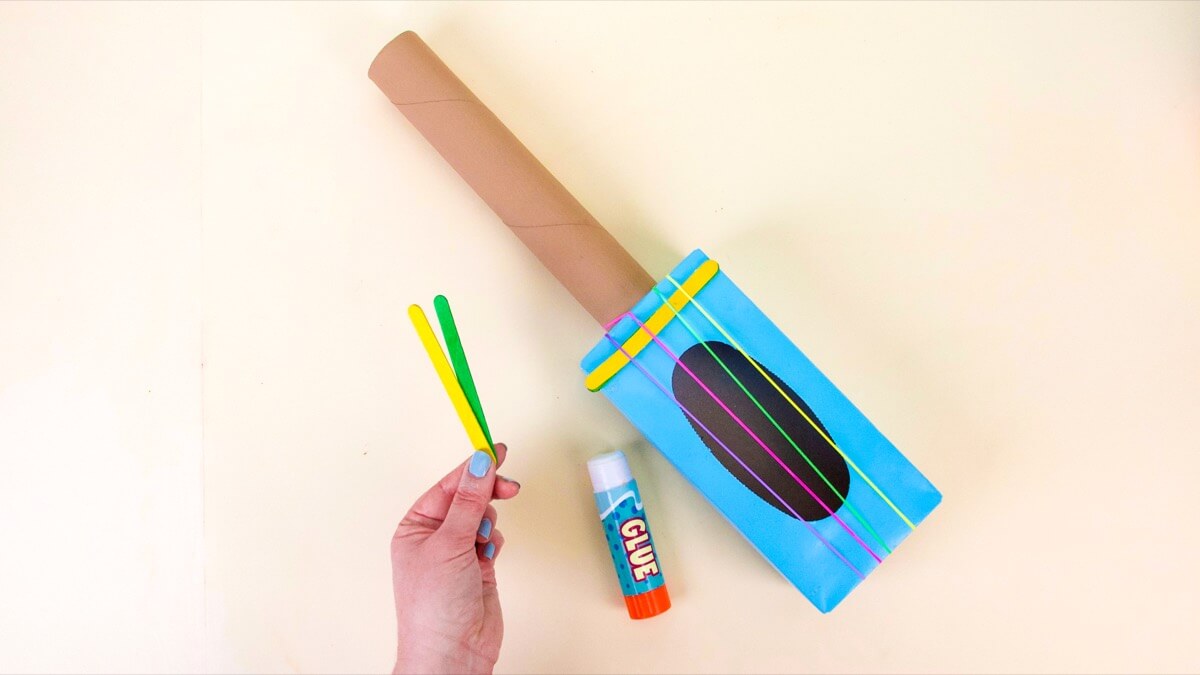
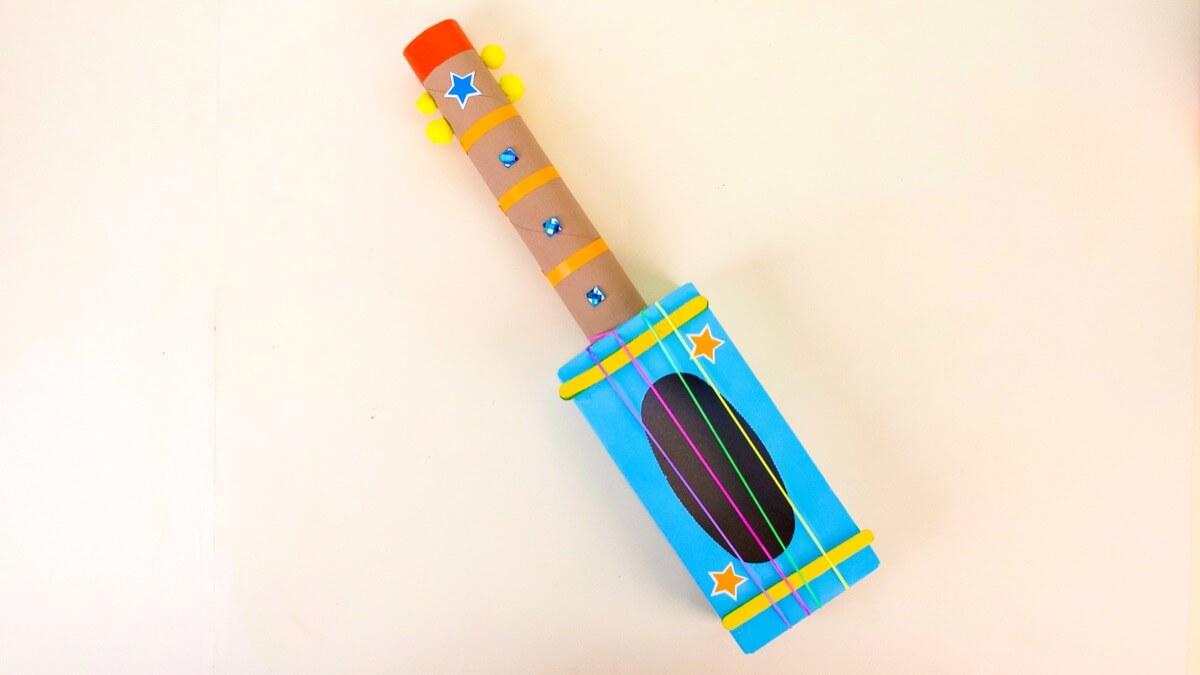
Add the strings by stretching them around the box, moving them over the opening in the guitar body as best you can. We put two strings on either side of the neck. Experiment with different sizes and thickness of rubber bands for different sounds! To help our guitar sound better, we have to move the strings off the body of the guitar. To do this, glue two popsicle sticks together to make them a little thicker, then slide them under the strings and push them to either side of the guitar body.
Decorate
Now your guitar is built, and it is time to decorate!
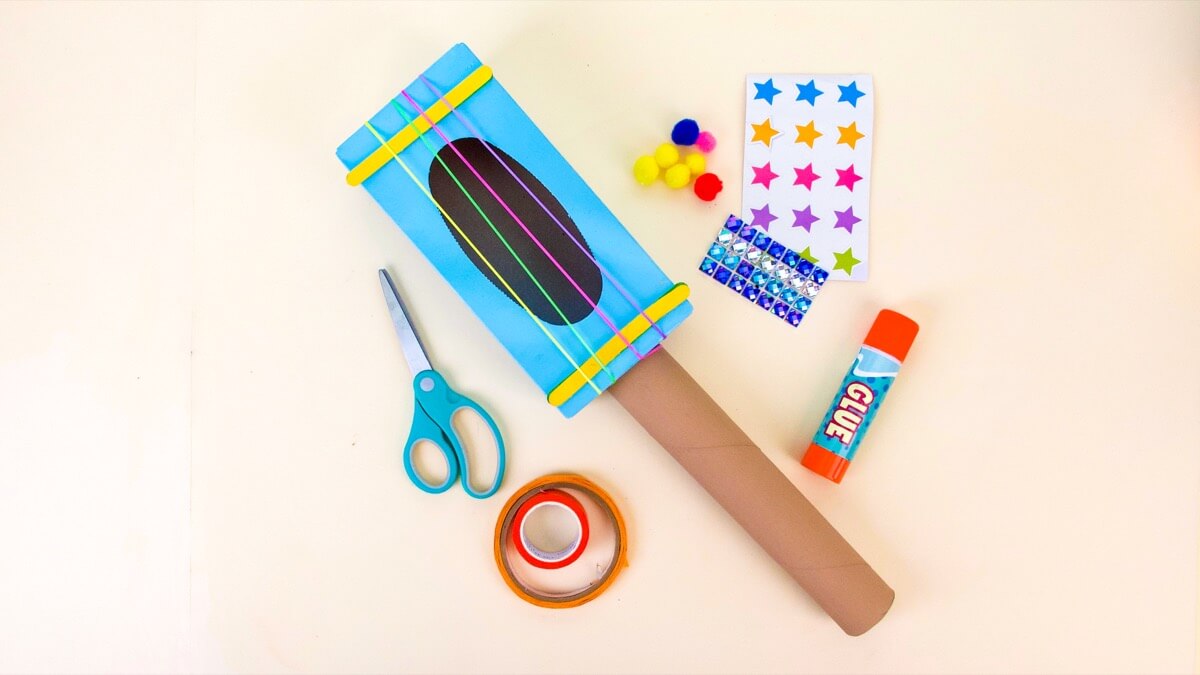
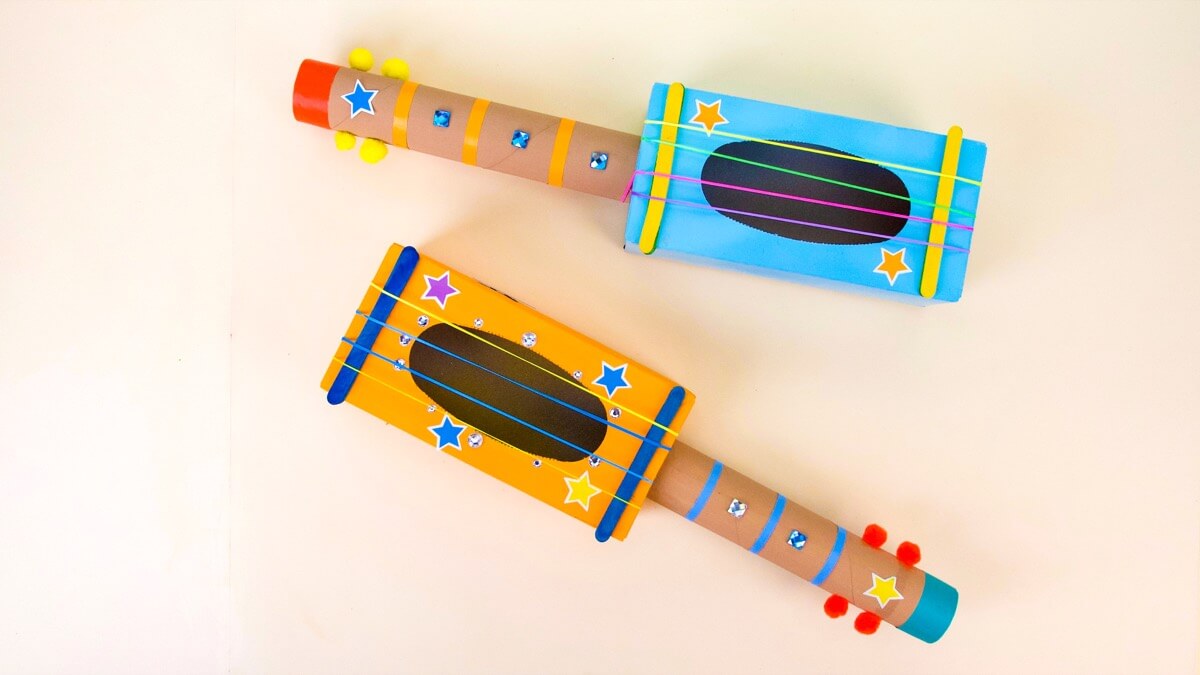
The lines on the neck of a guitar separate the frets. We used colorful tape and wrapped it around the neck to mark the frets. We used pom poms for the tune pegs, and decorated the body with stickers and gems!
Now you are ready to rock out with your guitar! Cue up Caitie and play along with her and her guitar!
For more fun with musical instruments, check out our theme page for making music filled with videos, activities and crafts for making music with little learners!
Don’t forget to follow us on Twitter, Instagram, Pinterest, and Facebook!
Original content © 2021 Super Simple. Not to be reprinted without express written permission. Terms of Service.