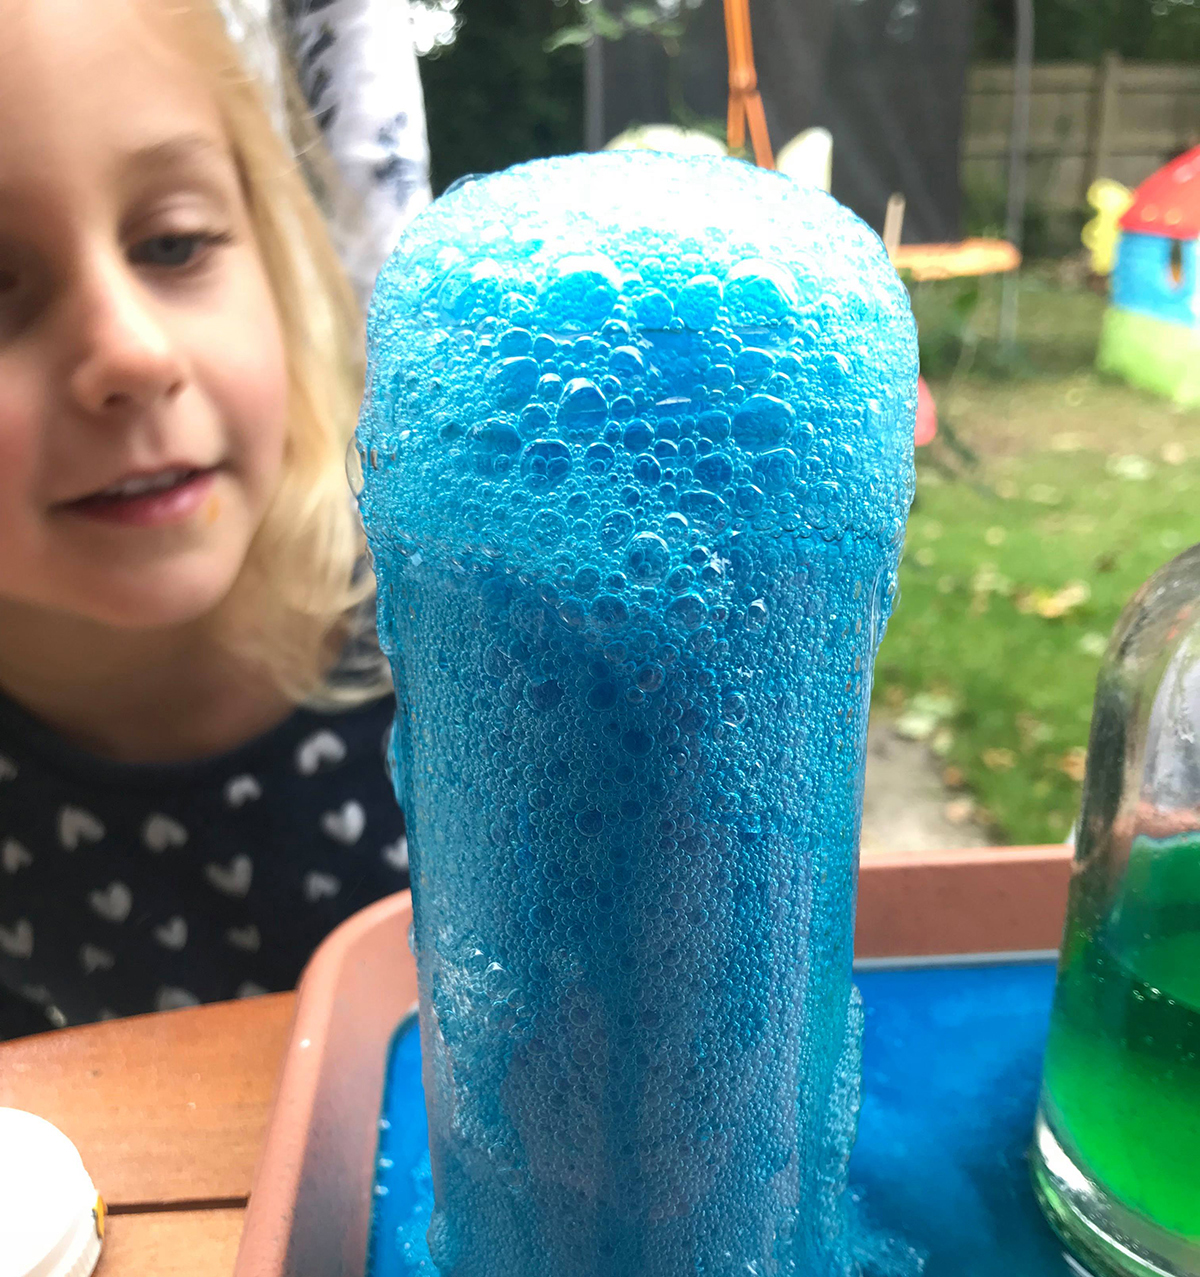
‘Then she filled up her cauldron and said with a grin,
“find something everyone!
Throw something in!”’
– Julia Donaldson, Room on the Broom
Depending on where you live, Fall/Autumn has fallen on the land. The nights draw in, the sweaters and thermals have been retrieved from the back of the cupboard and the pumpkin spiced lattes have resurfaced. We love this time of year. As October slips by, porches become scattered with wreaths, pumpkins of all sizes and depending if you are that way inclined, skeletons, cauldrons, spider webs and the like magically fill front gardens. Soon the streets will be scattered with many little (who are we kidding, and big) people dressed in costumes; from fairies and teddy bears to Frankensteins and wizards. Anything goes as long as you are wearing silly clothes!
To really get in the mood of All Hallow’s Eve, why don’t you join us in creating some super simple AND fun Potions. Depending on how stocked your kitchen is, you may not even need to buy anything to do this. Always a win in our books!
The Science:
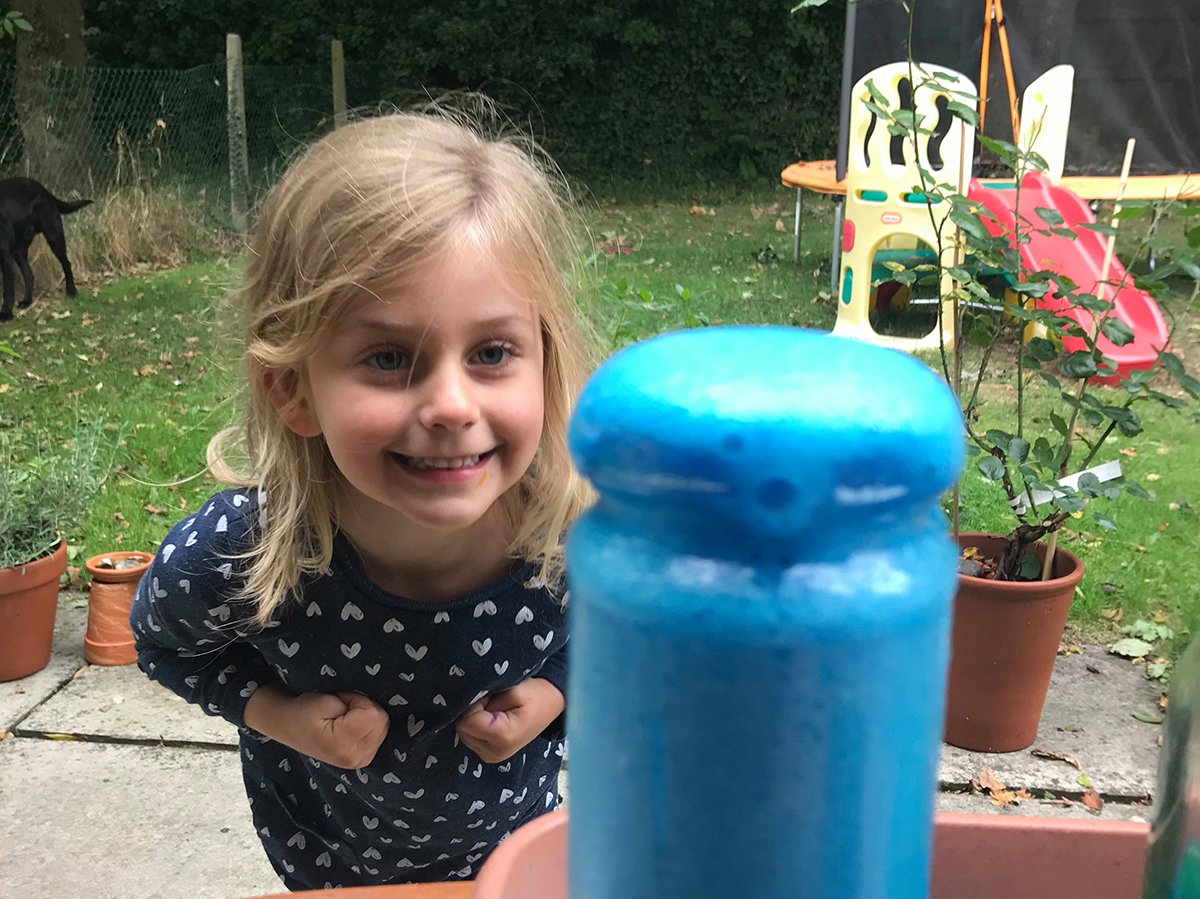
Now though we would probably all like to pretend our potion making is entirely magic, alas it isn’t. Without making it complicated, here are the basics. When you mix the baking soda and the vinegar they react with each other because they are happy to see each other. The result of their happy union is the creation of carbon dioxide. In science speak, when the base (the baking soda) and the acid (vinegar) mix they create the gas, carbon dioxide (the foaming potion).
So mischief makers, now that the ‘work’ bit is done,
read on to find out how to have the fun!
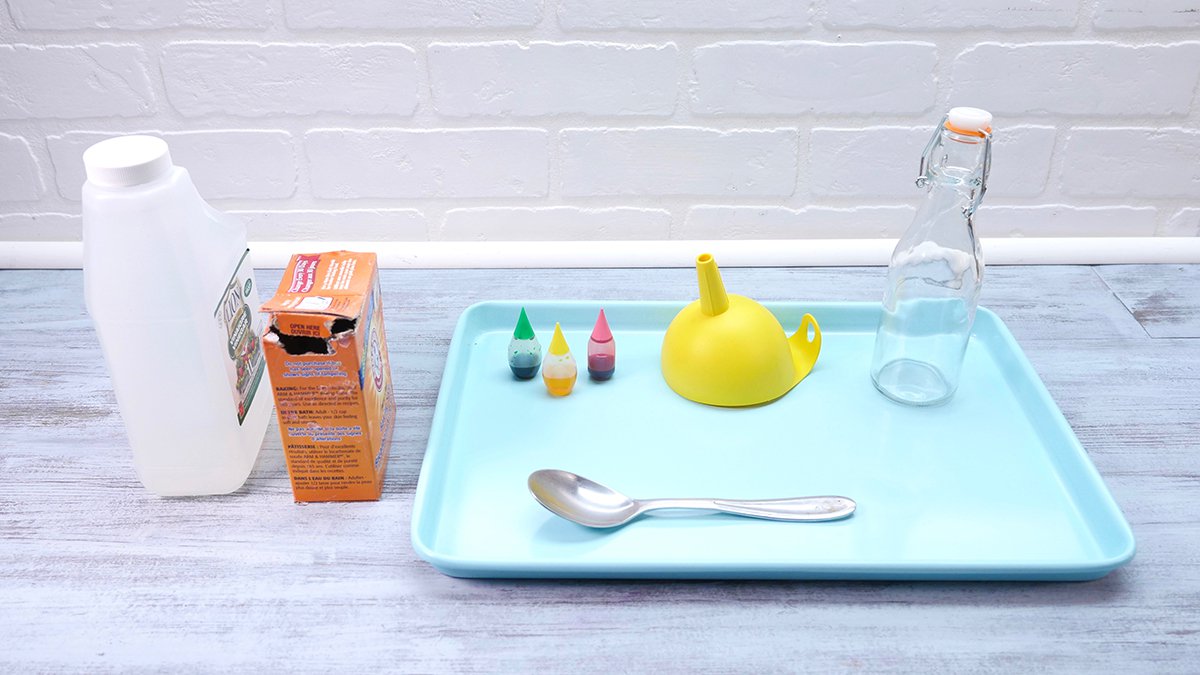
What you will need:
- Baking Soda
- Vinegar, we used the cheapest clear distilled one we could find
- Food coloring
- Recycled glass bottles and jars, they can be the same size or different. We used different sizes to have fun with how they would all look and bubble… Plastic cups/vases/mugs are good alternatives too.
- Droppers/spoons/jugs
Instructions:
- Depending on how many glass bottles you will be making, fill that many cups with vinegar and colour each one with a different food colouring.
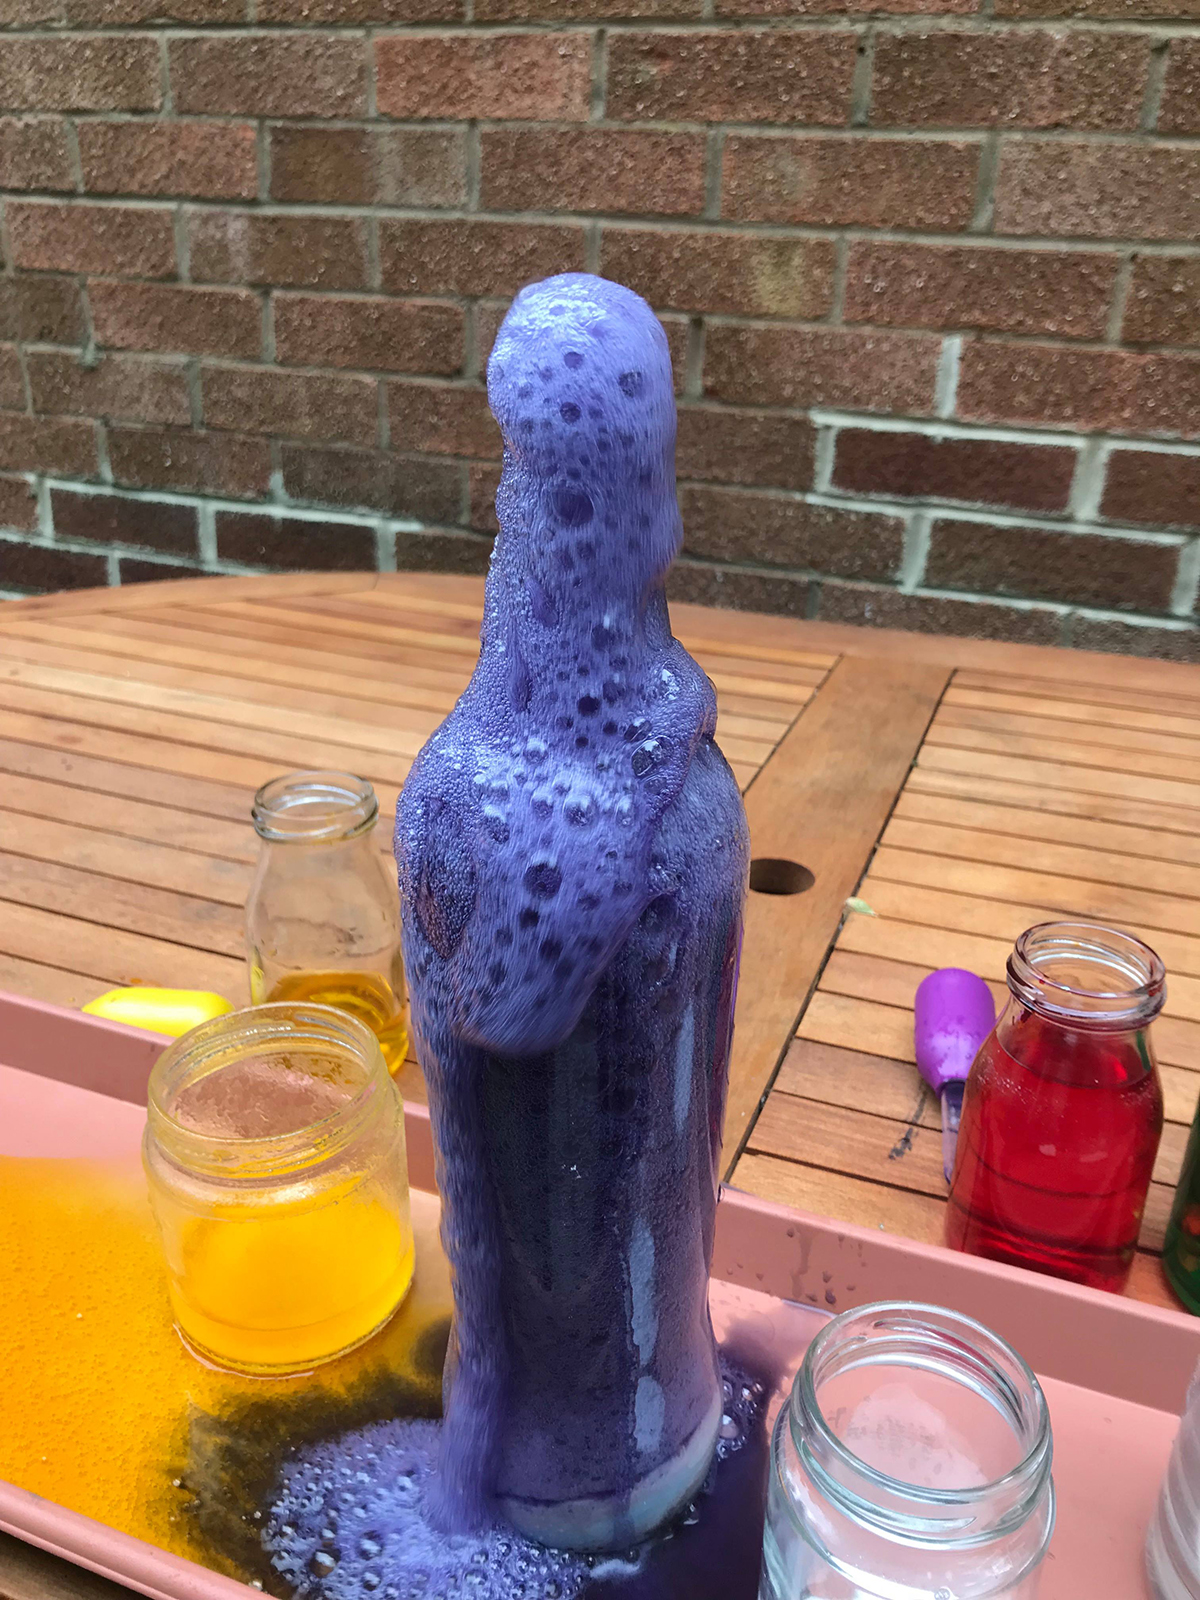
- In each glass bottle put some baking soda into it. The bigger the bottle or jar, the more baking soda you need to put in, the smaller the bottle or jar, the less you need to put in. The more baking soda you have the more ‘explosion’ you will get. Getting the right amount will be down to trial and error depending on the size of your glassware.
- Set up your glassware somewhere, where you aren’t going to be worried about the mess. There will likely be a lot of liquid and colouring and you don’t want anything getting stained. A baking tray is adequate, or splatter mat on the floor should be fine too. We used a plant tray and did it in the garden.
- If you want your potions to all happen at once, you will need to work together so that you all add the vinegar into the bottles at the same time. Use whatever implement you have decided to use, whether that is a jug, spoon or dropper. Some will take a little bit longer to work. If you use a jug the effects will happen immediately, a dropper, depending on its size may take a while. Why not film it so your littles can watch it happen again and again. They’ll never bore of it!
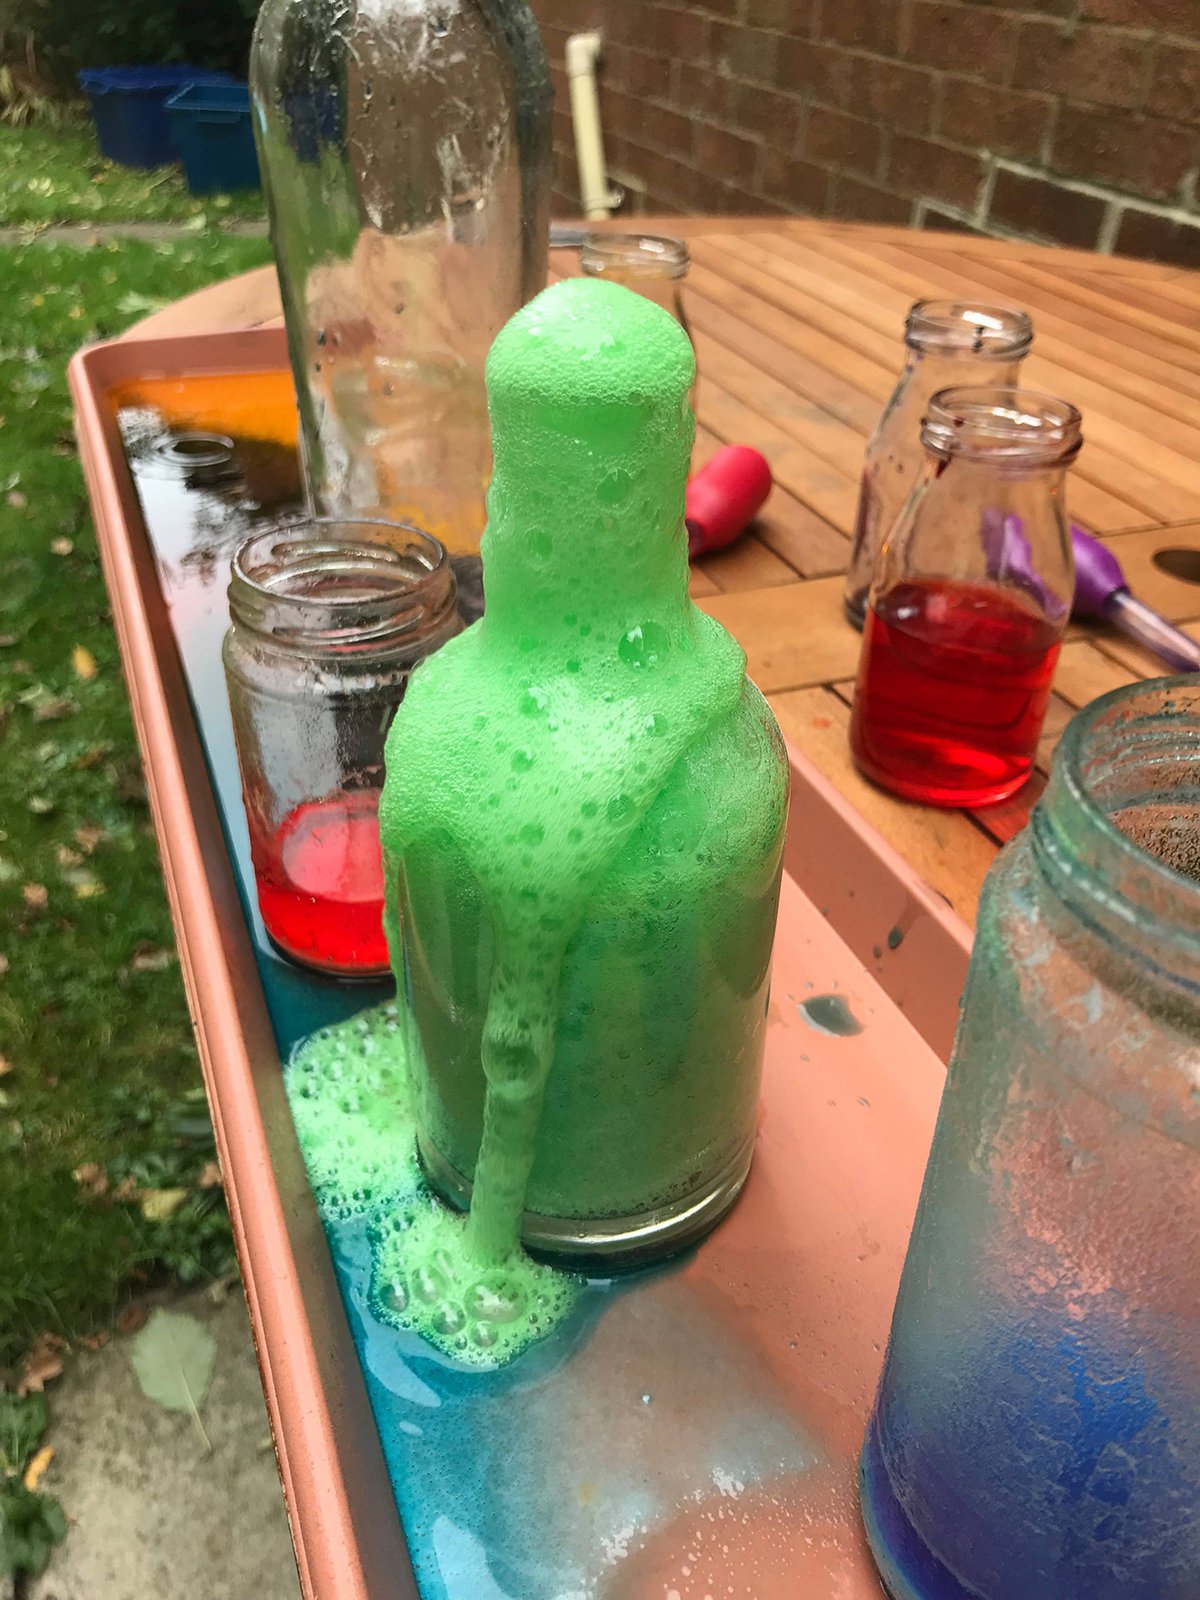
So there you have it, your very own potion making class. Enjoy the hubble-bubble and don’t forget to share your potions on social media! We want to see them!
Don’t forget to follow us on Twitter, Instagram, Pinterest, and Facebook!
 Contributor
Grace Selous Bull is an arts education author and freelance blogger. Her book, ‘Potty About Pots: arts and crafts for home and school’ is aimed at children from 5-12 years old and takes them through a journey of ceramics through time. She is a full time Mummy of two girls, both of whom love being creative, and is married to her husband, Andrew, who does not.
Original content © 2018 Super Simple. Not to be reprinted without express written permission. Terms of Service.

