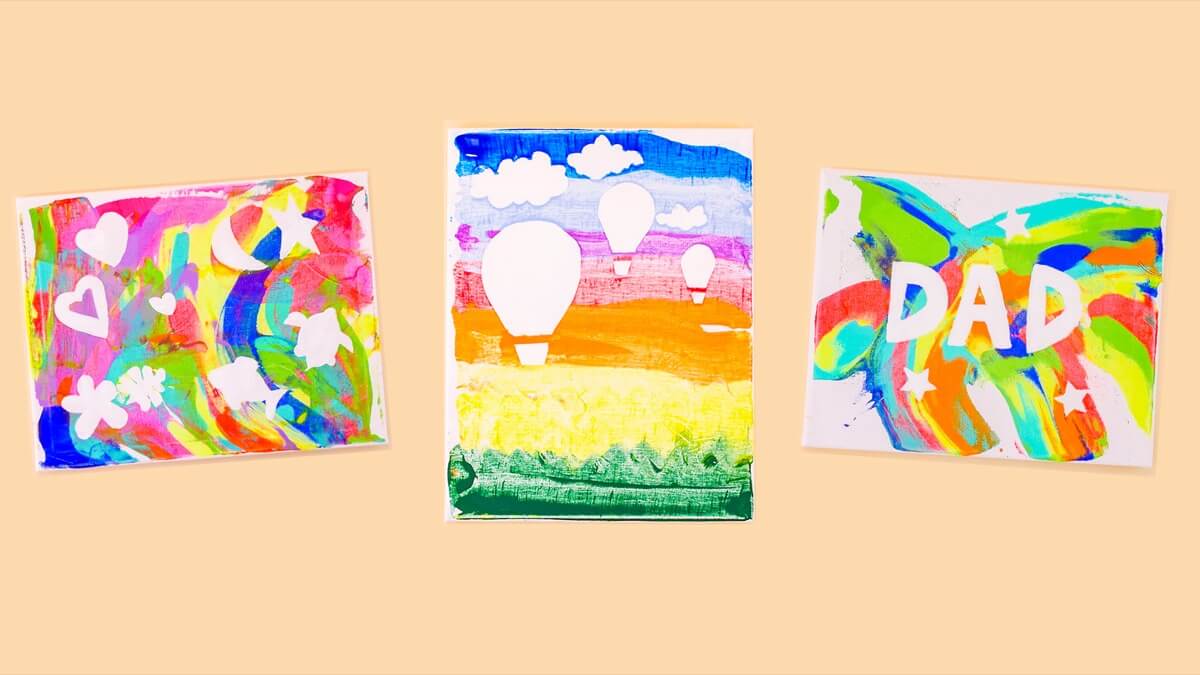
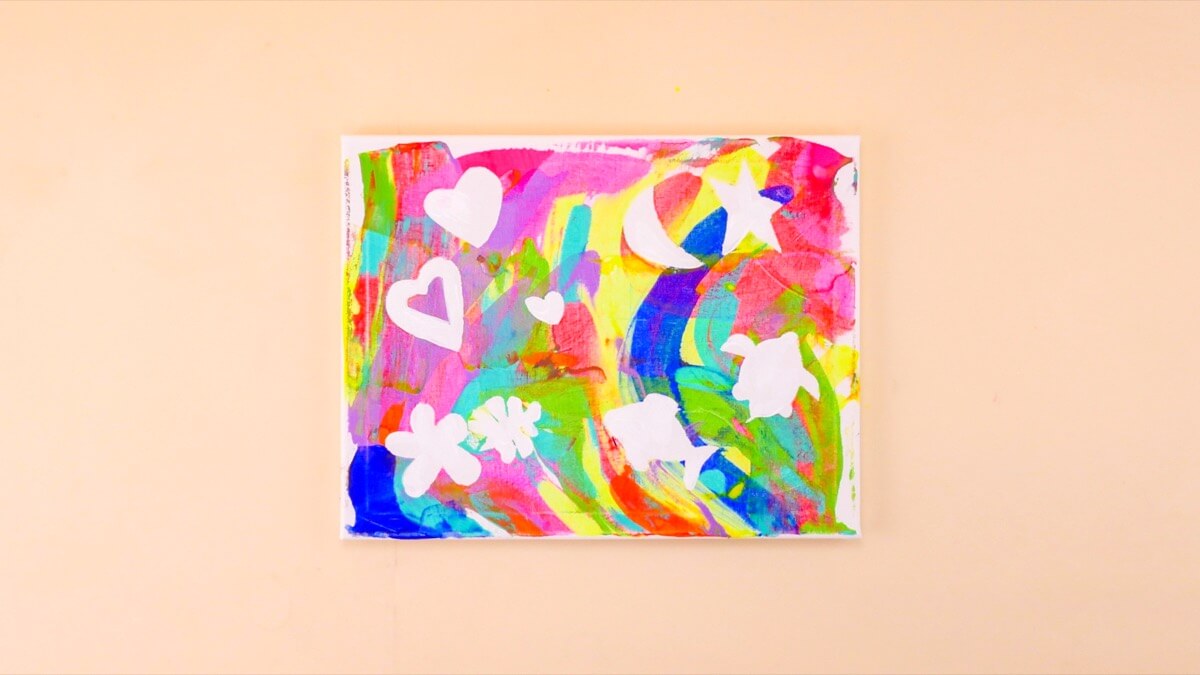
This Reverse Stencil Craft makes beautiful crafts look easy – and it is! In this craft we use stencils in reverse and layer paint over top, then when we remove the stencils, we have an amazing piece of art. Little ones can layer the paint any way they like using stamps, paint brushes or a plastic lid to smear the paint, like we do in this version. It’s a great opportunity to talk about colors as you add colors of paint. You can make a pretty scene, like we did of hot air balloons, but it’s also a great opportunity to practice shapes, numbers and letters! Cut out circles, squares, triangles, diamonds, hearts and stars stencils to practice shapes on your canvas. Once your artwork is done, you can hang it and point out the shapes every time you pass by for extra shape practice.
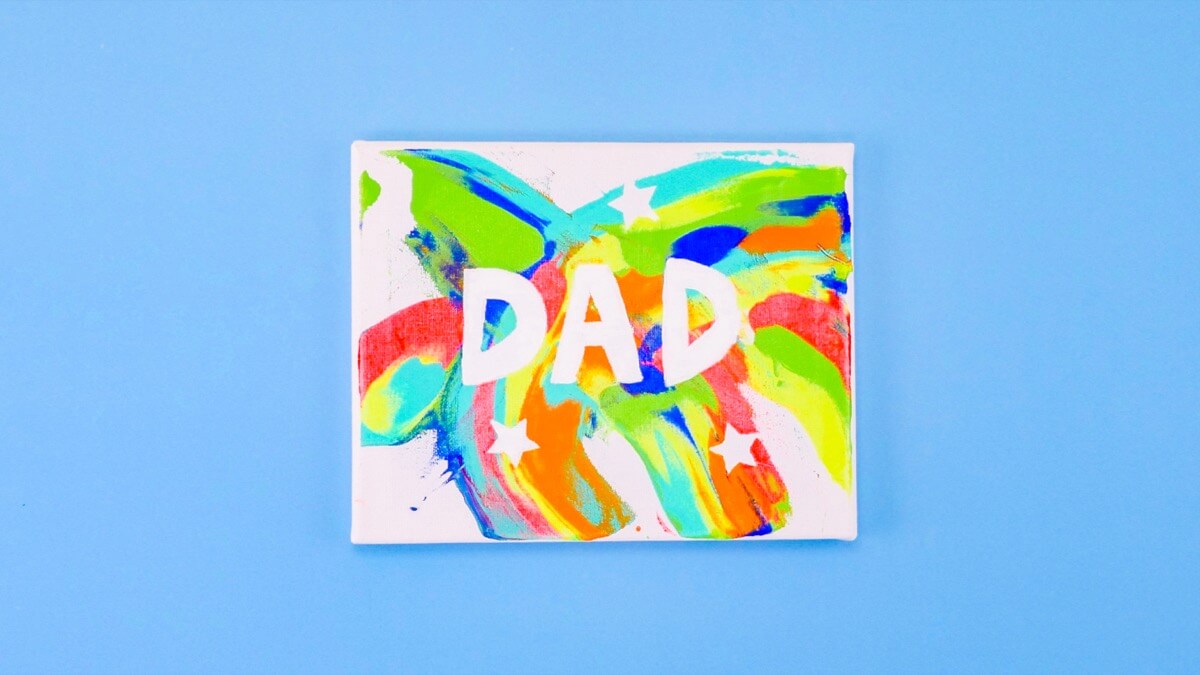
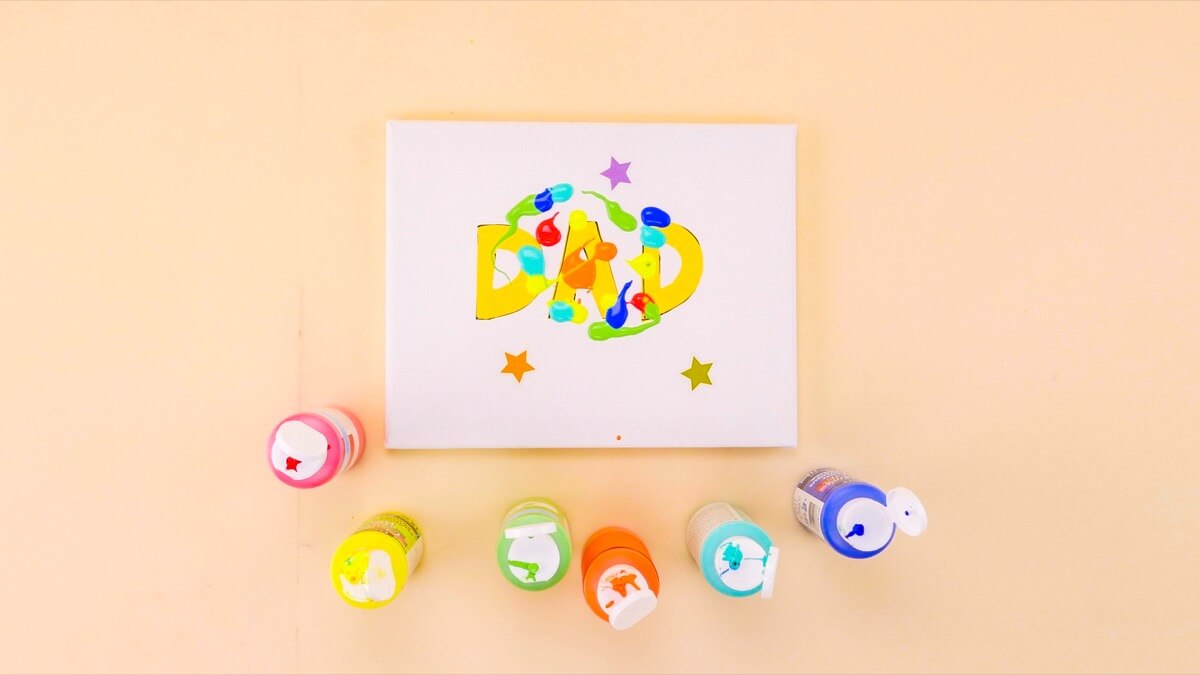
You can also use this technique to celebrate someone special in your life by spelling out their name, like we did to celebrate Dads on Father’s Day!
The learning opportunities are endless! Little ones will have a lot of fun putting this craft together, you might just be surprised how beautiful the finished product is.
Things You’ll Need
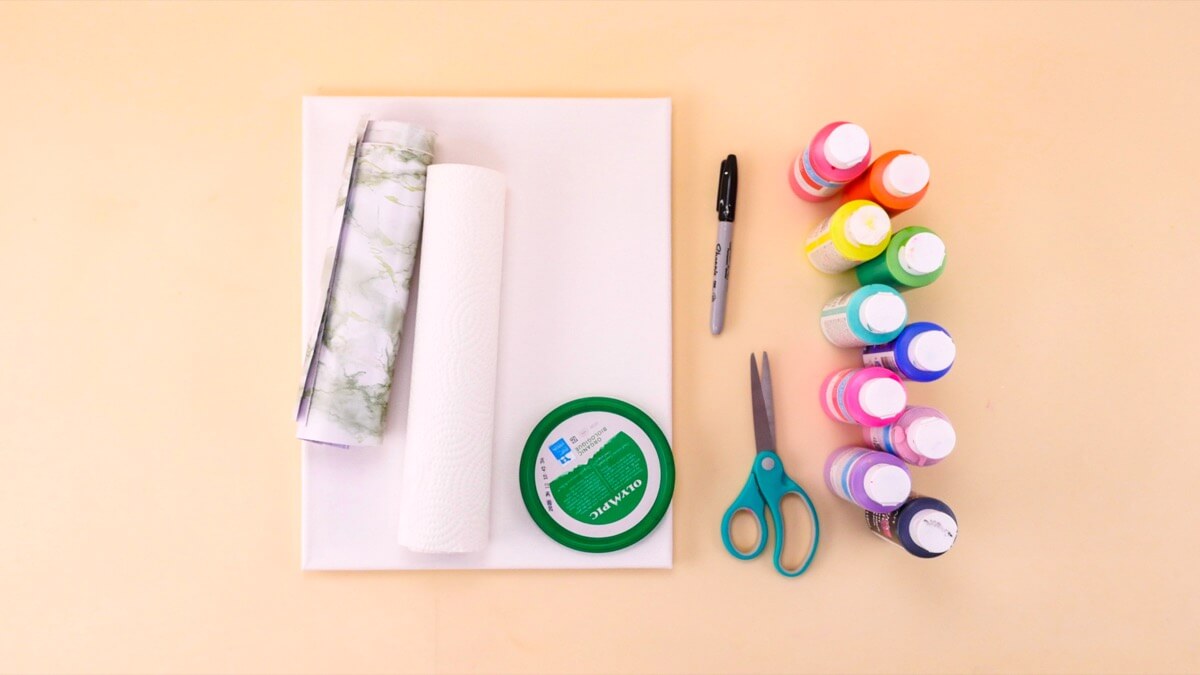
- Something to make your stencils – you can use stickers, contact paper, tape, adhesive vinyl or mack tack. We used contact paper.
- Something to paint on – either a canvas or card stock. We used a thin canvas.
- Craft paint
- Piece of plastic that is flexible – a lid of a food container, like yogurt, works well.
- Tape
- Paintbrush
Steps
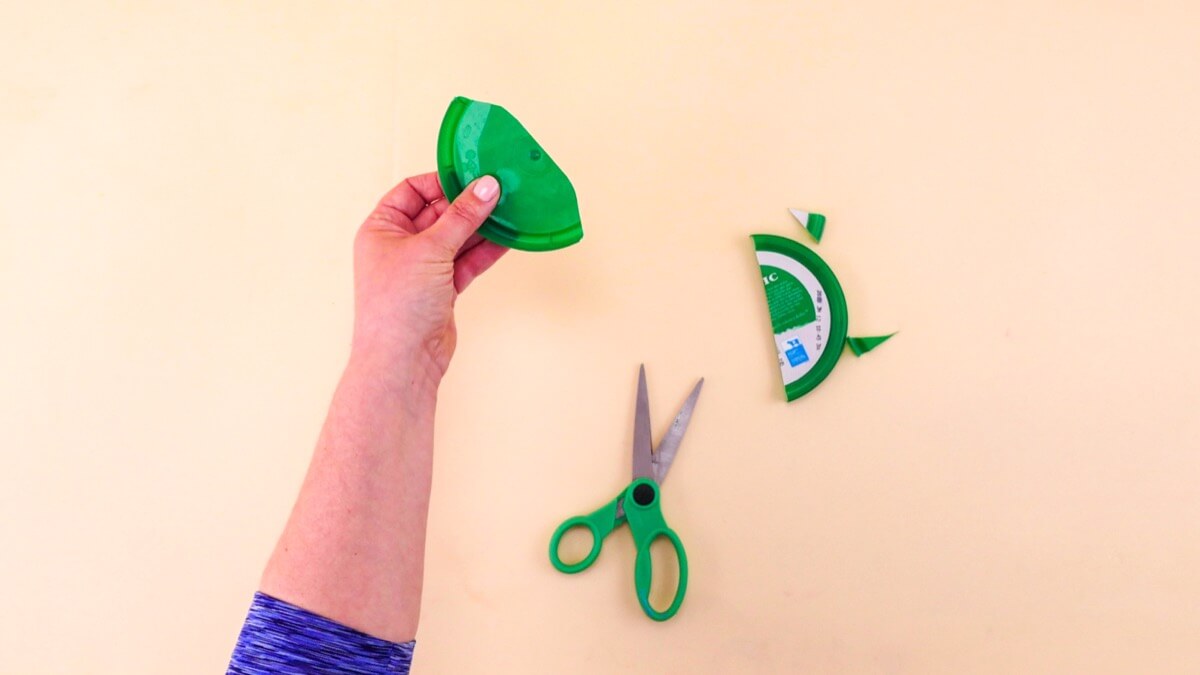
For this craft, we smear the paint over the stencils. To do that we made a homemade paint smearing tool from a plastic lid! To make it cut a flexible lid in half and taper off the sides with scissors. This shape helps to push the paint around the canvas or paper. You can also use a big paintbrush or stamps to cover your paper in paint – just make sure you can cover all your stencils easily enough!
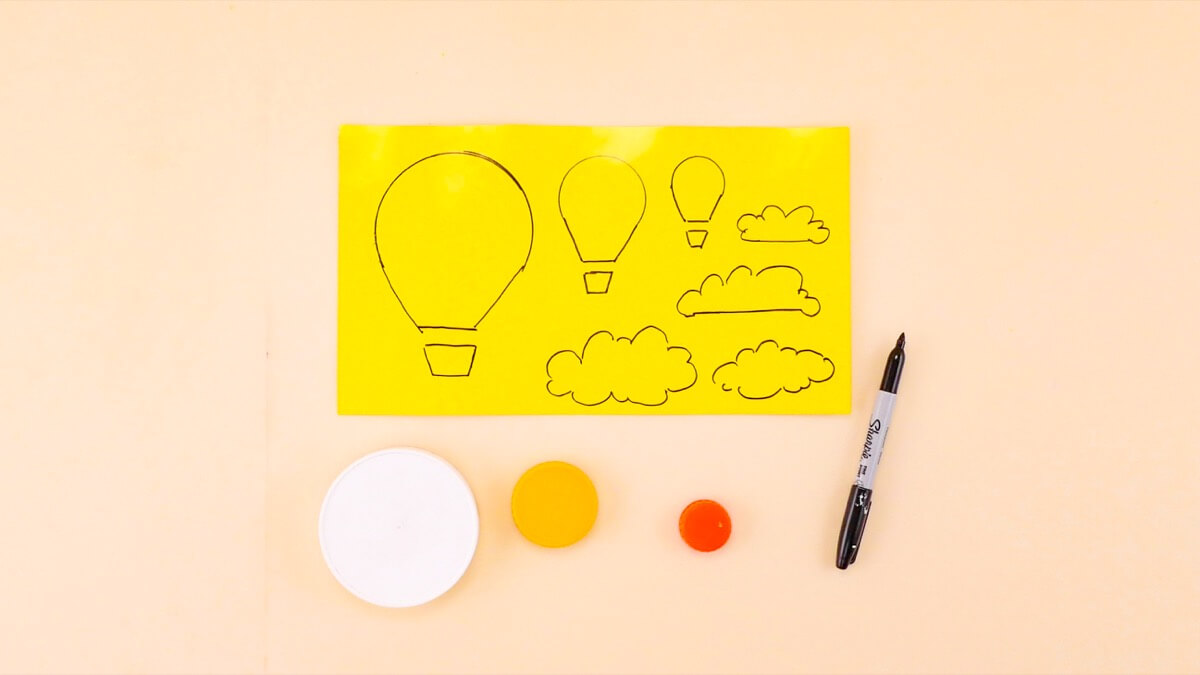
Now we can make our stencils! Draw what you would like for your stencils onto contact paper or sticky vinyl. We made hot air balloon shapes but you can do anything you like – shapes, letters, or numbers! Feel free to trace items to make your shapes. Instead of contact paper, you could also use stickers or tape to create your stencil shapes.
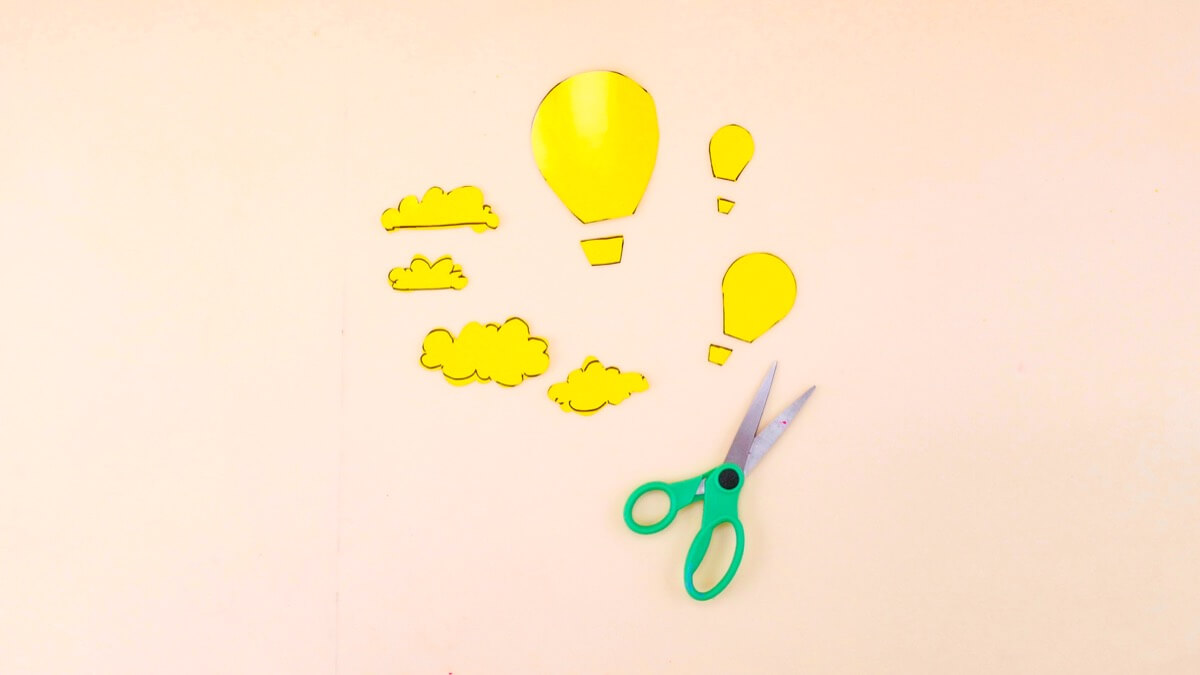
Cut the shapes out.
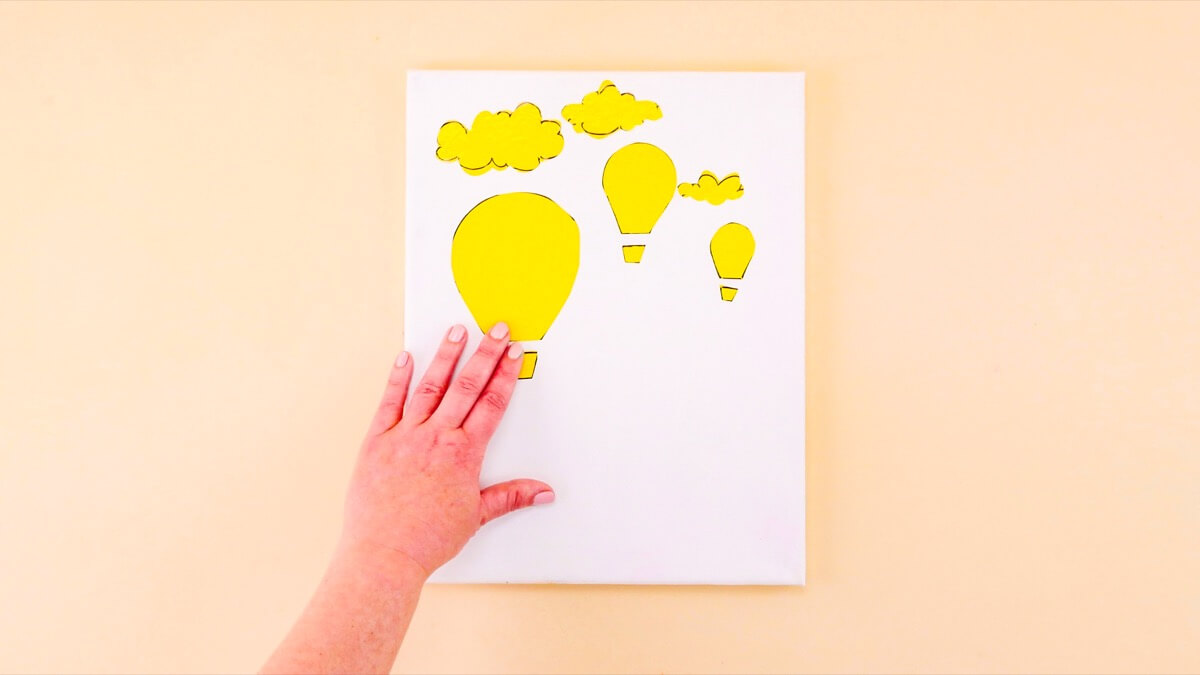
Start by sticking your stencils onto your canvas or piece of paper. Make sure the edges are stuck down properly so the paint goes over the stencil and not under!
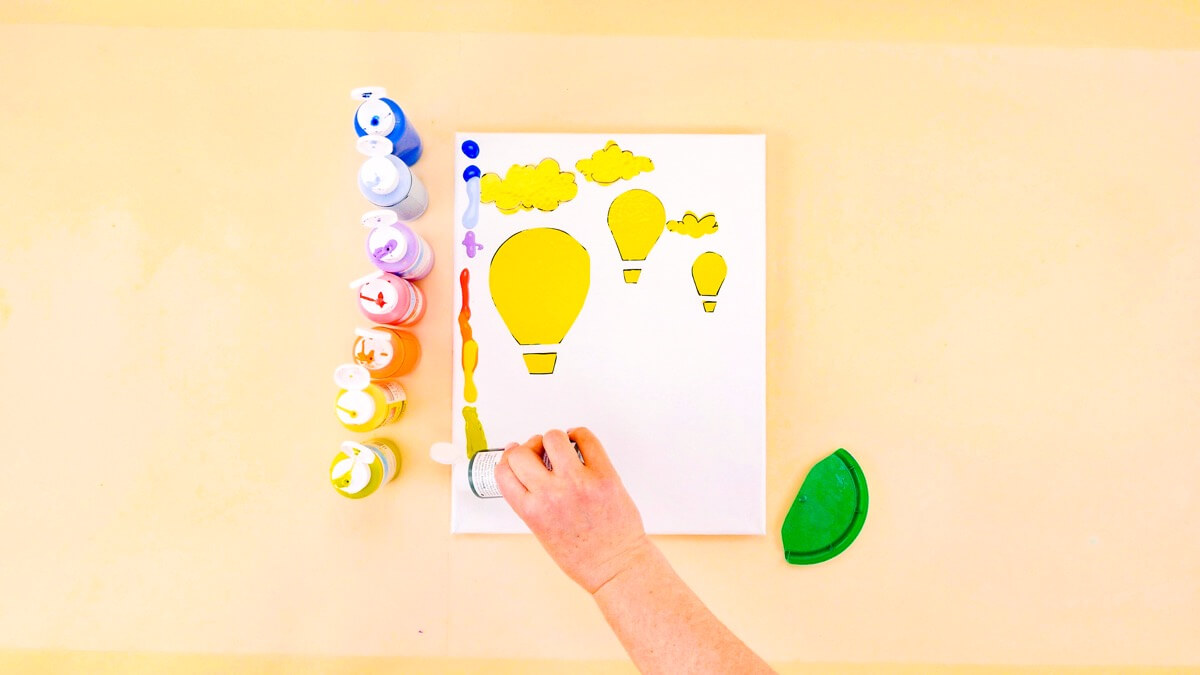
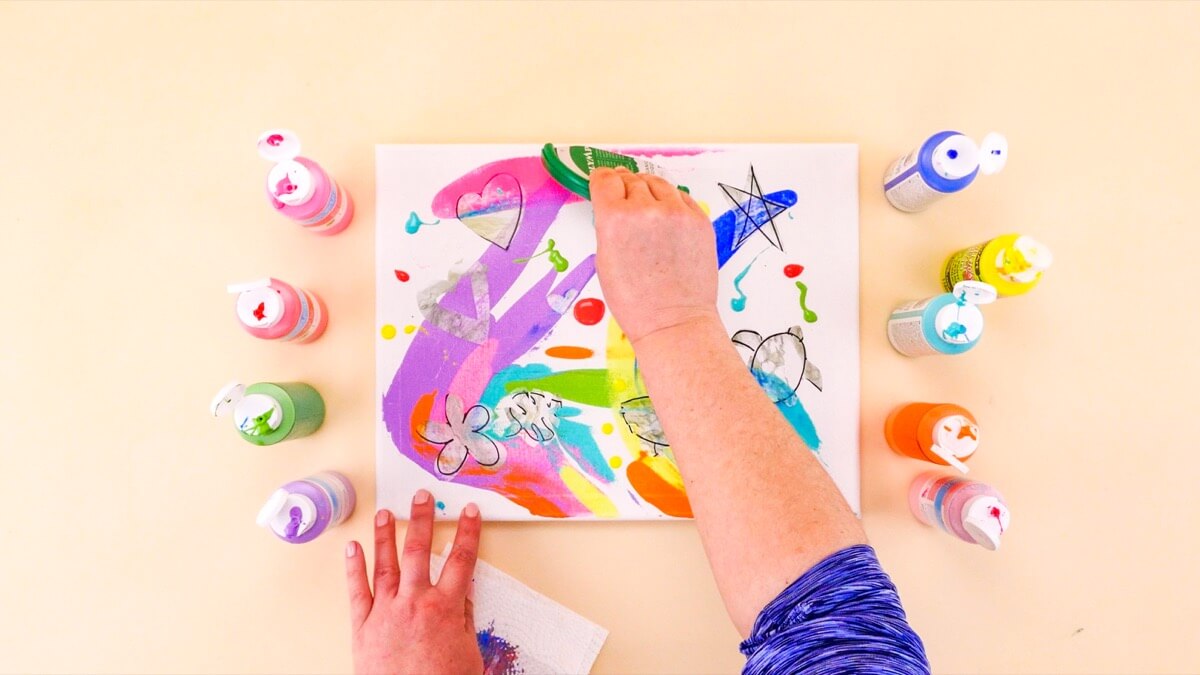
Squeeze some craft paint onto the canvas. Use any colors you like! This is a great time to get in some color practice!
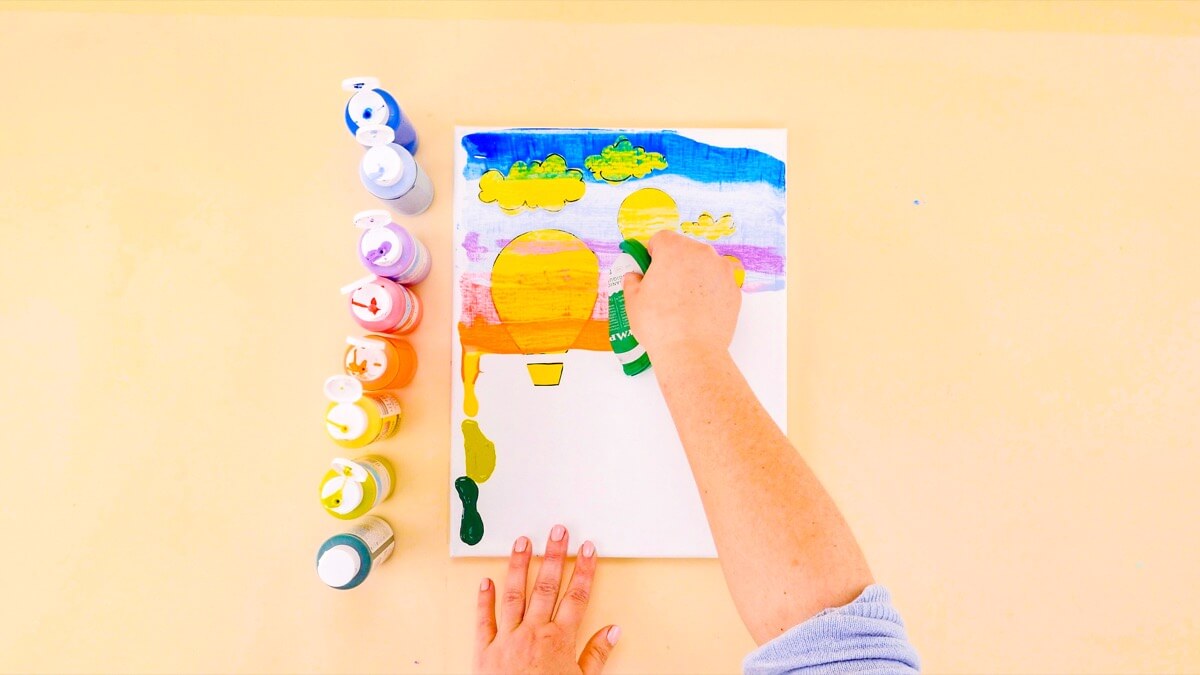
Encourage your little one to imagine how they would like the colors to move. Then swipe the paint across in broad strokes with your lid, and wipe the lid clean with a paper towel after each swipe. Pro top: avoid going over the same area twice – when too many colors mix it starts to look like mud!
You can squeeze your paint on one side of your canvas and spread it from one side to the other.
You can also squeeze your paint in the middle of your canvas and spread it all around.
Another technique is putting dots of paint in different spots of your canvas and spreading them around randomly. Just make sure you cover your stencils fully to get the right effect!
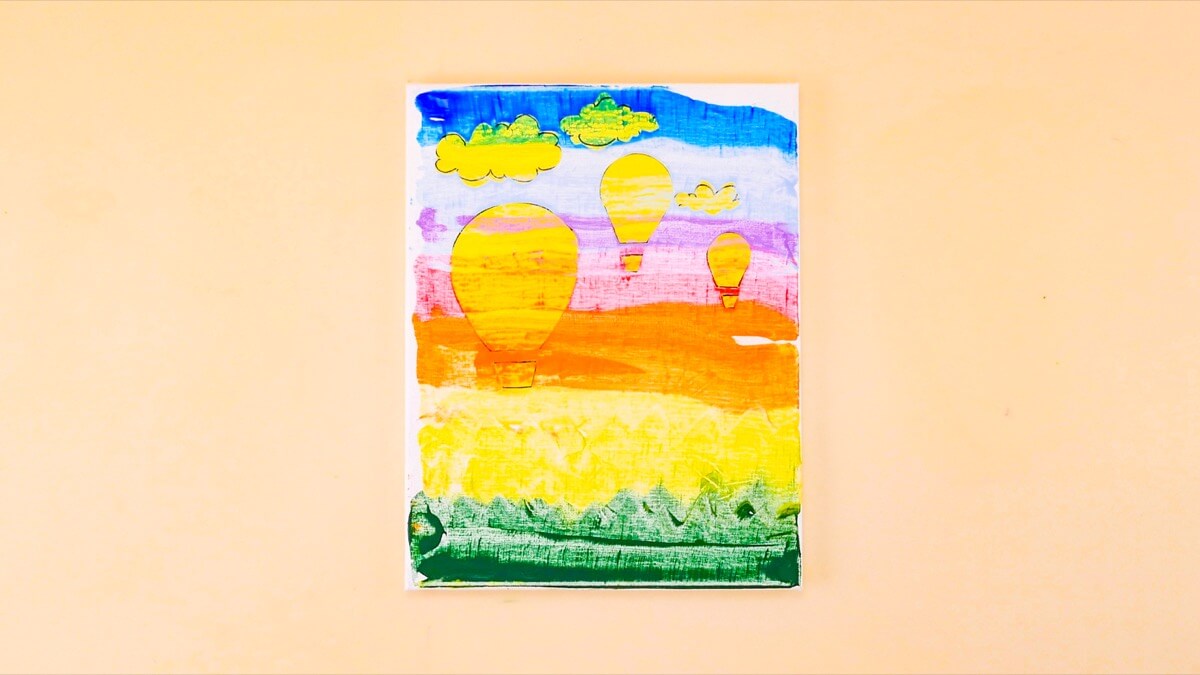
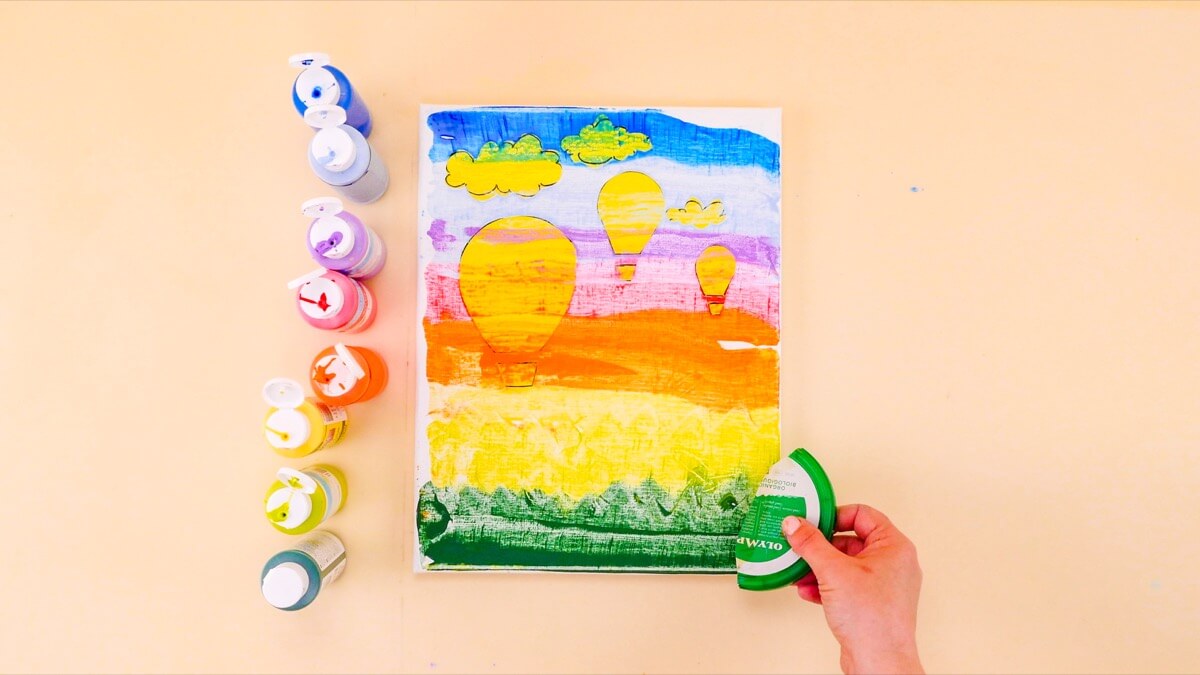
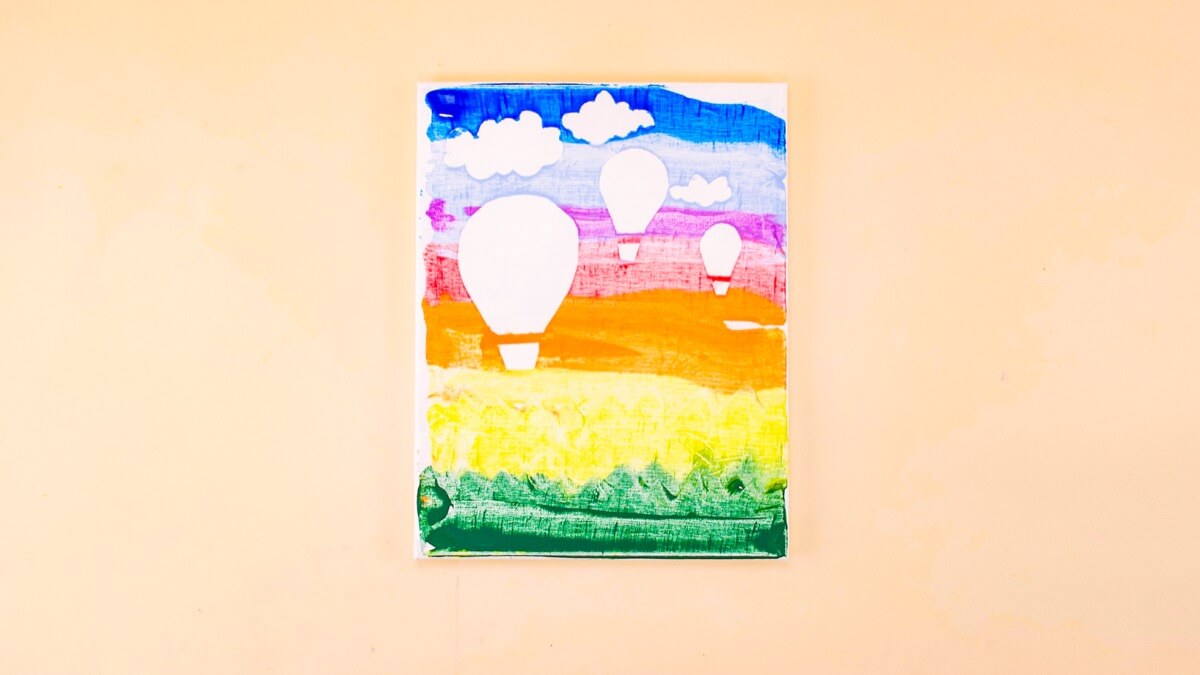
Leave the paint to dry and then remove your stencils to reveal your masterpiece!
Give it a try at home, we’d love to see your creations! Happy creating, and happy learning!
Don’t forget to follow us on Twitter, Instagram, Pinterest, and Facebook!
Original content © 2021 Super Simple. Not to be reprinted without express written permission. Terms of Service.