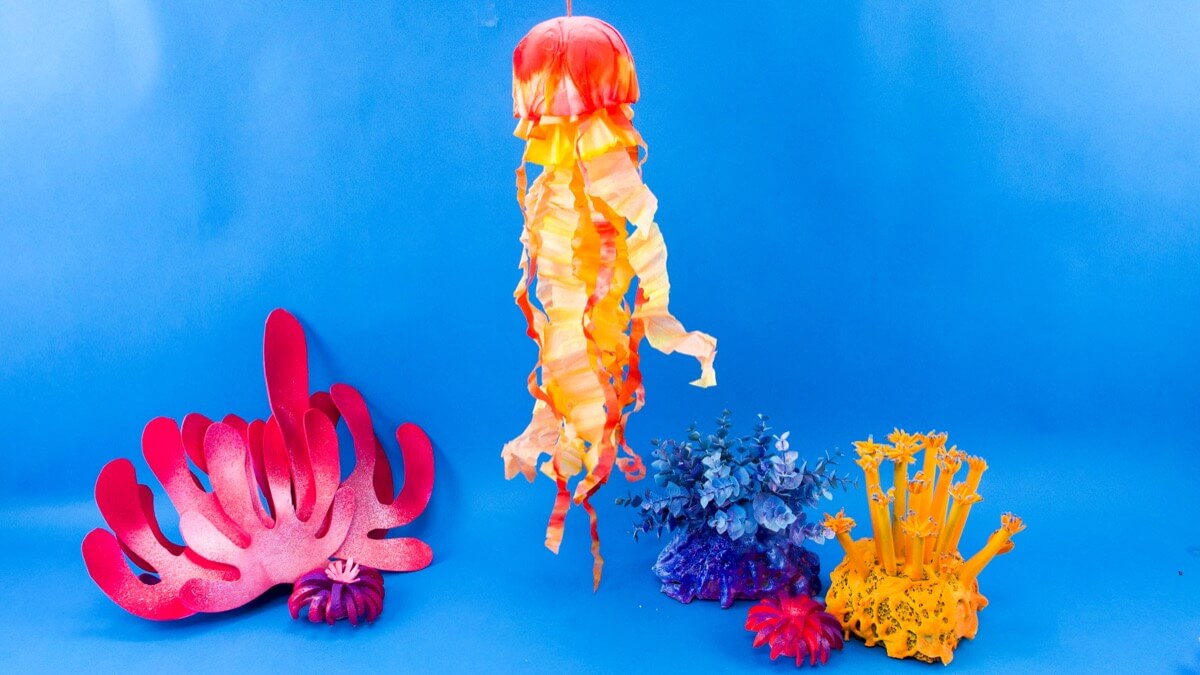
Jellyfish are one of the most wondrous creatures in the ocean. Did you know that some jellyfish can glow in the dark, they never get tangled up, and they have travelled to space? Wow!
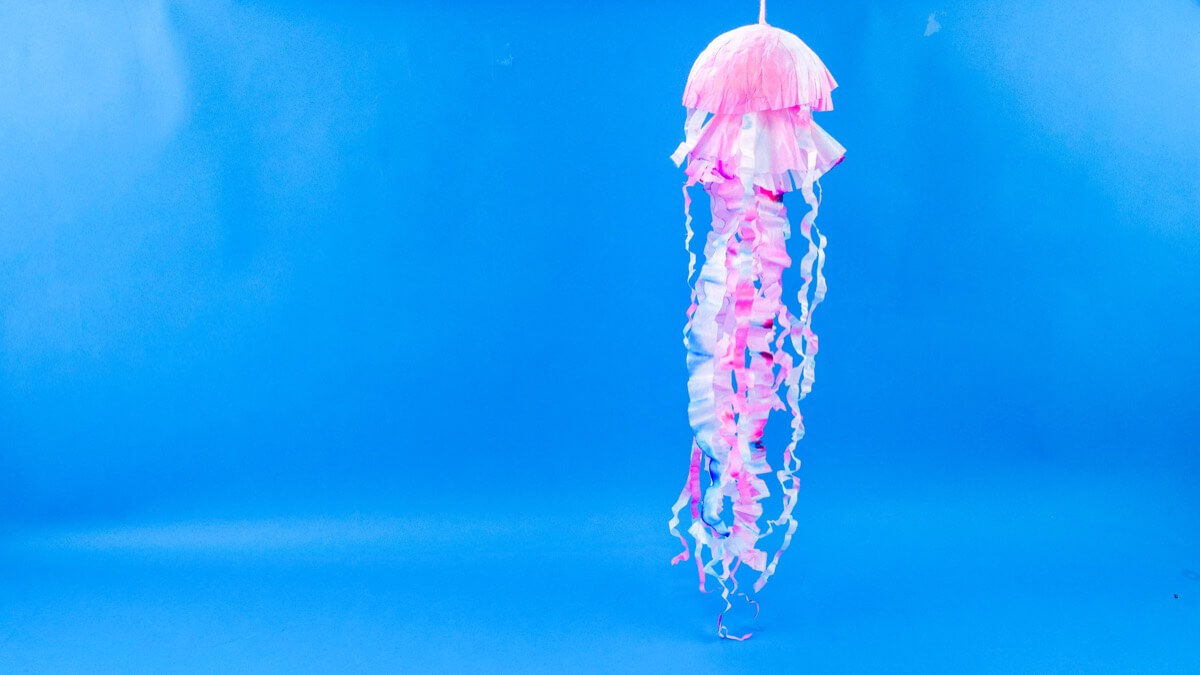
This beautiful craft requires no paint and is a great introduction to dye projects. Although some assembly is required, little ones can have fun dipping the coffee filters and watching their jellyfish come to life. The jellyfish craft makes a mesmerizing piece of decor or a fancy ocean-themed party background.
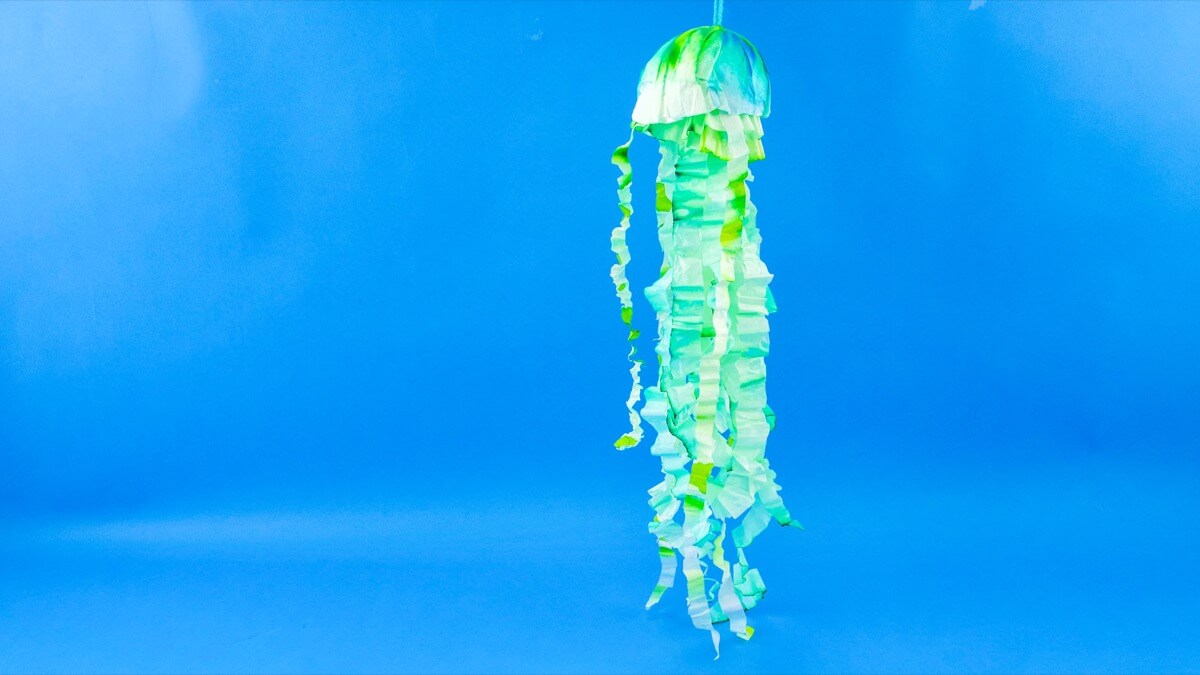
Making a range of colorful jellyfish starts a fun conversation about colors, while decorating the classroom with them will inspire students to learn more about ocean life. Let’s get started!
Things you’ll need
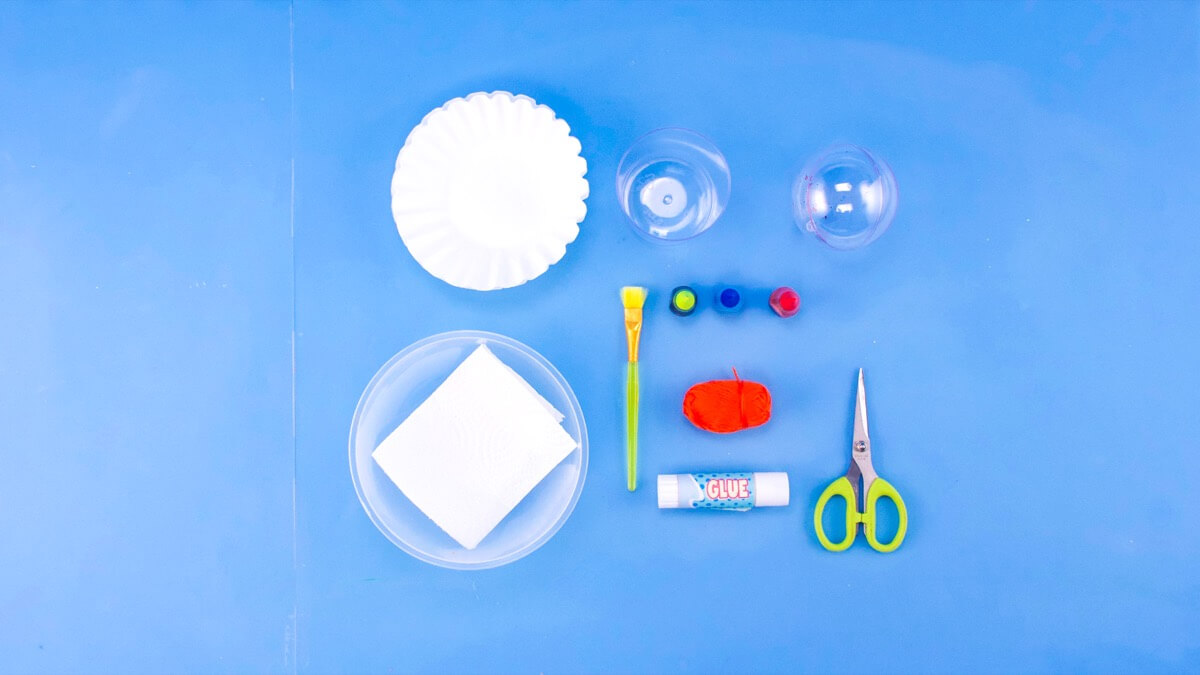
- White coffee filters, 11 per jellyfish
- Food colouring, 2-3 colours
- Paint brush
- 3” or 4” ball
- Pencil
- Scissors
- Glue stick
- Glass or cup
- Piece of yarn
- Mixing bowl
- Paper towel
Steps
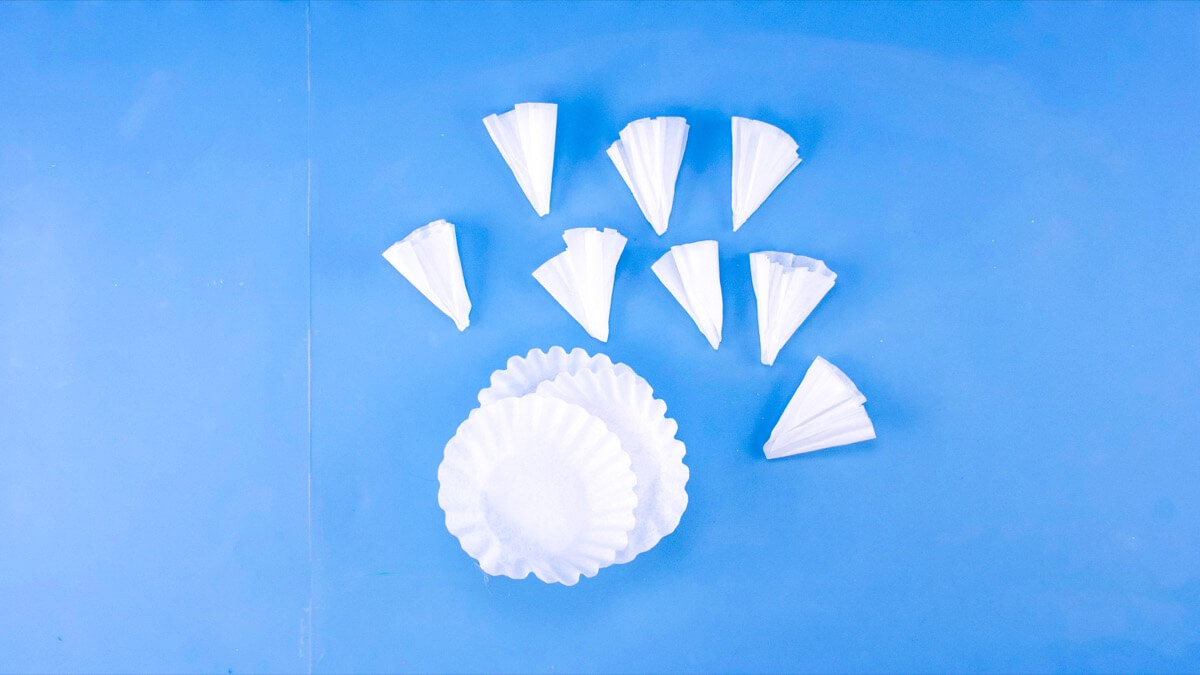
Three filters will be used for the head, five will be used as the oral arms, two for under the dome-shaped head, and one for the tentacles.
First, gently gather eight coffee filters into cone shapes. This will help give the jellyfish beautiful ruffles.
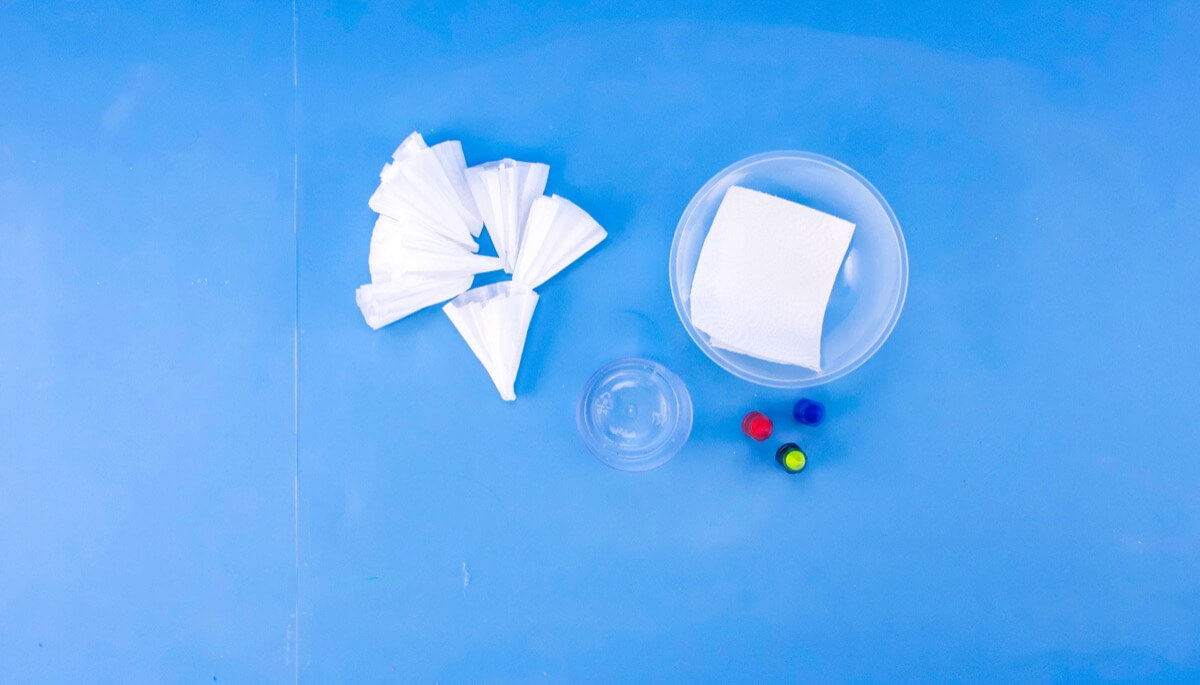
Prepare your mixing bowl by lining it with a piece of paper towel to absorb extra moisture. In a separate glass or cup, add about 1/4” of water.
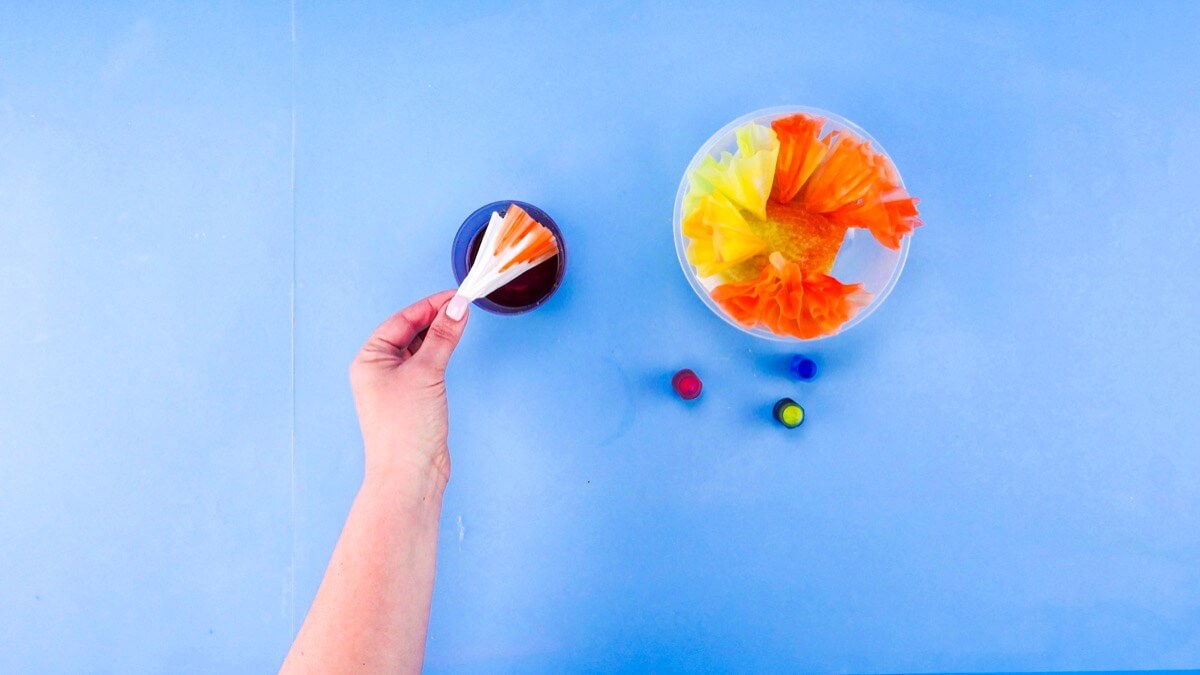
To make gradient colors, add two drops of the lightest shade of food coloring into the cup. Holding the point of your coffee filter, dip it into the cup until the colorful water is absorbed 1/3 up the filter.
Place filters with the point facing down into the mixing bowl to dry. Increase the number of drops for the second color as you dip the remaining filters.
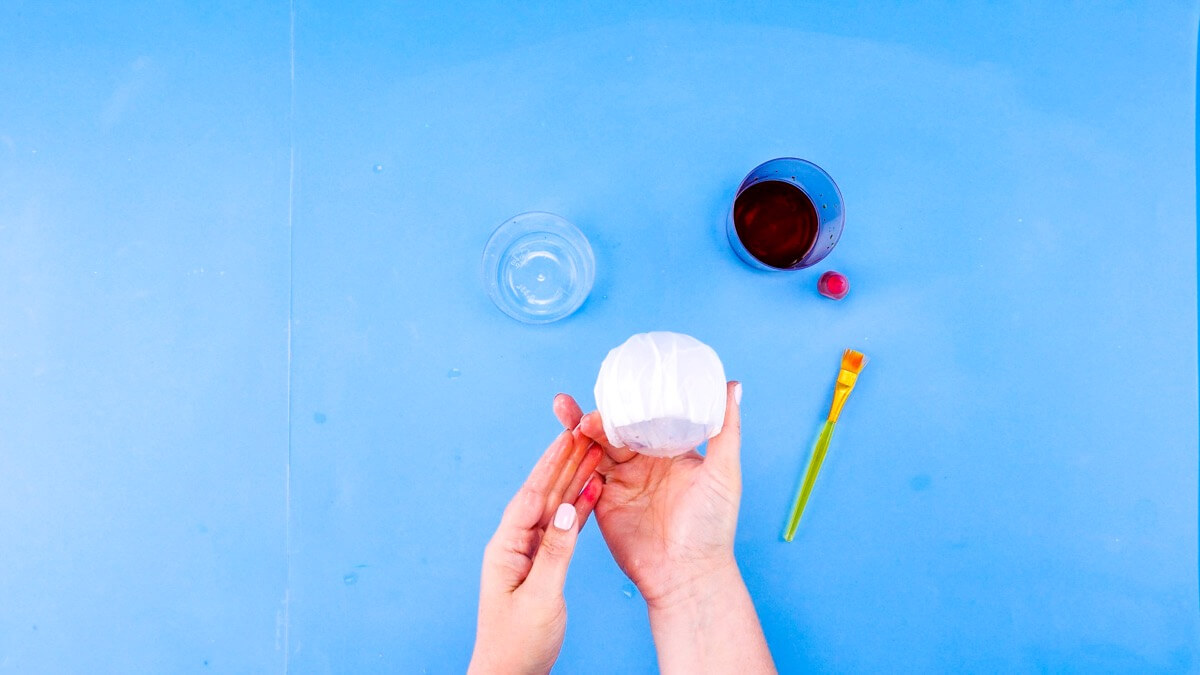
To make the jellyfish’s head, layer three coffee filters together. Wet the filters with water and form them around your 3” to 4” ball. We are using a clear acrylic ball. Smooth down the edges with your fingers.
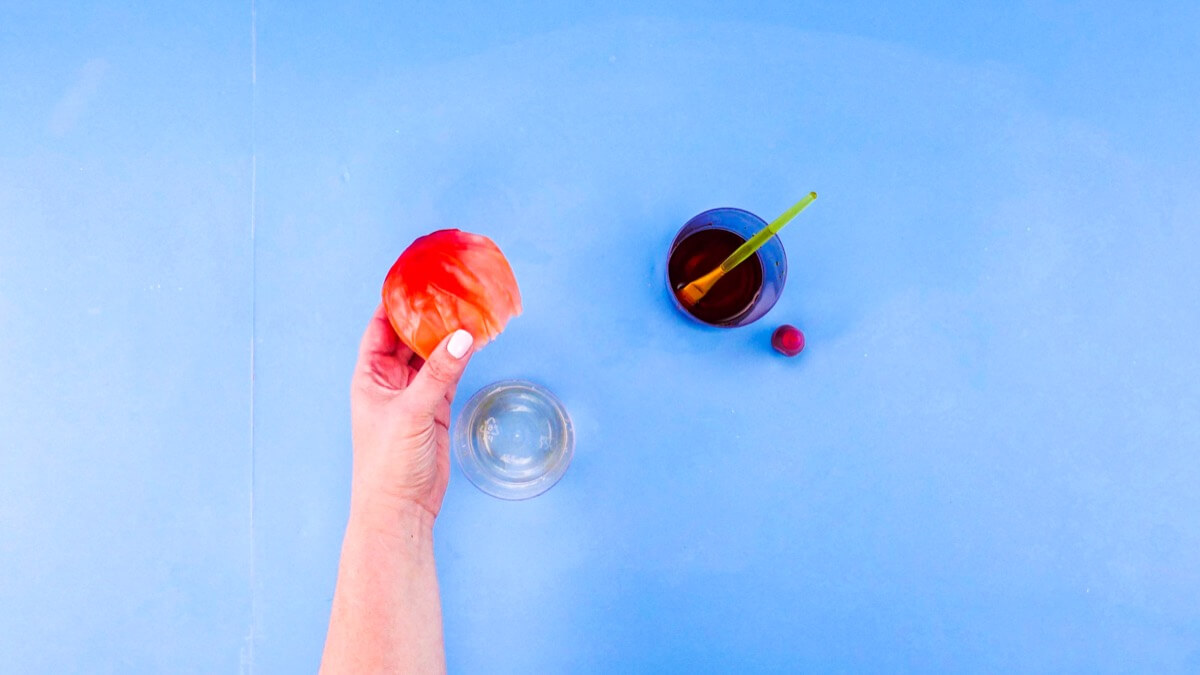
Place the ball onto a glass for support. With a paint brush, paint the remaining food coloring onto the ball. Leave it to dry overnight.
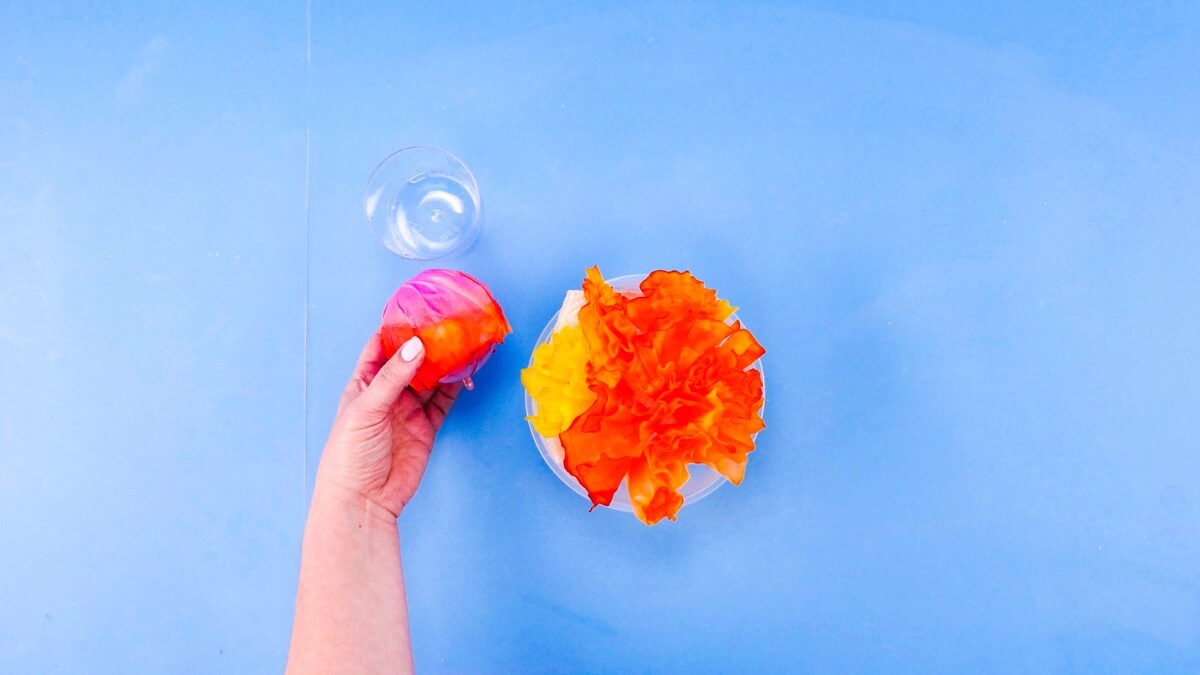
Once dry, carefully remove the filter paper from your ball.
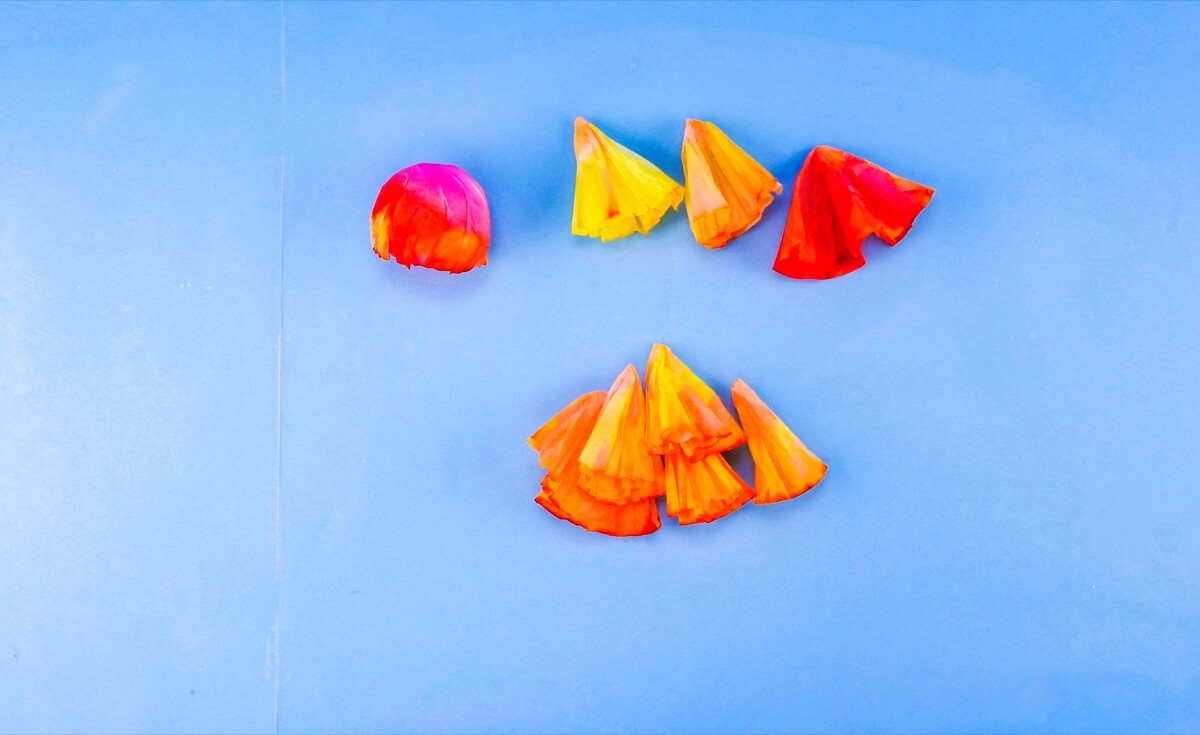
You should have a dome shaped jellyfish body!
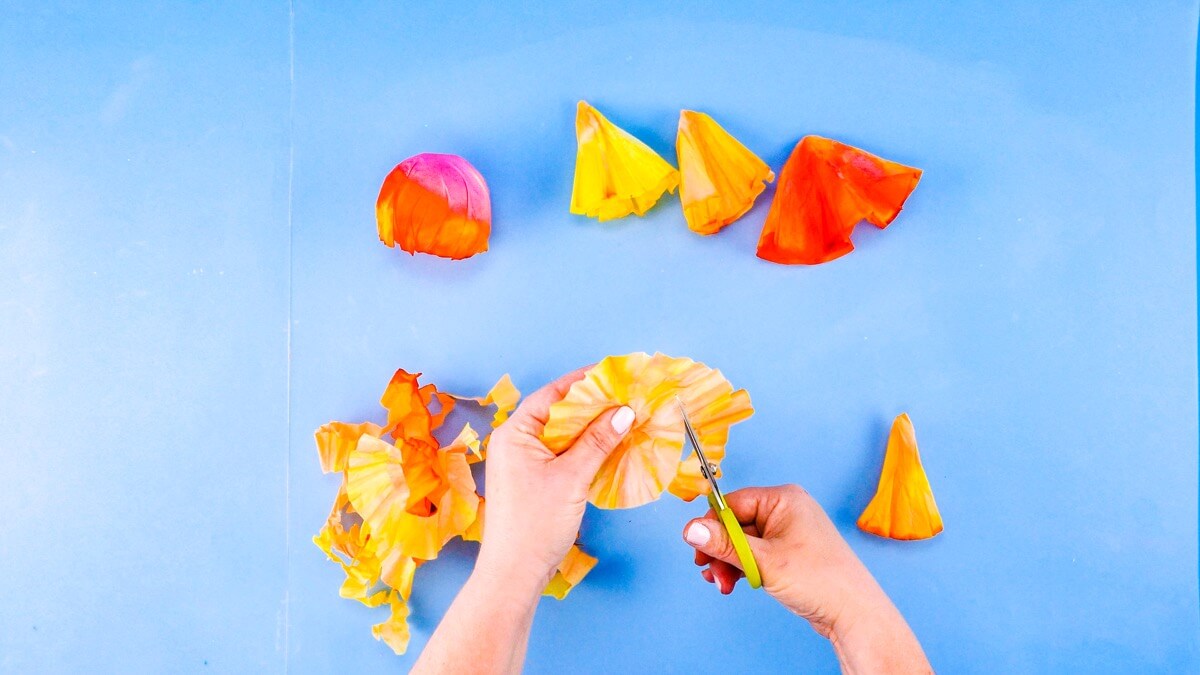
The oral arms are the two main arms that come down from the jellyfish’s body. To make these, cut five filters into a spiral about 3/4” in width until you reach the center of the paper.
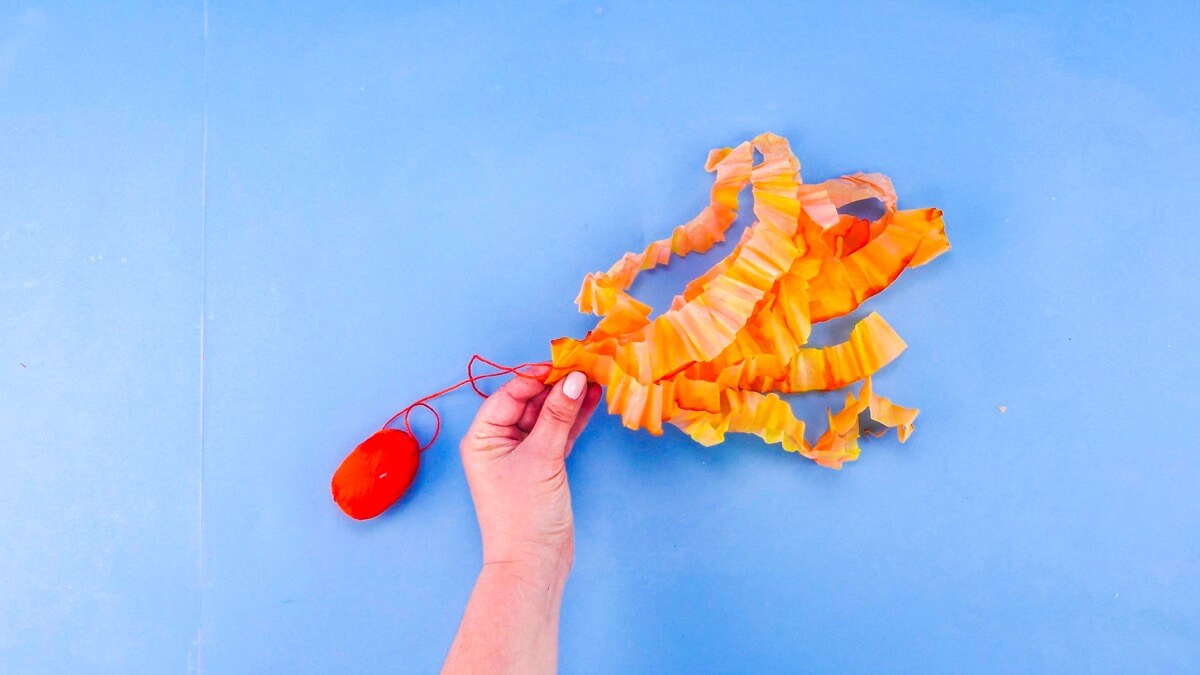
Fold each of these strips in half, staggering the lengths of the ends. Gather all of the folded ends together. While holding all of the folds, fold them again and use scissors to snip a small hole (or use a hole punch to make a hole.)
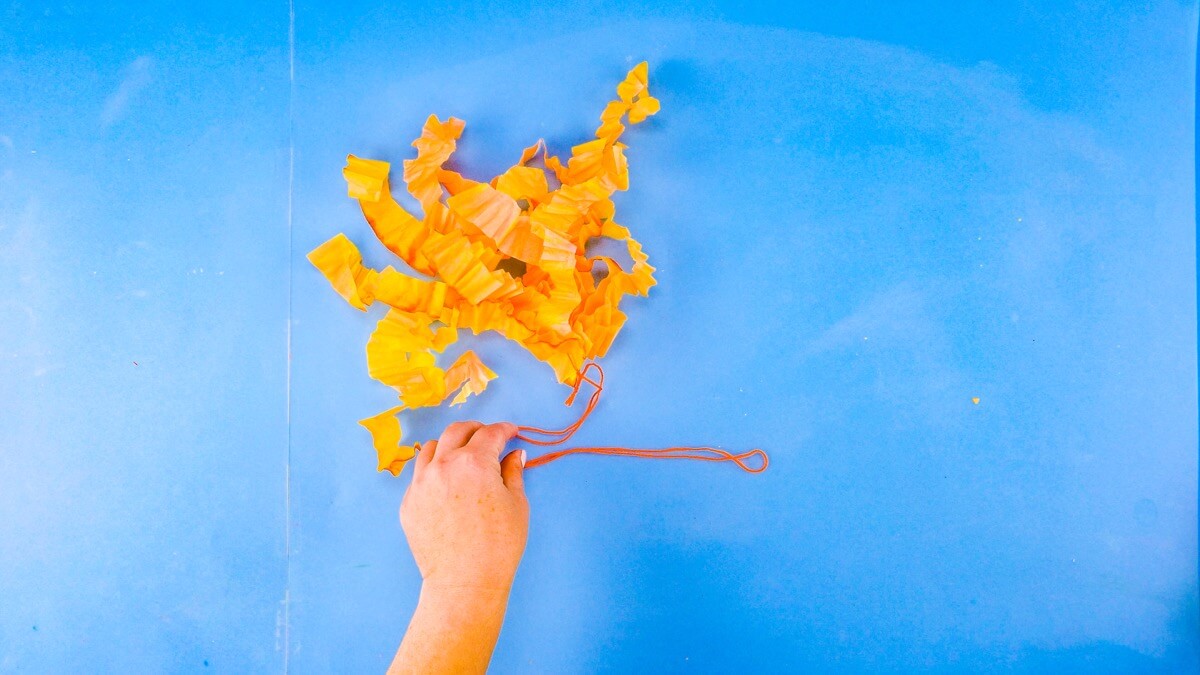
Thread a length of yarn through the holes and tie the oral arms together with a knot. Tie off the yarn ends to make a hanging loop.
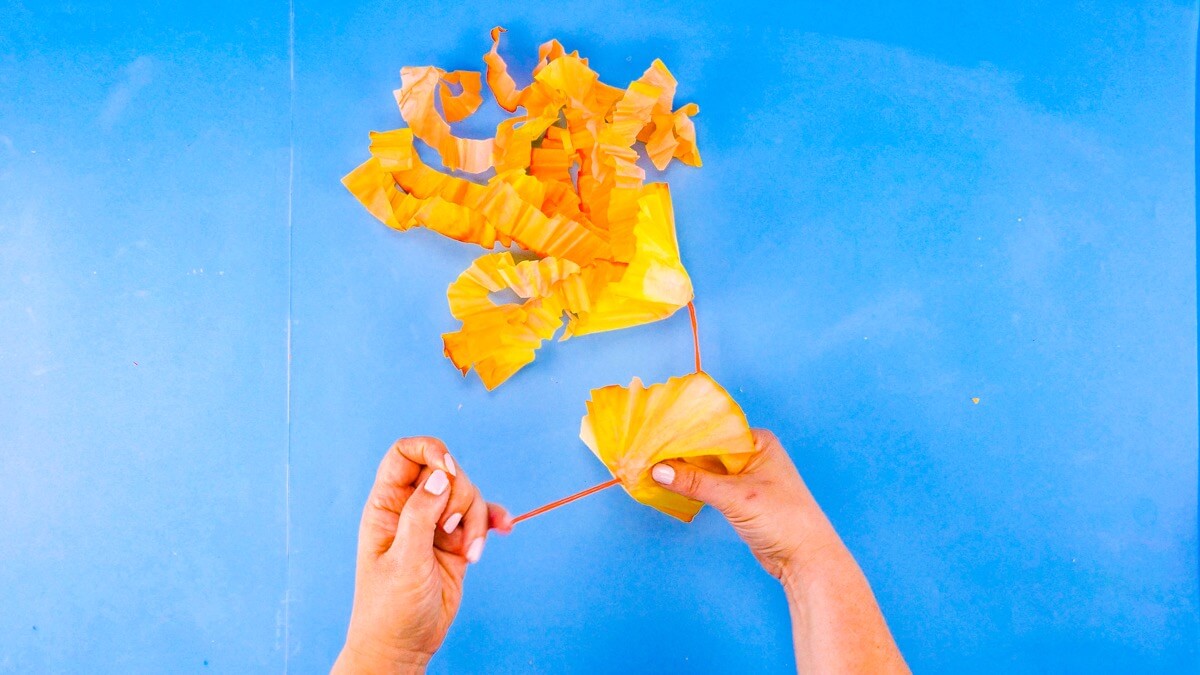
Next, cut small holes into the two filters that will fit under the head. Pull the string through, connecting the oral arms together through these holes.
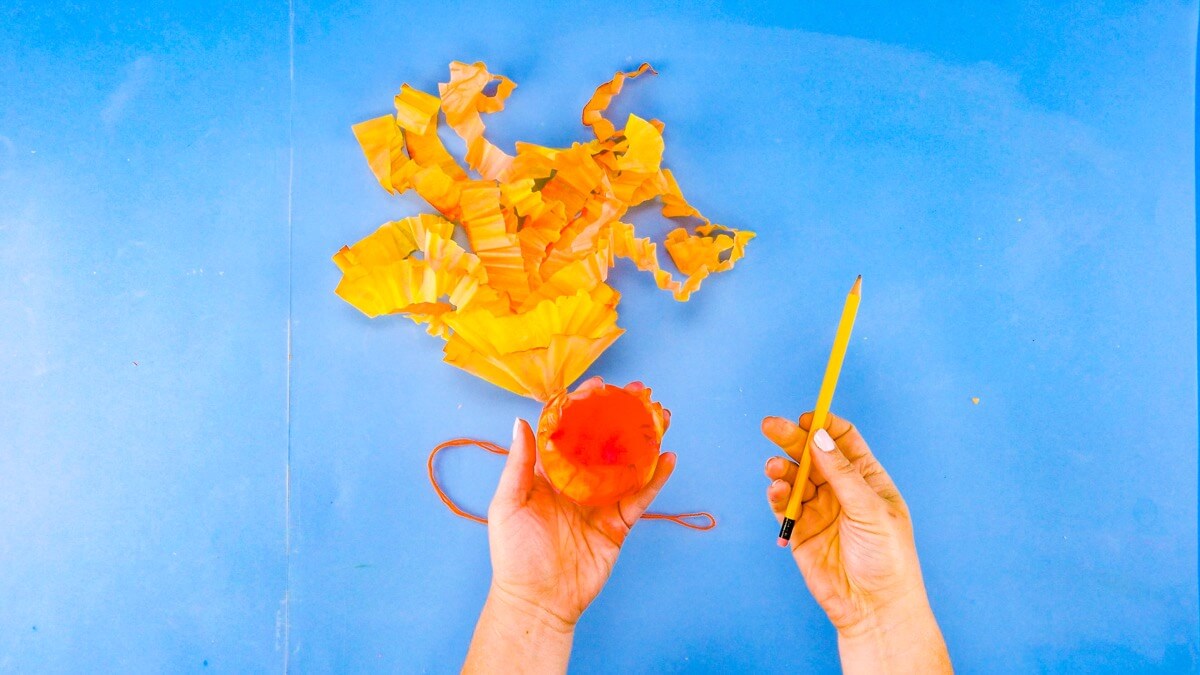
Use a pencil to make a hole in the top of the jellyfish’s head and pull the yarn loop through.
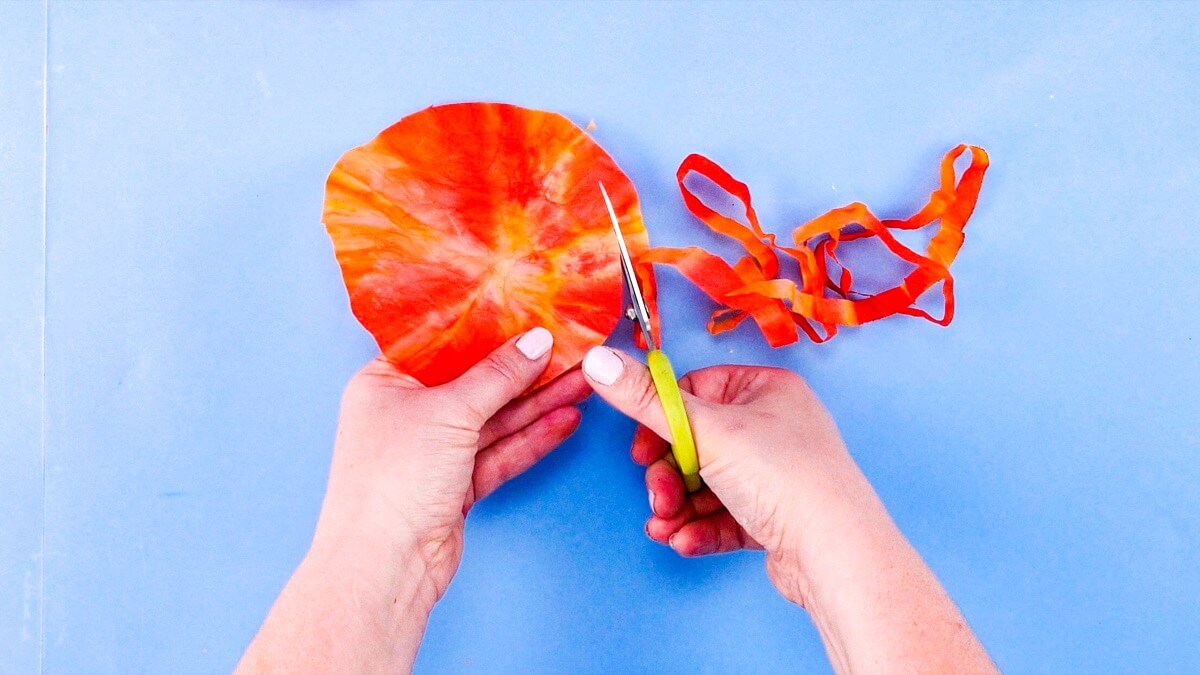
To make the tentacles, cut the remaining filter in a thin spiral that is ¼” wide until reaching the centre.
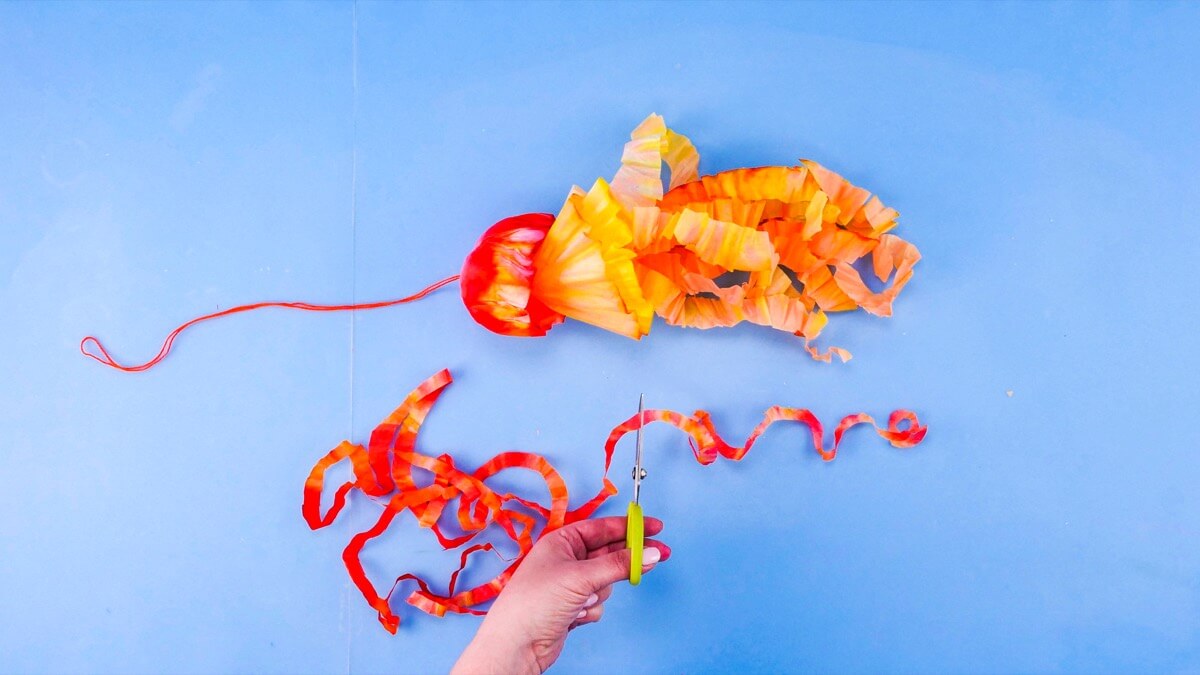
Trim the tentacles to the length of the jellyfish.
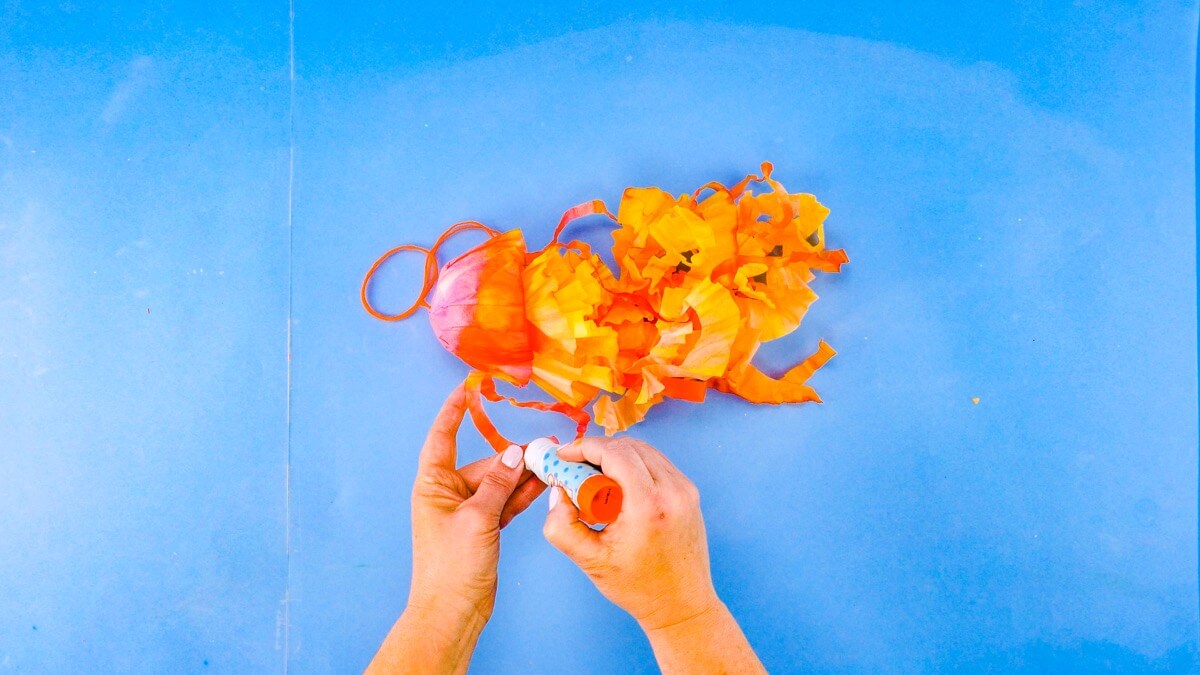
Glue the tentacles to the underside of the head using a glue stick.
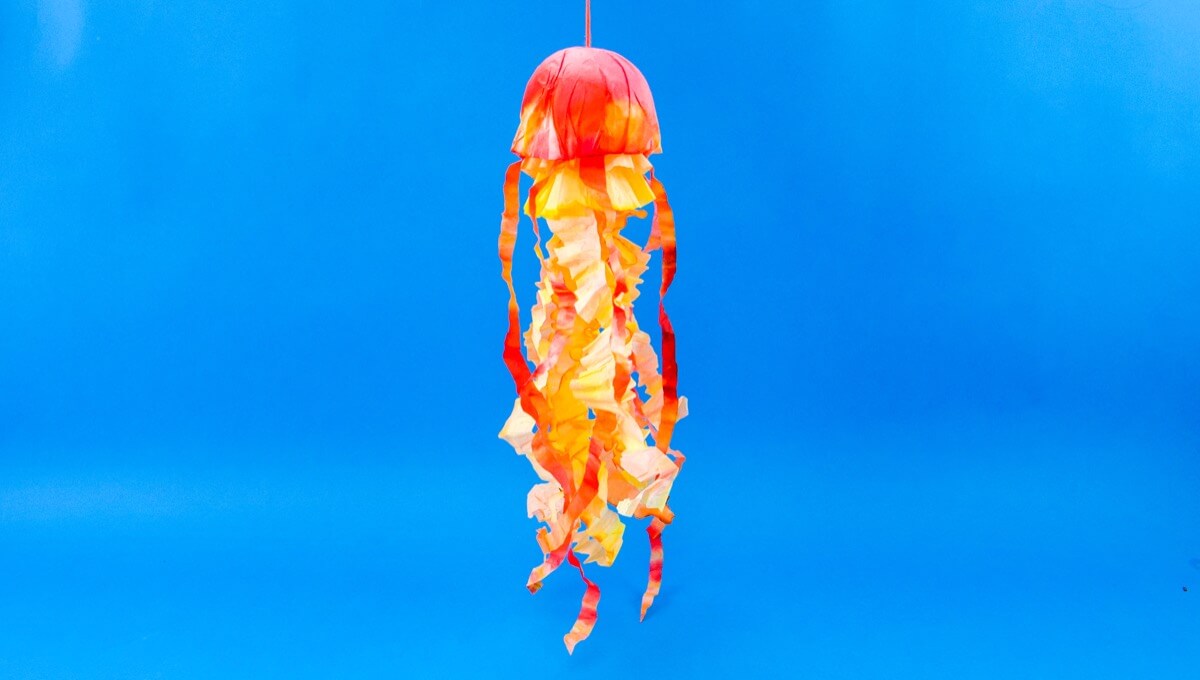
Hang up your jellyfish and watch it move gracefully in the breeze.
We think jellyfish are so amazing that we made a song about them! Check out our super fun warm up song “The Jellyfish”.
Don’t forget to follow us on Twitter, Instagram, Pinterest, and Facebook!
Original content © 2021 Super Simple. Not to be reprinted without express written permission. Terms of Service.

