
It’s time for a dance party! These dancing ribbon wands will elevate your dance party to new heights! They are so much fun to play with and are simple to make – no fancy hardware needed and no mess! We also designed these wands to be safer for little ones with shorter ribbon stands so they don’t get tangled up and are easier for little hands to twirl.
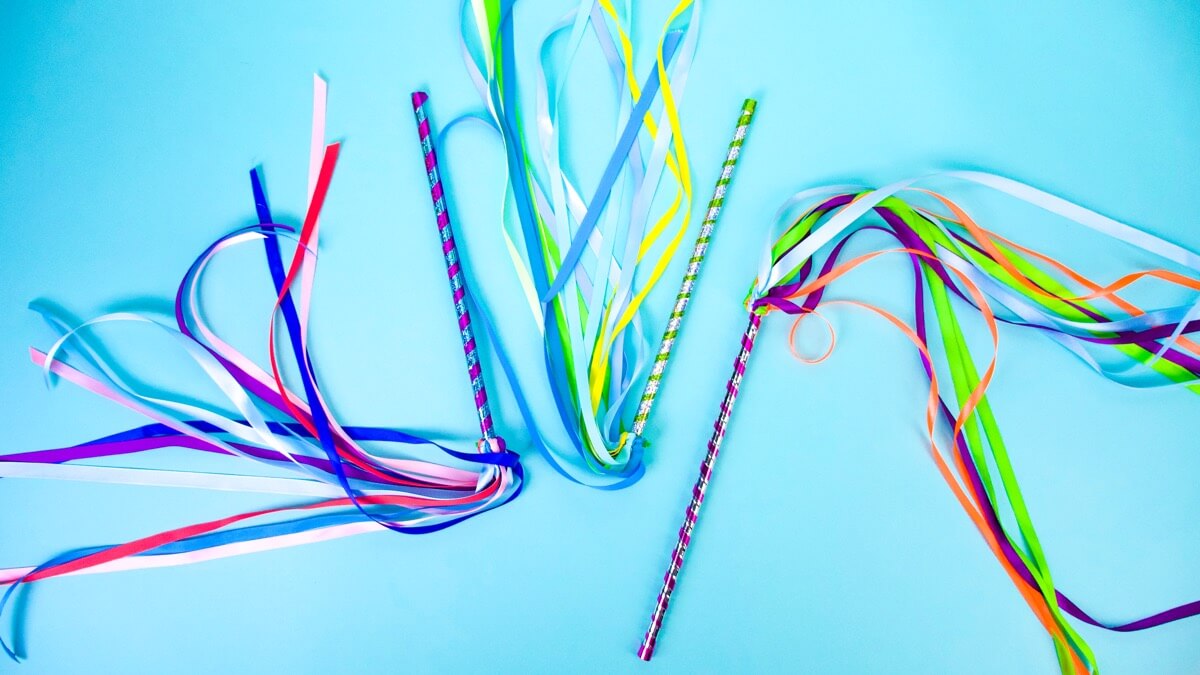
What to do with your Dancing Ribbon Wands?
- Put on our Super Simple Dance playlist and dance!
- Twirl your ribbon wand and then freeze with Red Light, Green Light.
- Try twirling your ribbon fast and slow with Open Shut Them.
- Take your wands to a sports game or celebration and use them like pom poms to cheer! You can even make your ribbons the same colors as your favorite team.
- They make great party favors!
- Review colors with the ribbon colors.
- Draw different shapes in the air with your wand for shapes review.
- Have your little ones or class put on a show using their dancing ribbon wands!
Here’s how you can make your own!
Things you’ll need

- Small zip tie or cable tie
- 6 to 8 lengths of ribbon. Best ribbon to use is 1/4“ to 1/2” wide and 3 to 4 feet long
- Wooden dowel 12”long x 3/8” in width
- Decorative tape – we like using different kinds of washi tape!
- Glue gun
- Scissors
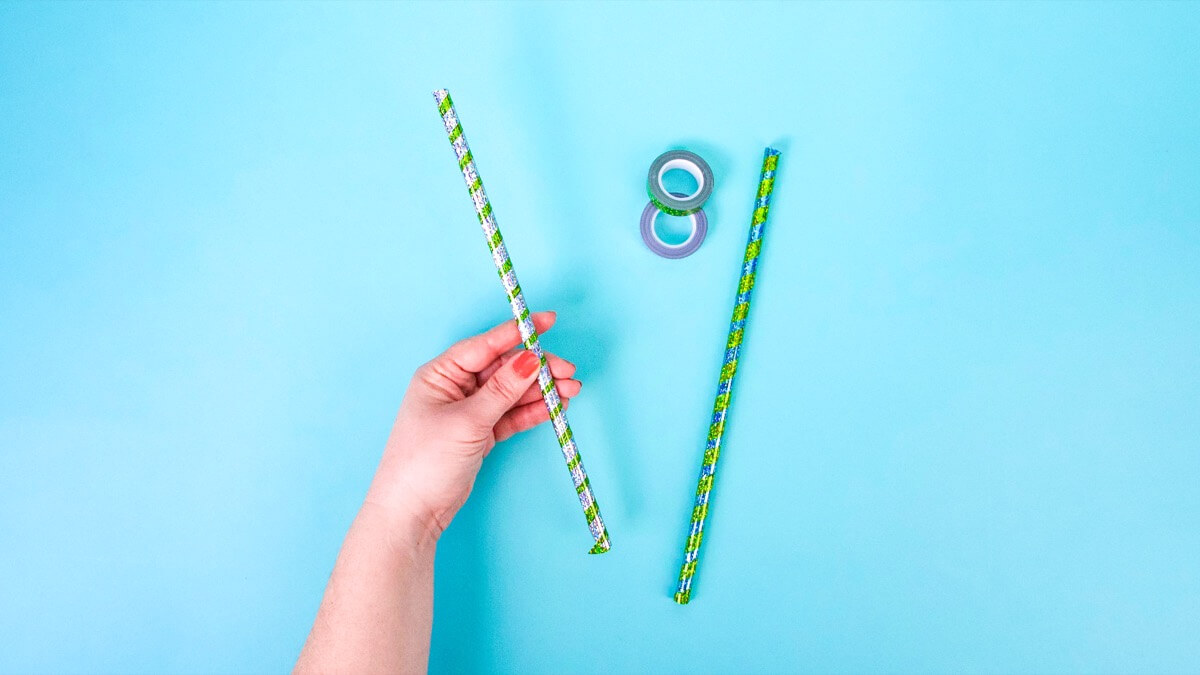
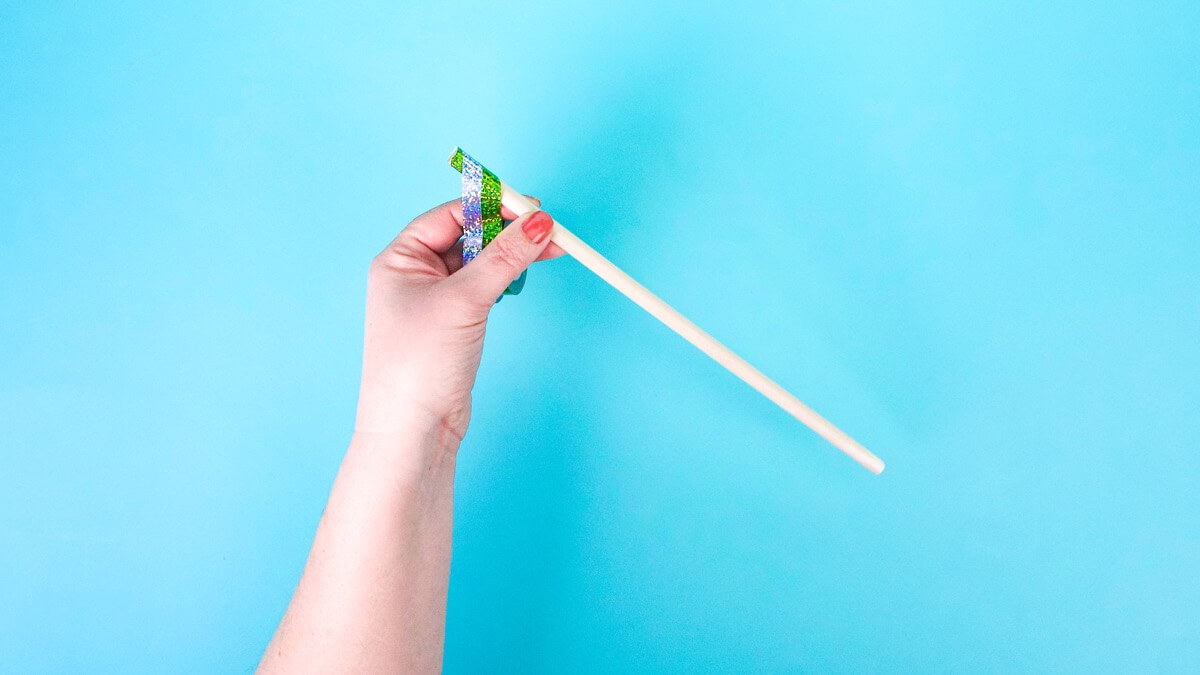
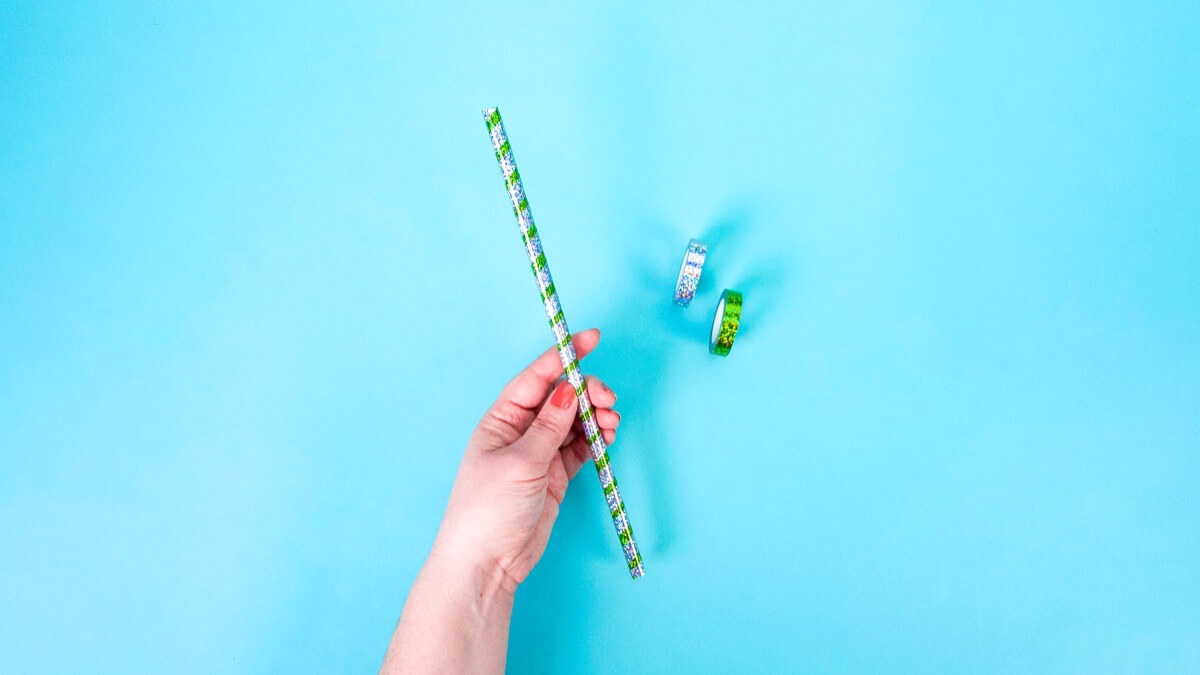
To decorate our wand we used different colors of decorative tape, like washi tape, to make a spiralized pattern around the wand. To make this look, hold two colors of tape side by side and wrap them around the wooden dowel on a 45 degree angle. Slowly twist around the dowel until you reach the end and trim off any excess tape. You can also paint your dowel your favorite color, or leave it plain!
Cut your ribbons to be 3 to 4 feet in length. You’ll want to have 6 to 8 lengths of ribbon. Use whatever colors you like – try making a dancing ribbon wand using the colors from your favorite sports team for a fun way to cheer them on!

To assemble, make a loop with your zip tie (we’ll be closing the loop later) and tape the ends to the table. This will help hold the loop in place while you tie your ribbon onto the loop making it a bit easier!
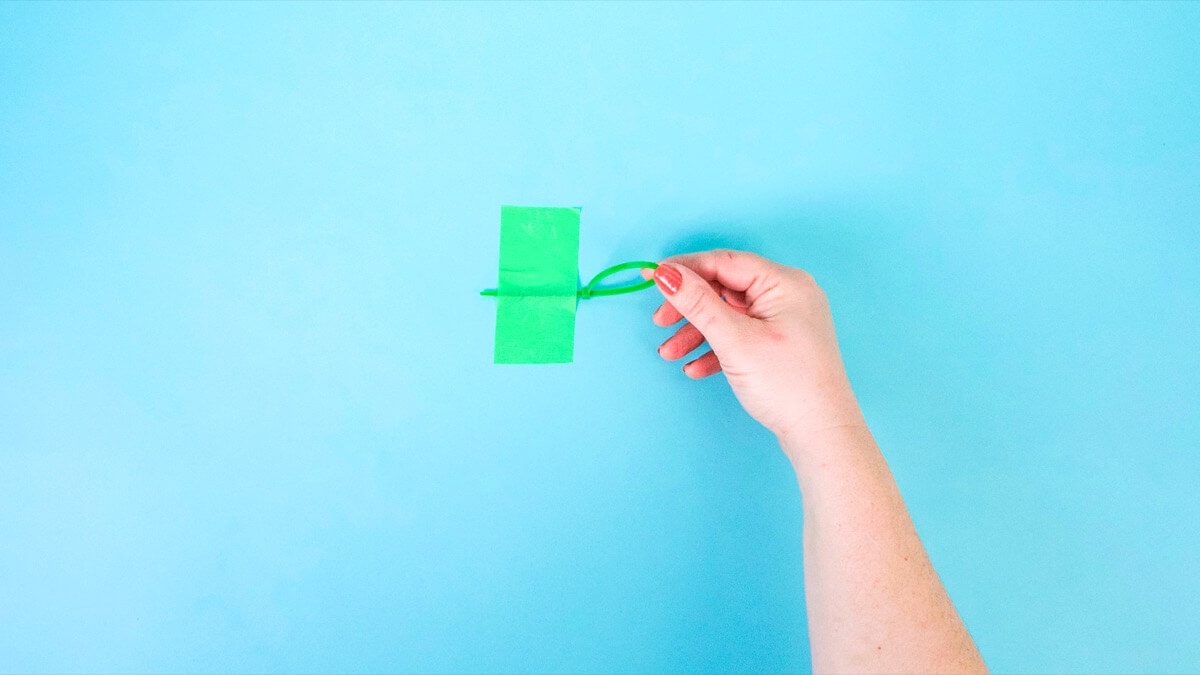
Now we are going to attach the ribbon to the zip tie loop using a simple knot called a Lark’s Knot. Start by taking each length of ribbon and folding it in half, doubling it back onto itself. Then, one ribbon at a time, take both cut ends of the ribbon through the loop of the zip tie, and back through the folded end of the ribbon. Pull the ends of the ribbon to secure the knot.
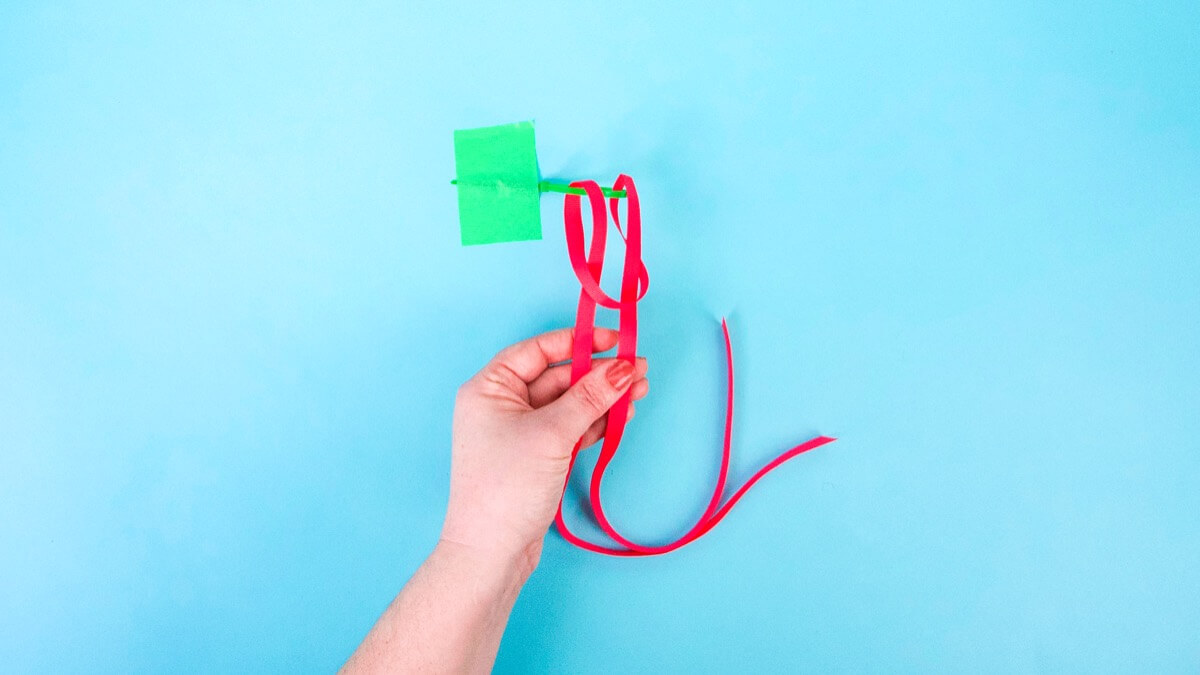
Continue with the rest of the ribbon until all your lengths of ribbon are tied around the loop of the zip tie.
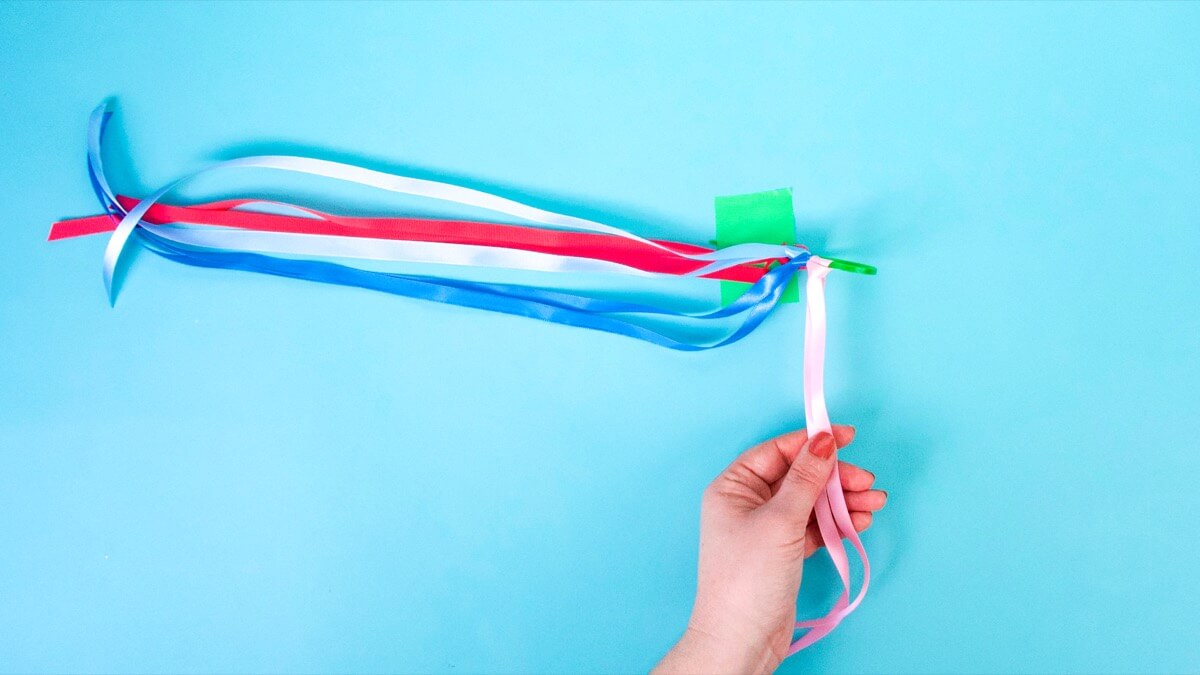

Remove the tape from the zip tie – a few final moves and you’ll be ready to dance! Give the ends of each ribbon a final pull to fully tighten their knots. Then tighten the loop of the zip tie to make a smaller loop, but don’t close it completely.
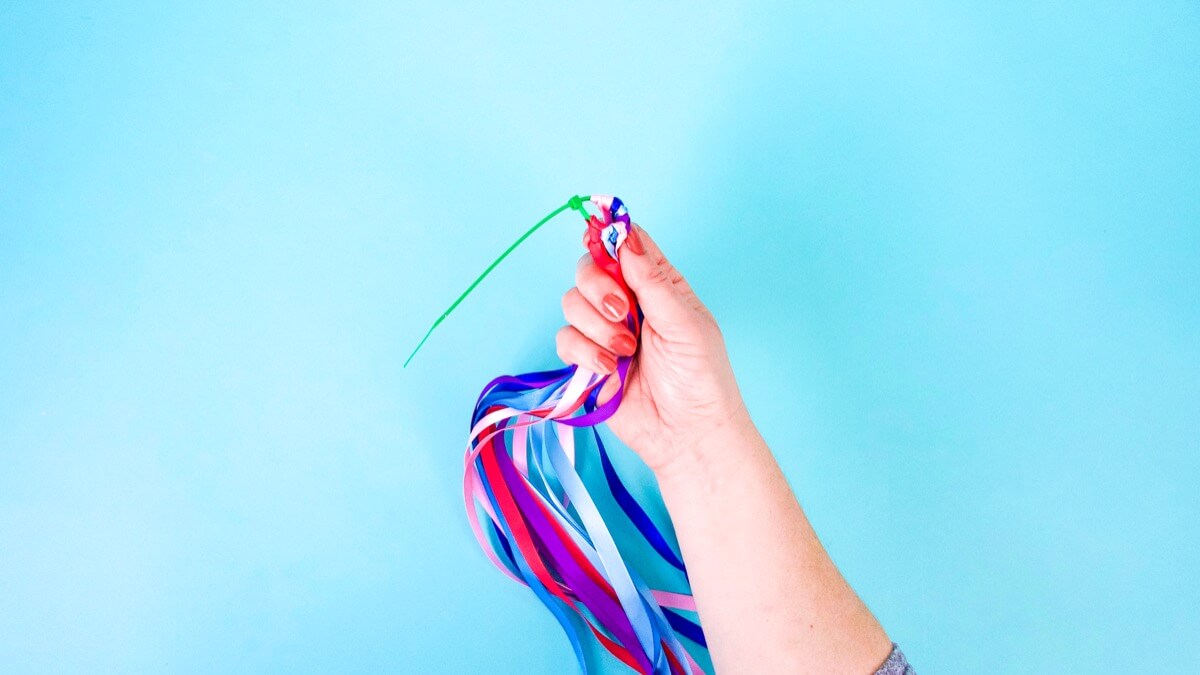
Insert your wooden dowel about half an inch into the loop of the zip tie and tighten the zip tie tightly around the dowel.
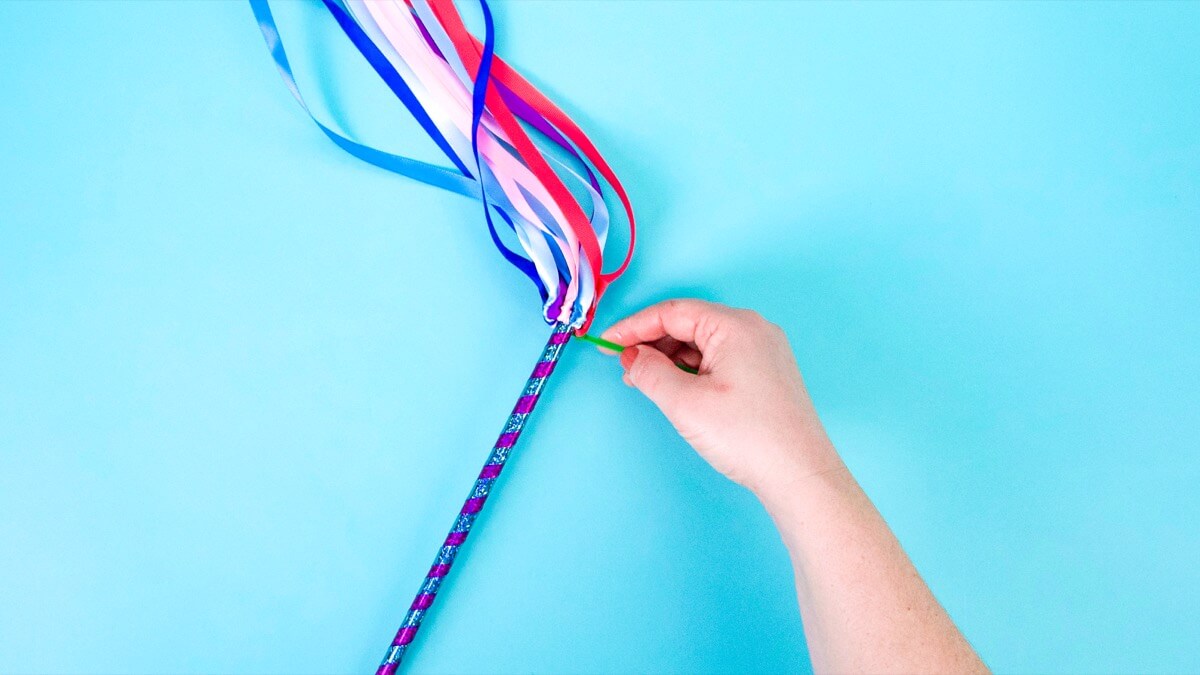
Trim off the ends of the zip tie.
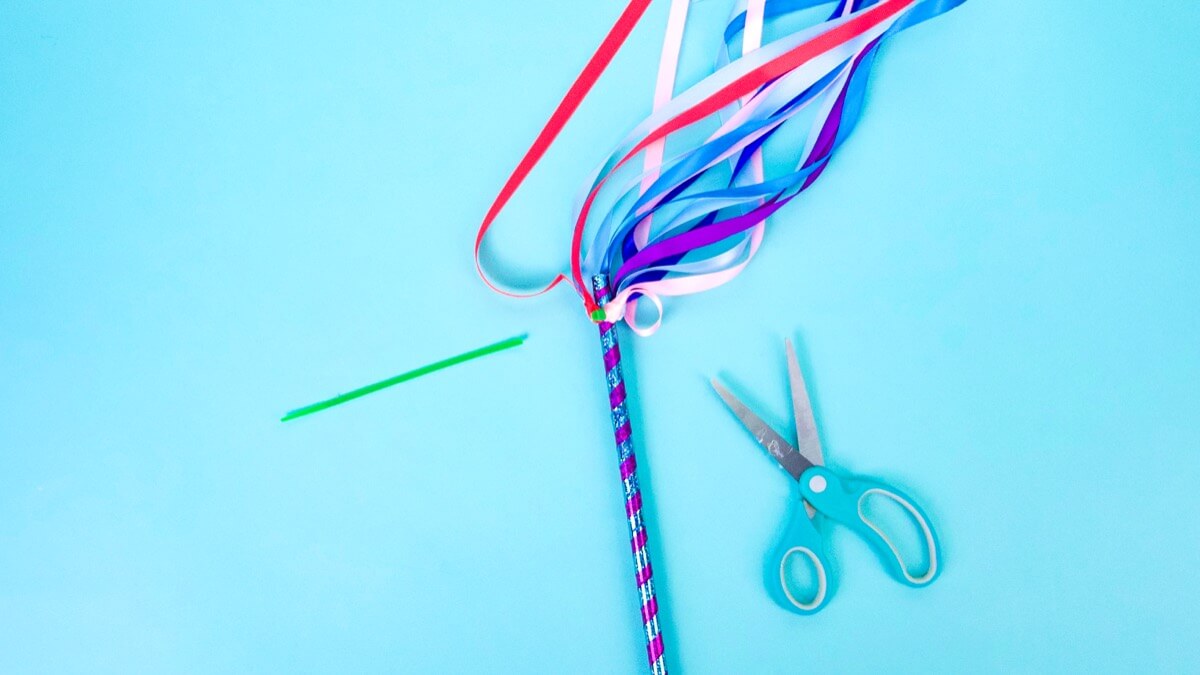
Add a few small dabs of hot glue just below the ribbon knots towards the end of the wand and attach the ribbon to the dowel.
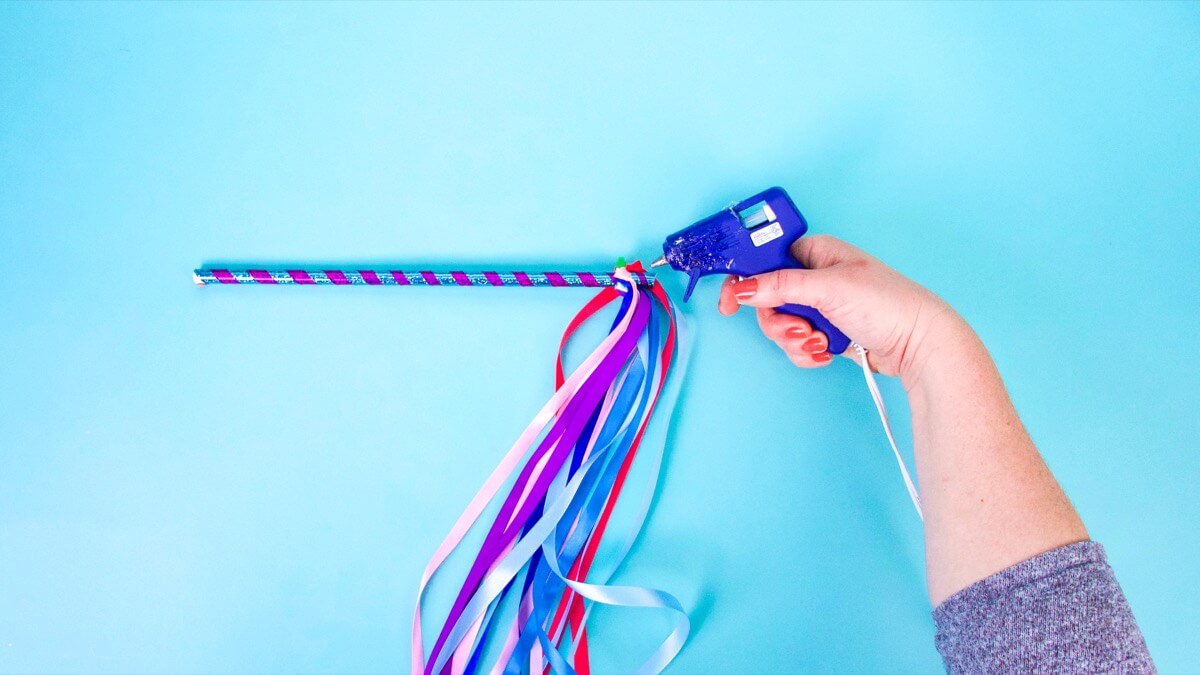
This gives it some extra security, and also hides the zip tie for a polished look.
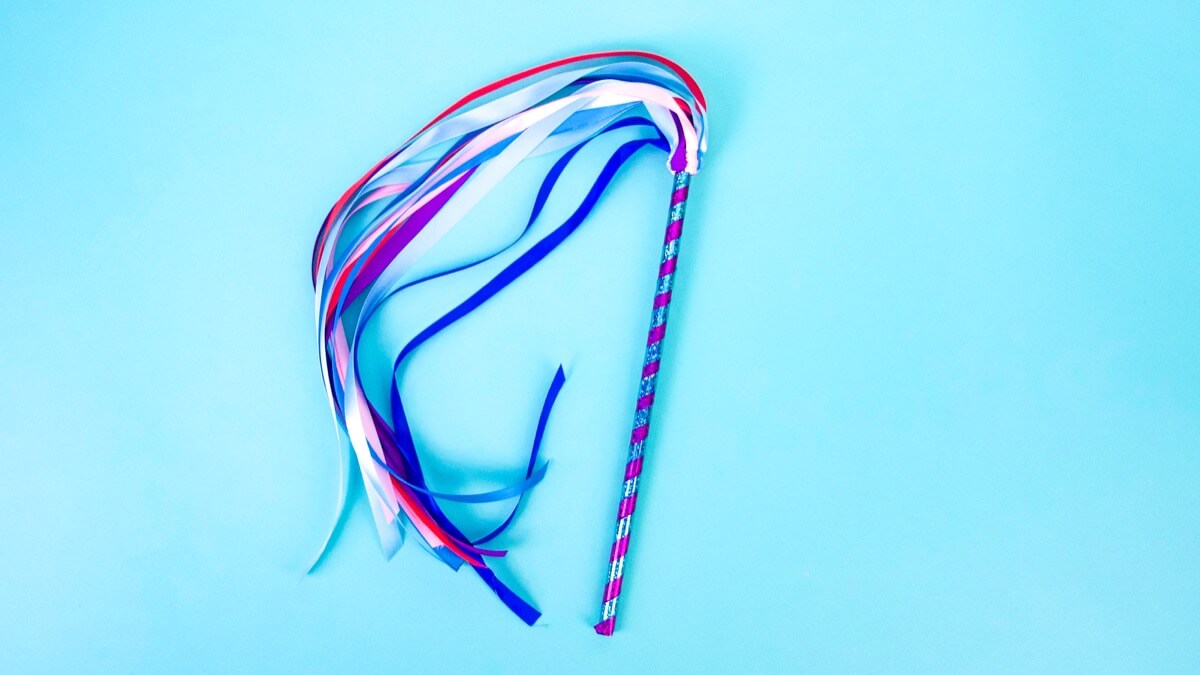
Now you are ready to dance with your dancing ribbon wand!

Play some of your favorite Super Simple Songs dance songs and twirl away!
For more fun dance activities, crafts, and videos, check out our Super Simple Dance Party theme page!
Don’t forget to follow us on Twitter, Instagram, Pinterest, and Facebook!
Original content © 2021 Super Simple. Not to be reprinted without express written permission. Terms of Service.

