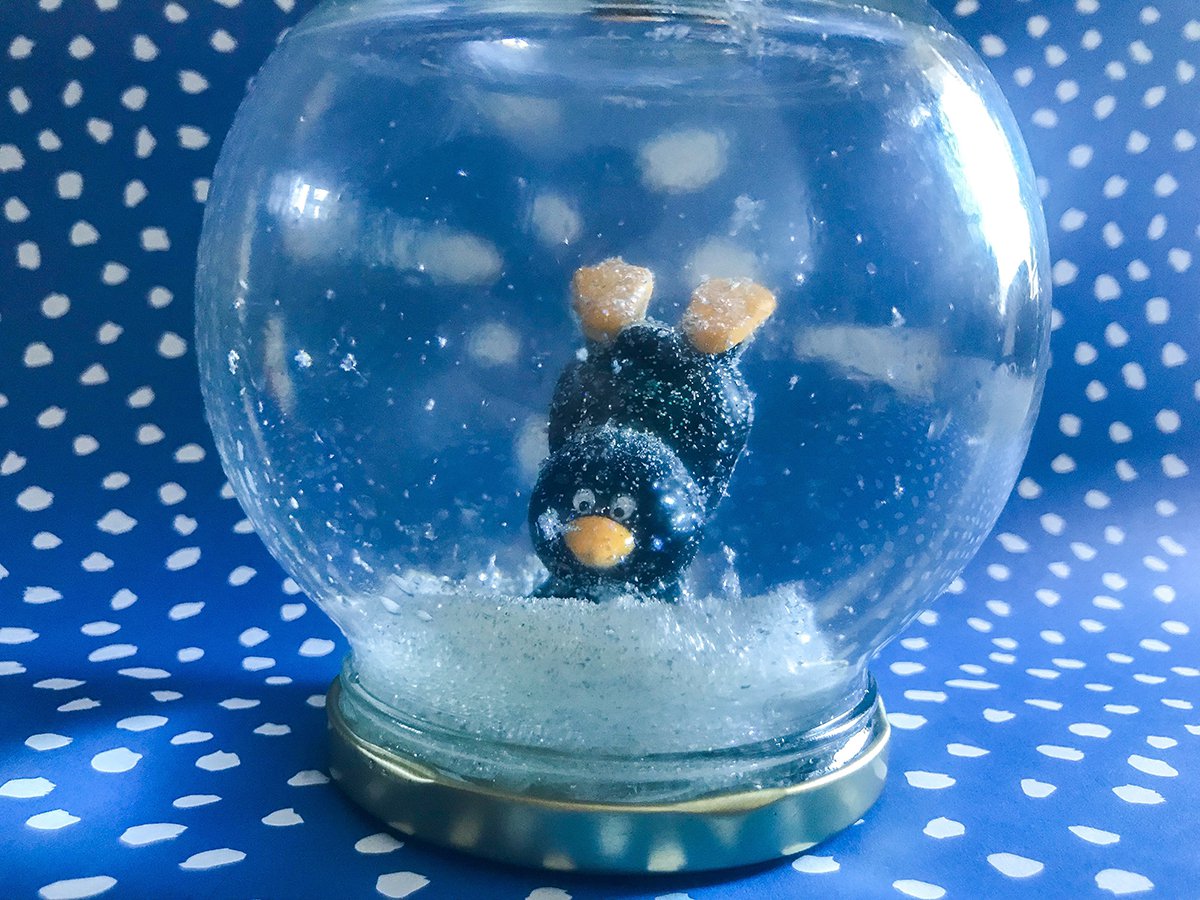
Winter has arrived in the Northern hemisphere, so we are learning about all things winter! Everyone loves a winter scene – snow-covered landscape, animals, snowmen, snowflakes. Today we will be making a little penguin Winter Snow Globe of the Antarctic or South Pole.
Who had a snow globe growing up? Those little glass snowy scenes that came to life with a good old shake. In 1900, an Austrian man called Erwin Perzy I accidentally came up with the idea. Erwin Perzy I was a surgical instruments mechanic. He had been trying to improve the light of the newly invented light bulb, which was not actually very bright. At the time, contemporary shoemakers used to place a glass globe filled with water in front of a candle in order to give more light through the water reflection. Wondering whether he could use this idea to his advantage he used semolina and poured it into a glass globe. Absorbing the semolina it slowly fell to the bottom of the globe and he said it reminded him of snowfall.
By 1905, mass production started in Vienna and they created their company, ‘Original Vienna Snow Globes’ which still exists today. During the first 40 years of production, the scene was always of a church. After the Second World War, when his son Erwin Perzy II took over, other Christmasy scenes were introduced such as Christmas trees, snowmen and Santa. It was during this time when they introduced new artificial snow, which remains a company secret to this day.
Today their shop doubles as a museum and Mr. Perzy III said in an interview done by the BBC in 2013:
‘Nowadays kids have everything… I mean, they have computers and lots of other electronic things, and our snow globe has nothing no battery, no nothing… And when the kids come here, their eyes are wide open, they are enchanted, and everyone has one or two snow globes in their hands, and they are shaking them. That is a very nice moment for me.’
That is the truth of it. After making our own snow globe, the momentary gasp of glee and wonder in their eyes was enough to make me consider making as many different versions as we can. To see the world through a child’s eyes, is the best kind of world to see, where the magic still lives.
So join us and make your very own snow globe, with a very simple DIY craft.
What you will need:
- A glass jar with lid
(we used a globular one to be as close to a snow globe shape as possible, but this is not necessary) - Glue gun and glue sticks
- Water
- Glitter
- Glycerine 50-100ml depending on the size of your glass jar
- Plastic winter figure
(we used a penguin, other options to use are a little house, a pine tree, a reindeer etc) - Packaging sponge (optional)
Instructions:
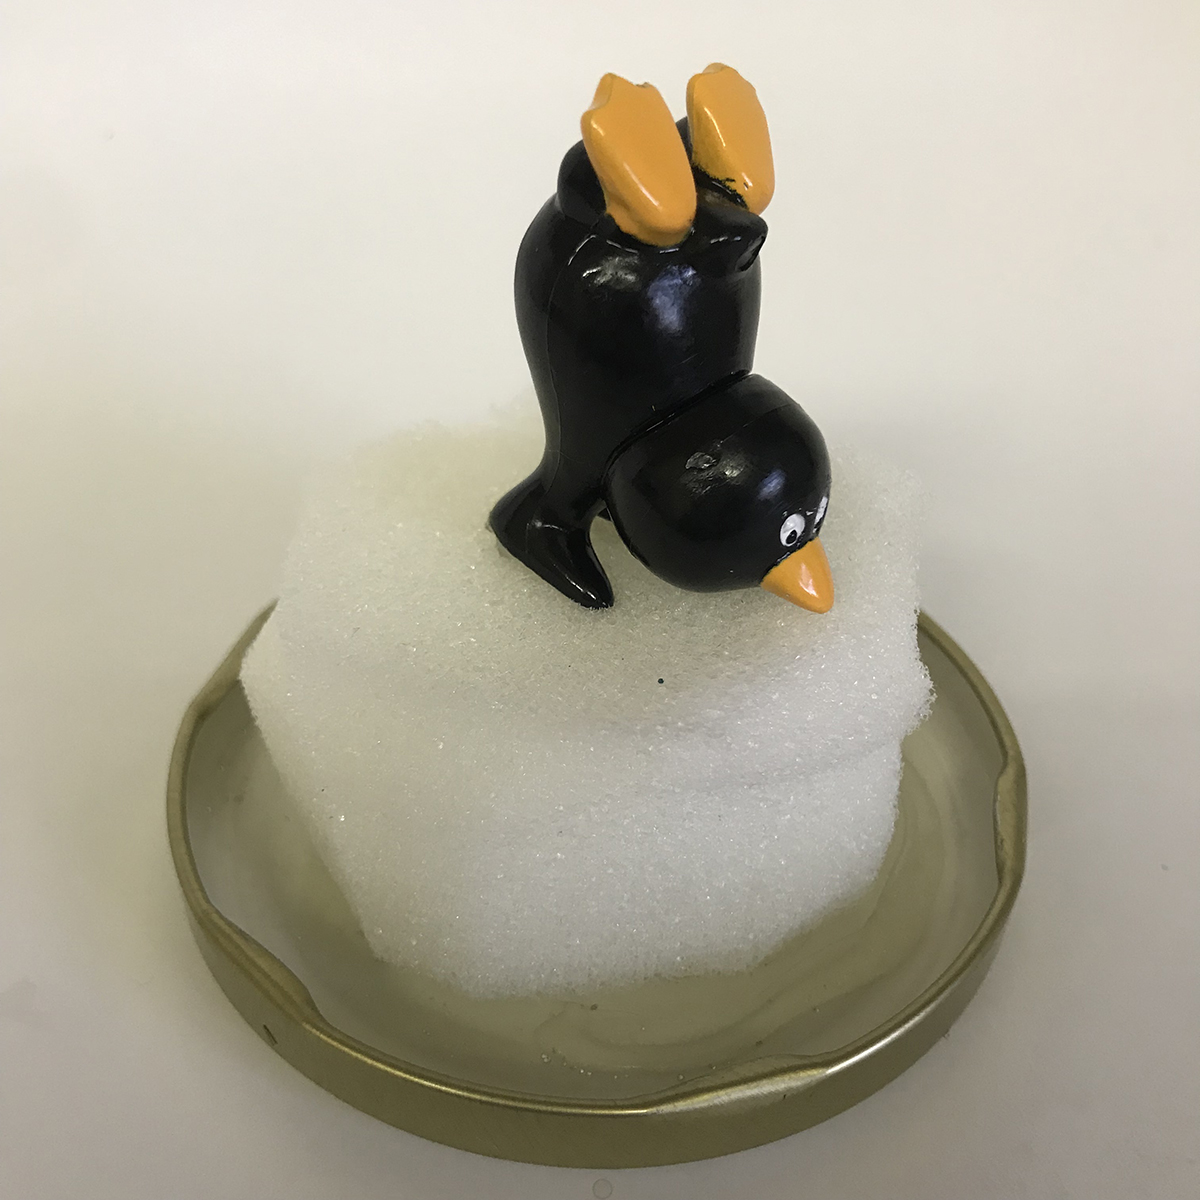
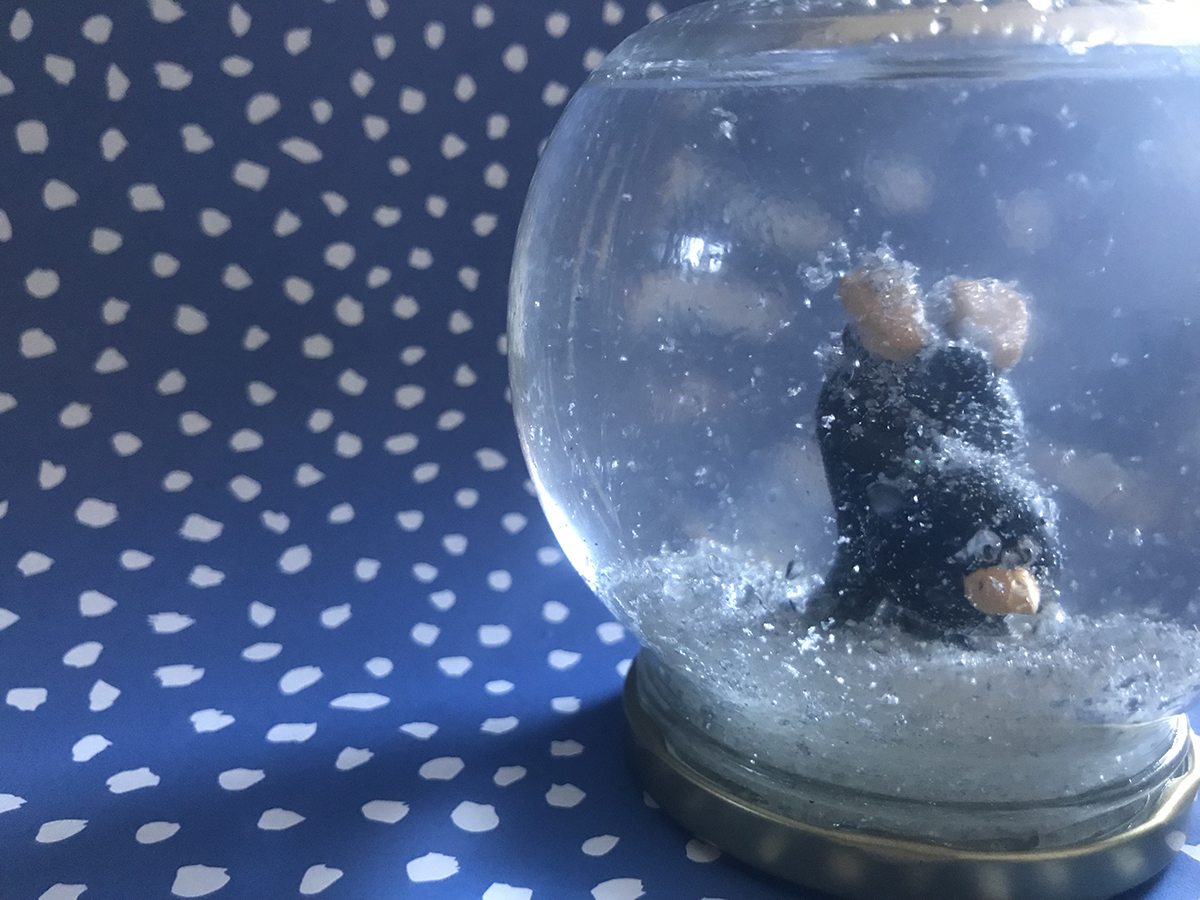
- First take the lid off your jar and place your plastic toy on it. Lower the jar on top of it and see whether you can see the toy properly. If it is distorted by the curve in the glass then you may need to prop it on something, we used some packaging foam to act as an iceberg for our penguin to stand on. This meant it was raised and we could see it better.
- Warm up your glue gun and glue down your foam if you are using it to the jar and then the toy on top of it. If you are just using a toy, glue that straight on to the lid.
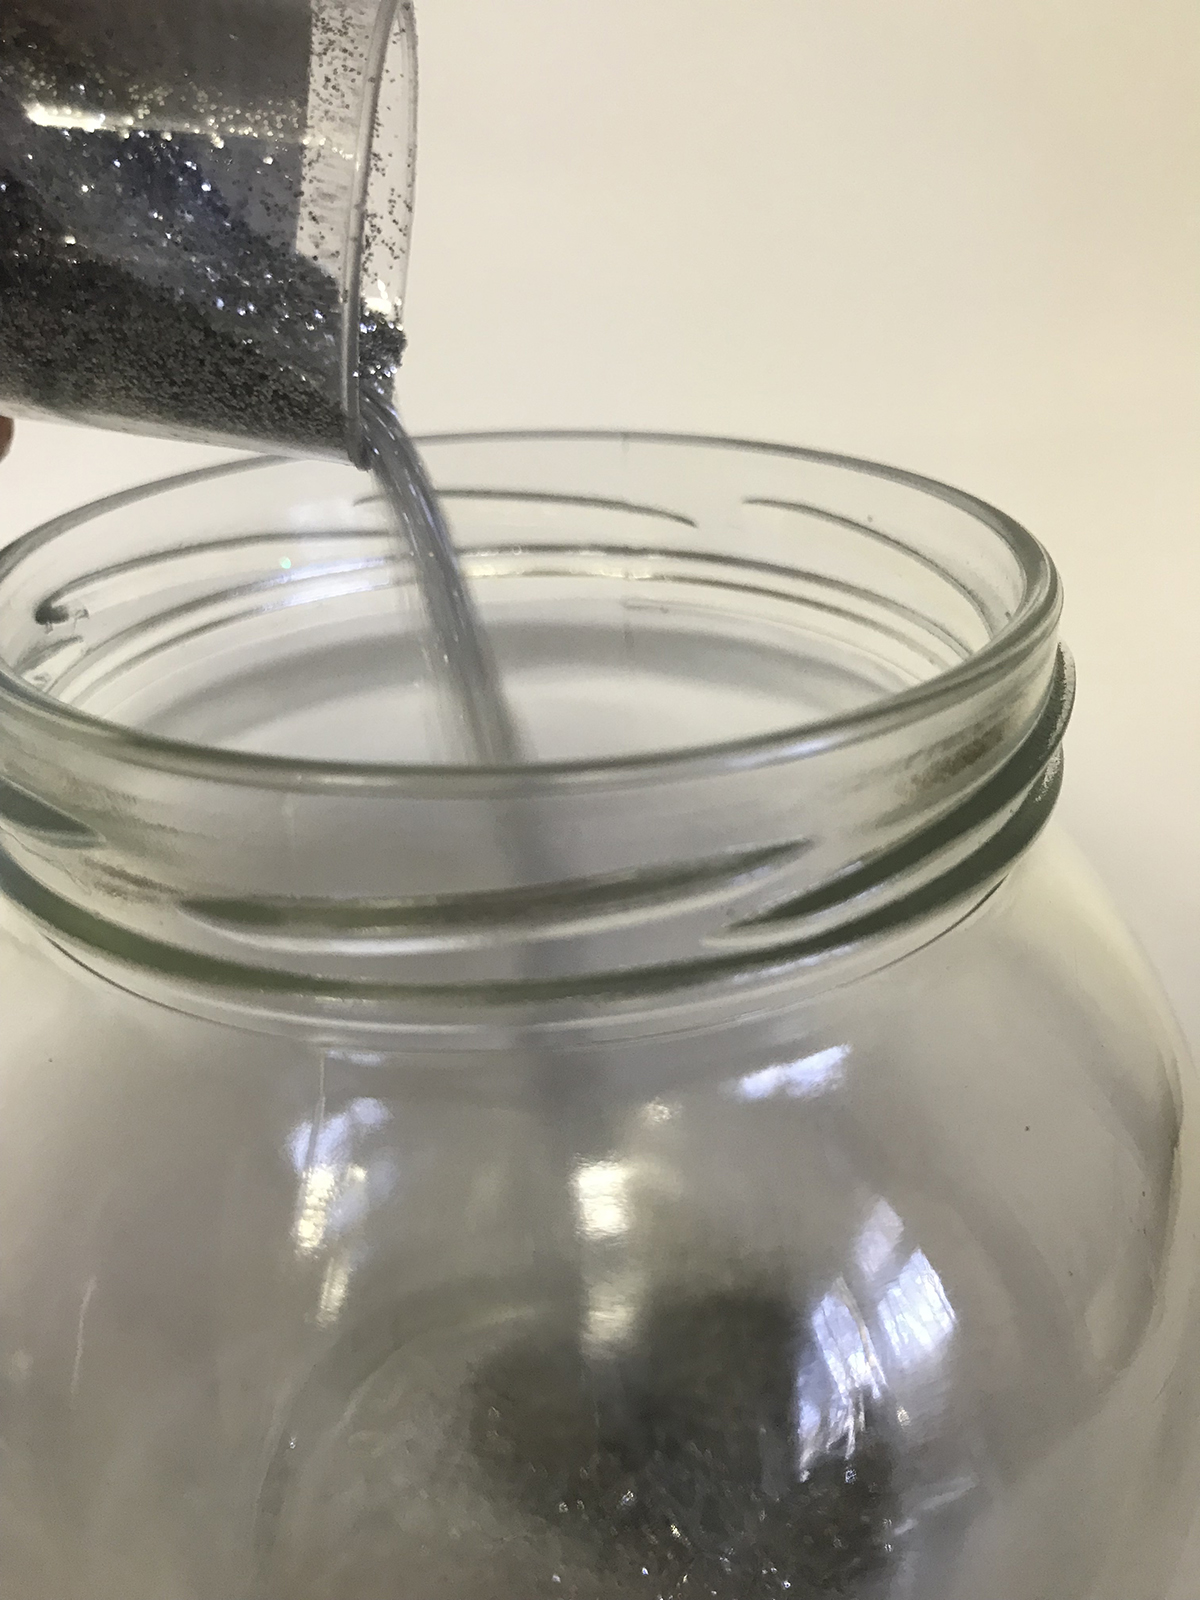
- Flip your jar the right way up and sprinkle some glitter into it. We used white and silver glitter.
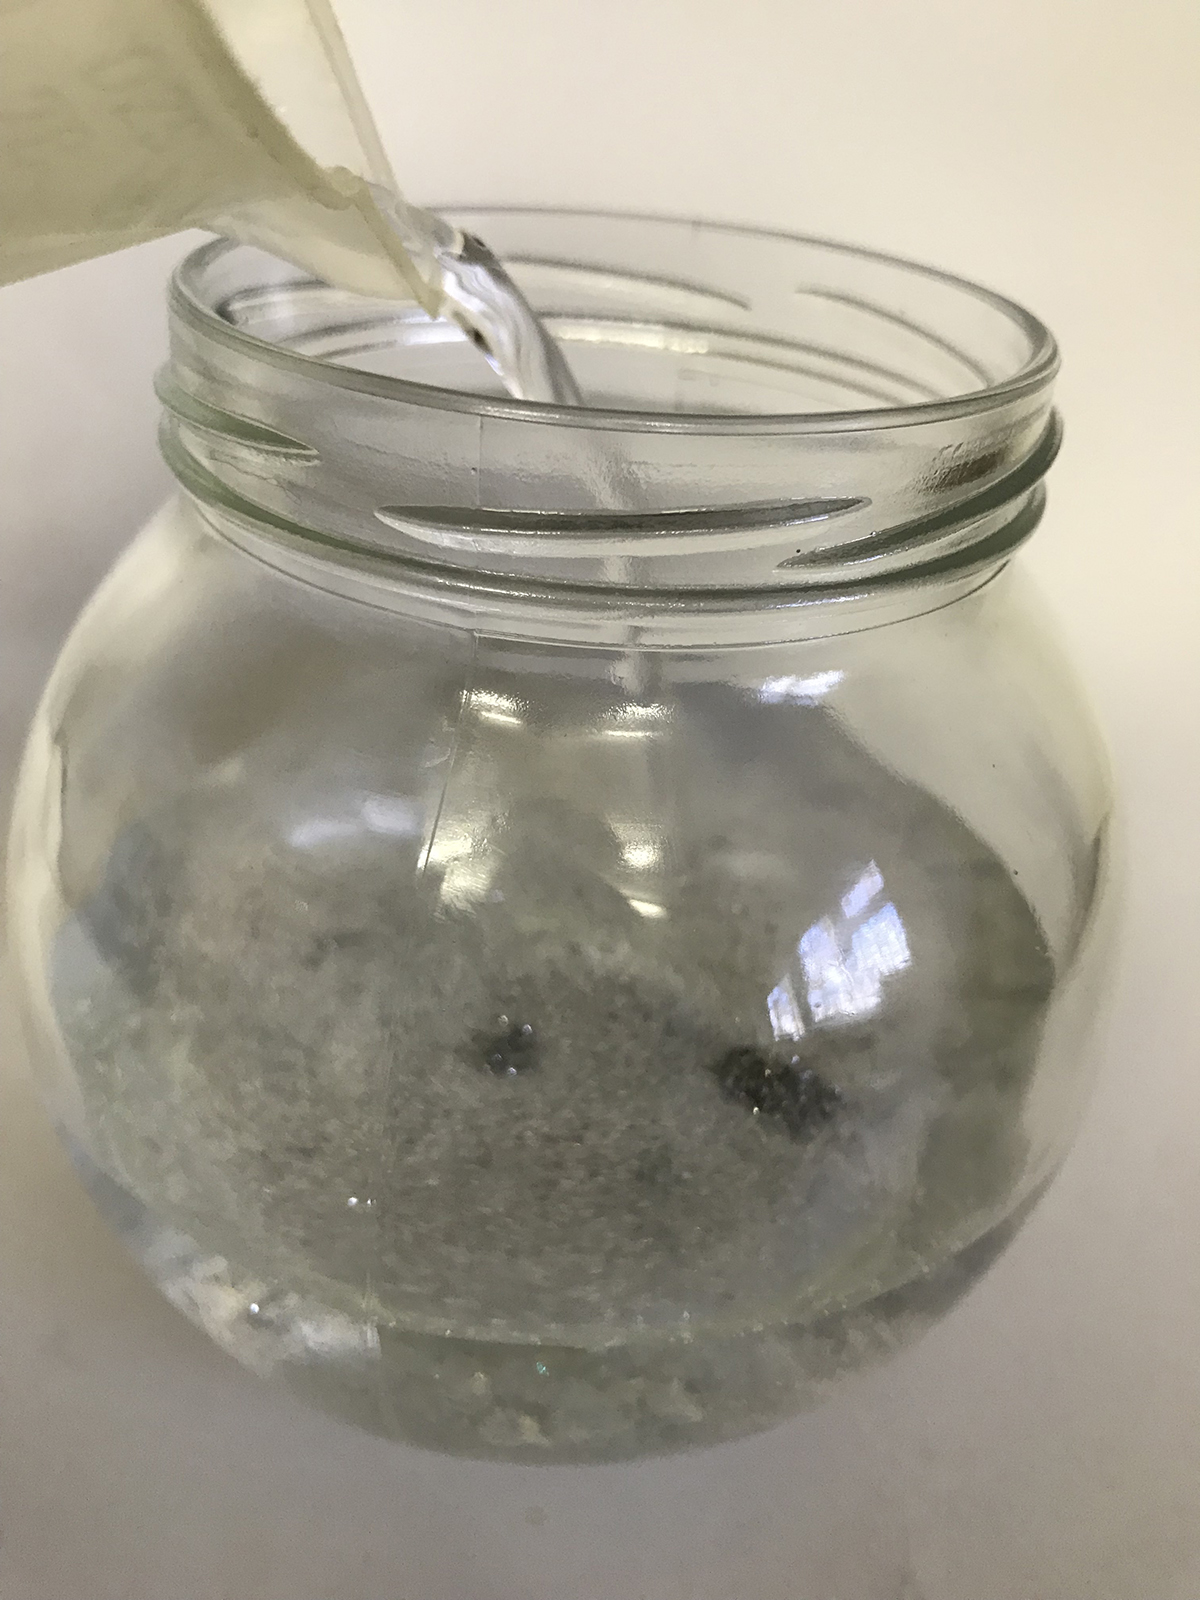
- Fill up your jar with water making sure to leave room for the mass of your toy to fit into it too. You can always fill it up more later.
- Pour your glycerine into the water. Our jar is 750ml and we poured approximately 50ml worth of glycerine in. The glycerine slows the glitter down in the water.
- Mix it up and then slowly lower your lid onto the jar and screw on. Turn it the right way up and give it a shake. We haven’t glued the lid on yet as we want to see whether we have the right amount of water in it, the right amount of glitter and glycerine. If you think any of those quantities need adding flip it over and add them.
- When you are happy with the amounts, use your glue gun to glue the lid on to the jar so no little hands can pry it open!
- Flip over and shake to see the magic happen.
Don’t forget to follow us on Twitter, Instagram, Pinterest, and Facebook!
 Contributor
Grace Selous Bull is an arts education author and freelance blogger. Her book, ‘Potty About Pots: arts and crafts for home and school’ is aimed at children from 5-12 years old and takes them through a journey of ceramics through time. She is a full time Mummy of two girls, both of whom love being creative, and is married to her husband, Andrew, who does not.
Original content © 2018 Super Simple. Not to be reprinted without express written permission. Terms of Service.