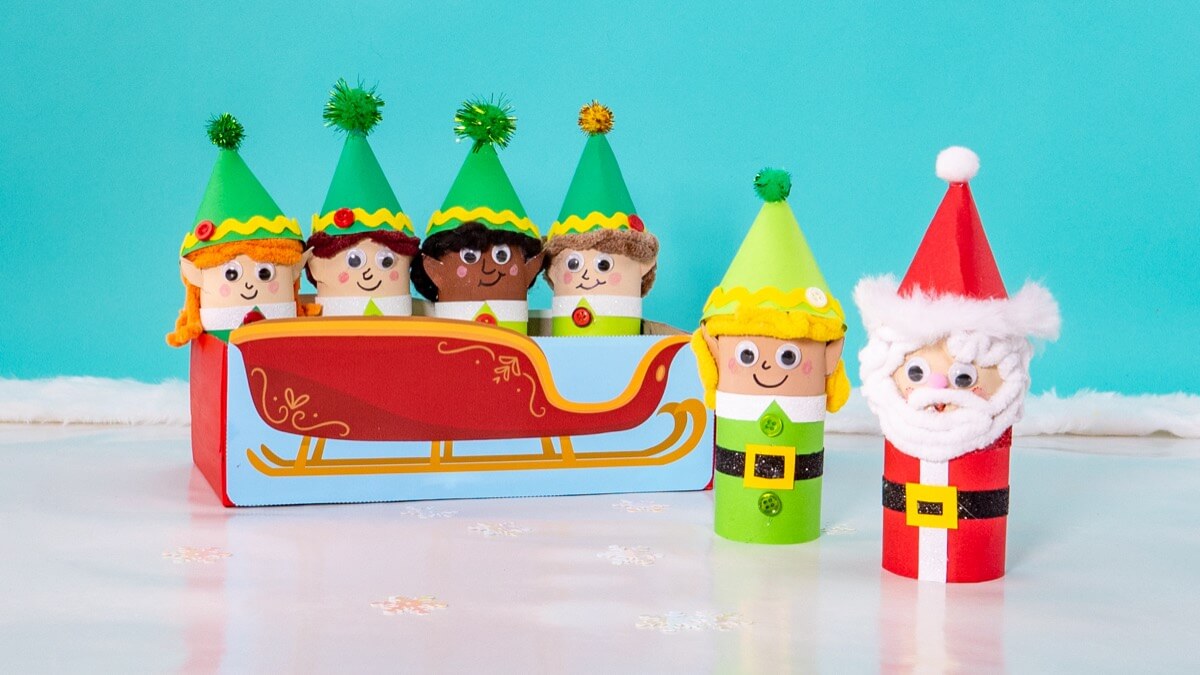
Five little elves went out one day, and hopped up into Santa’s sleigh! Santa Claus said “ho, ho, ho, ho!” And all of the five little elves said, “Go!”
This crafty play set is inspired by one of our favorite Super Simple Christmas songs: Five Little Elves! If you have this song playing on repeat in your home during the holiday season, this one’s for you! With some help from our Santa’s sleigh printable and some recycled items you probably already have around the house (hello, tissue box and cardboard tubes), you’ll be playing along to the song in no time!
PRO TIP: This song and play set is also great to practice counting! Try counting how many elves are in the sleigh. Or ask, how many are outside the sleigh? Any holiday craft that doubles as an educational tool is a Santa-slam-dunk!
Let’s get busy crafting, little elves! First we’ll go through how to make Santa’s sleigh, then we’ll move on to how to make the cardboard tube elves.
Things You’ll Need
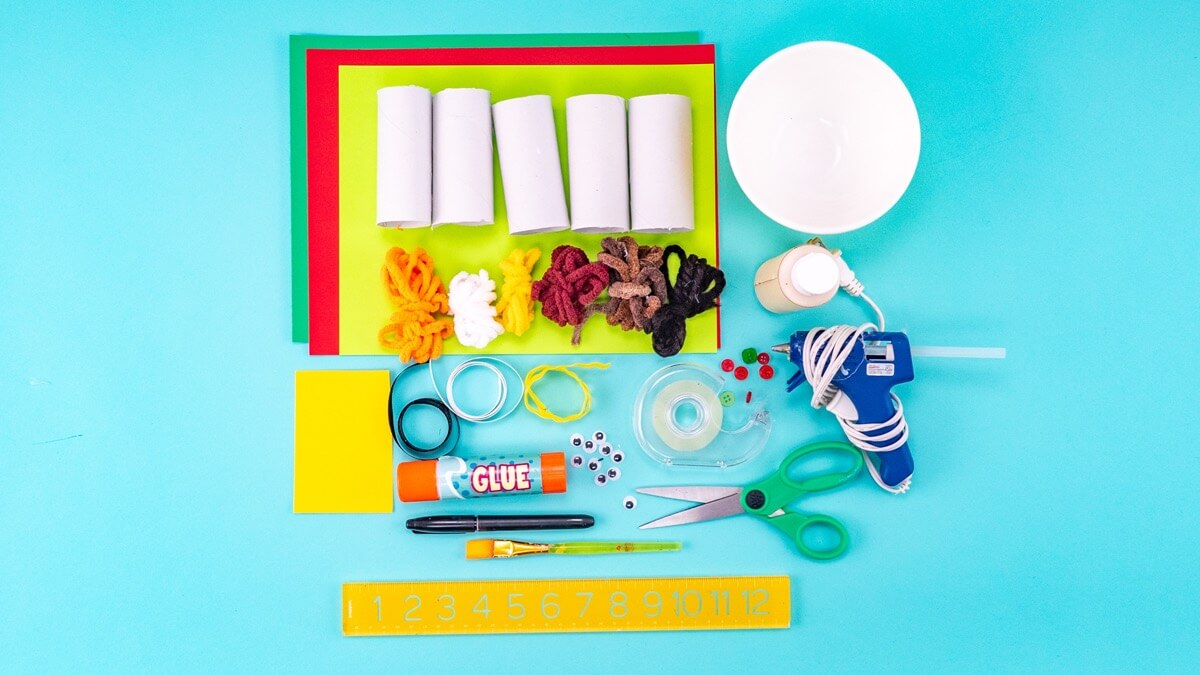
- 6 cardboard tubes
- 1 tissue box
- Our Five Little Elves Play Set printable for Santa’s sleigh – either full color or print this coloring page version to color your own!
- Craft paint
- Paintbrush
- Ribbon
- Yarn
- Construction paper
- Ruler
- Scissors
- Glue stick
- Clear tape
- Glue gun
- 5” bowl, or something else circular to trace
- Small pom poms
- Small googly eyes
- Black marker
- Small buttons, to decorate
Steps
Let’s start with Santa’s sleigh!
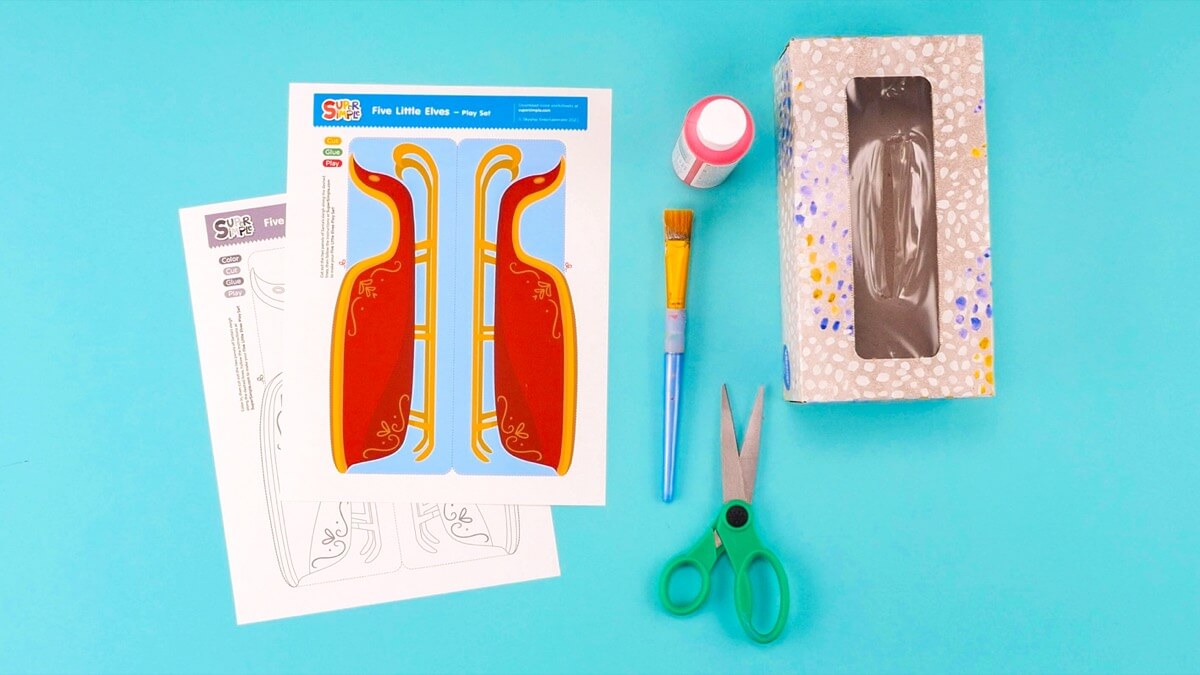
We are making Santa’s sleigh from a tissue box! You can also use our handy Santa’s sleigh printable to make your sleigh look just like the sleigh from the Five Little Elves music video. You can print it in full color or print the coloring sheet version to add your own colors to Santa’s sleigh!

Use scissors to carefully away to top of the tissue box.

Use red paint and a paintbrush to paint the small ends of the tissue box red.
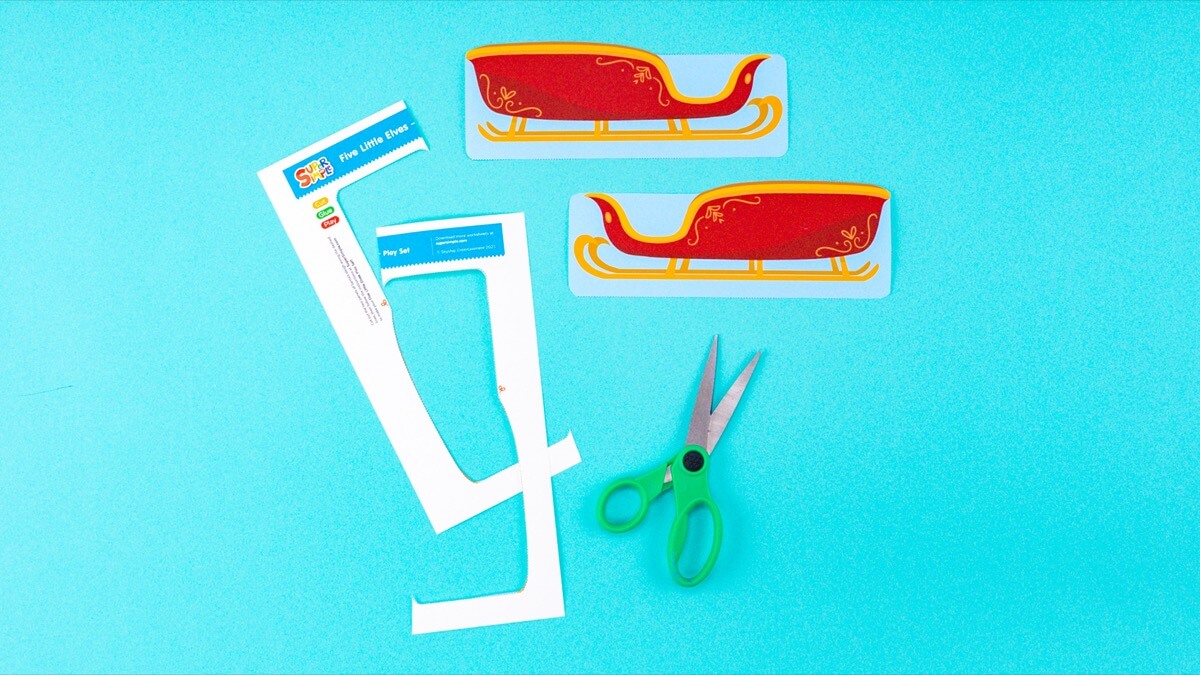
Cut out the sleigh from the Five Little Elves Play Set printable! If you printed the coloring sheet version be sure to color it in first!
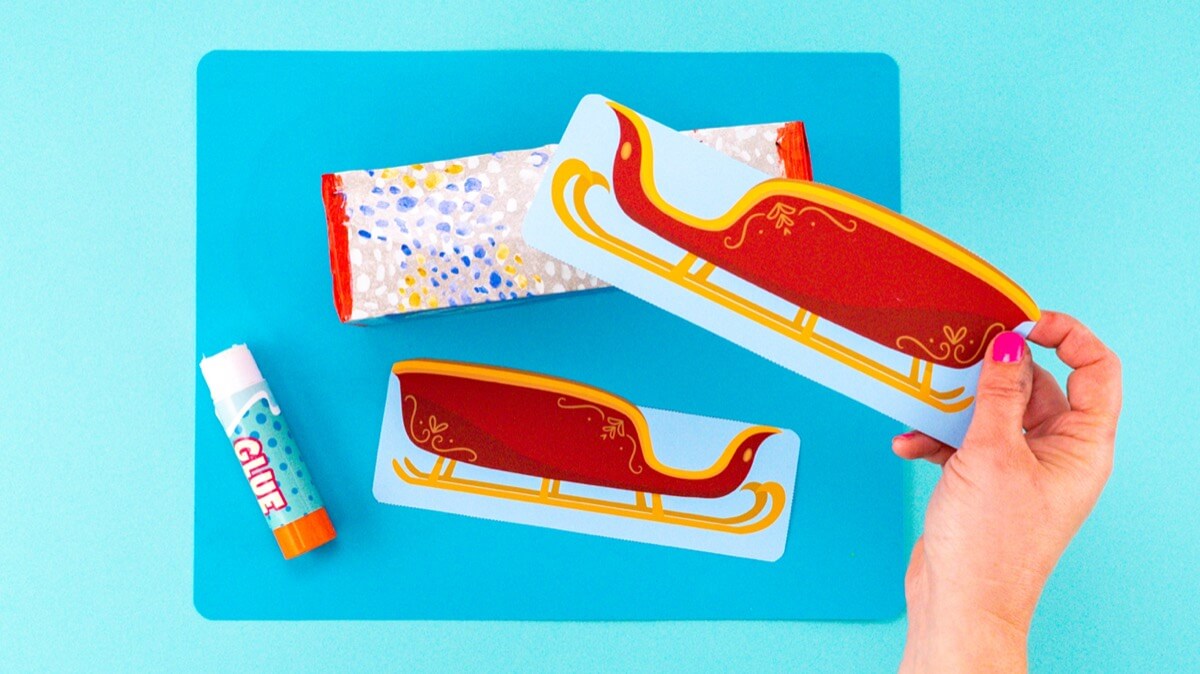
Glue the cut outs to either side of the tissue box. TIP: For smaller tissues boxes, line up the top of the sleigh to the top of the box, then fold the leftover at the bottom underneath the box and glue it into place, or cut it away.

Now your sleigh is ready! Let’s make the little elves to go inside! You can make as many as you like, and decorate them all differently to make them unique. We recommend making at least five so you can play along with the song Five Little Elves. Here’s how to do it!

Paint the top of your cardboard tube with various skin-toned shades of paint and set them aside to dry.

To make the elf’s clothing, cut a strip of construction paper about ⅔ of the height of the cardboard tubes.

Once it is cut out, you can trim the length so it wraps around your tube once.
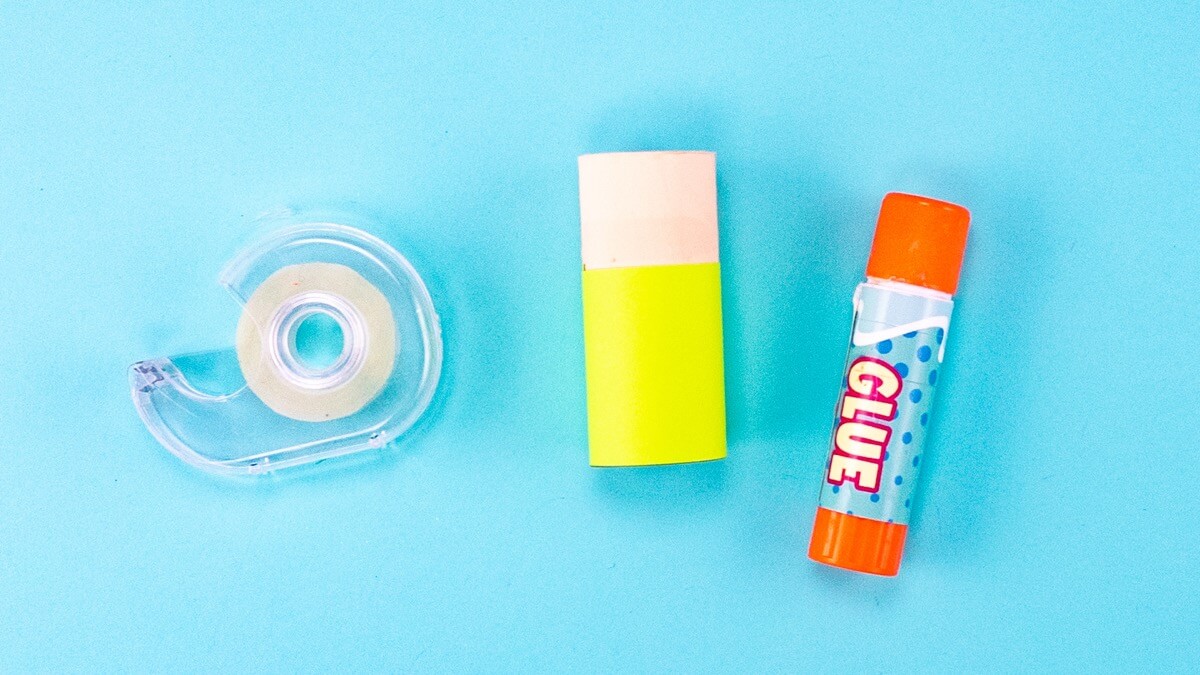
Glue the strip into place and use a piece of clear tape for added security.

Trace your 5” bowl, or something else circular, onto construction paper to make a perfect circle, then cut it out.
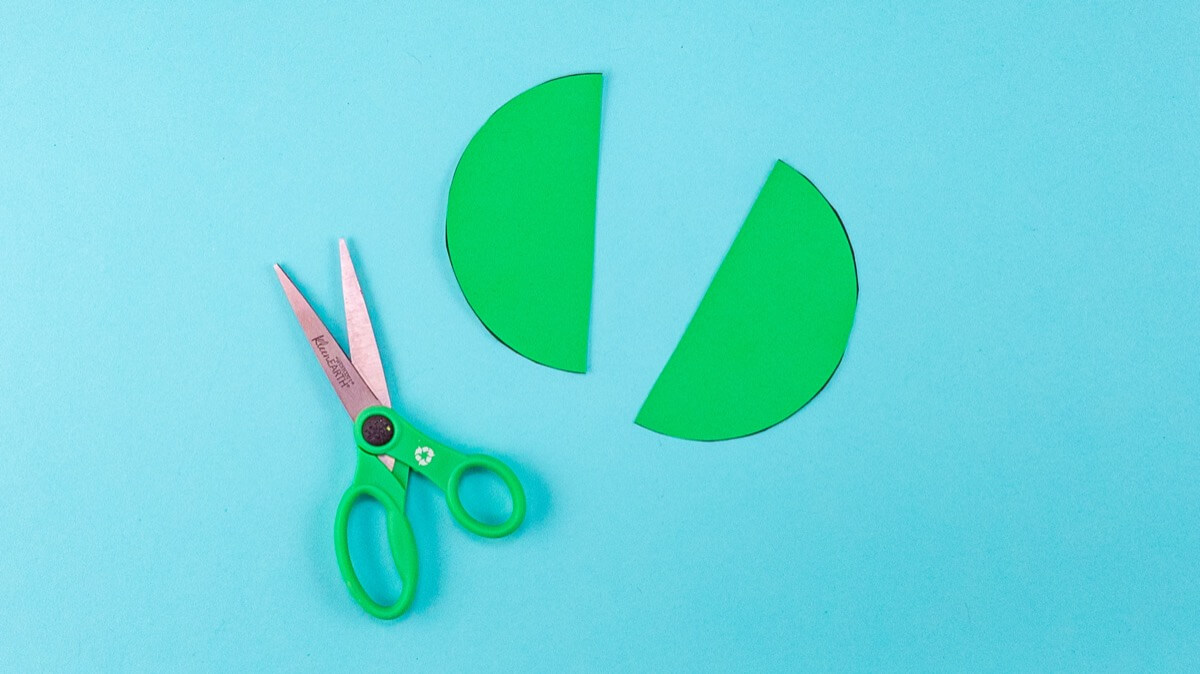
Cut the circle in half.
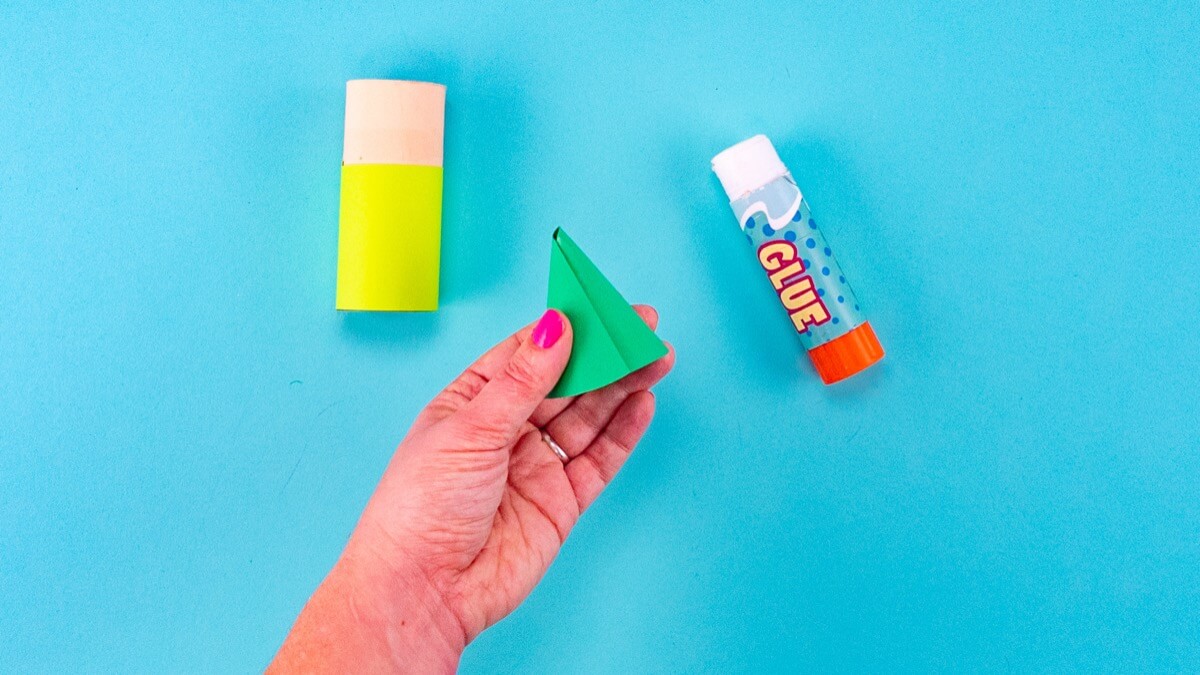
We are going to use one half of the circle to make an elf hat! Gently twist the paper into a cone shape and fold the edges inward to find the perfect size to fit on top of your cardboard tube. Use a glue stick to glue the overlapping paper in place to make your hat! Secure it with a piece of tape. You can add glue to the top of the hat to add a small pom pom, and use ribbon wrapped around the hat to decorate it. TIP: Use the other half of the circle to make a hat for another elf!
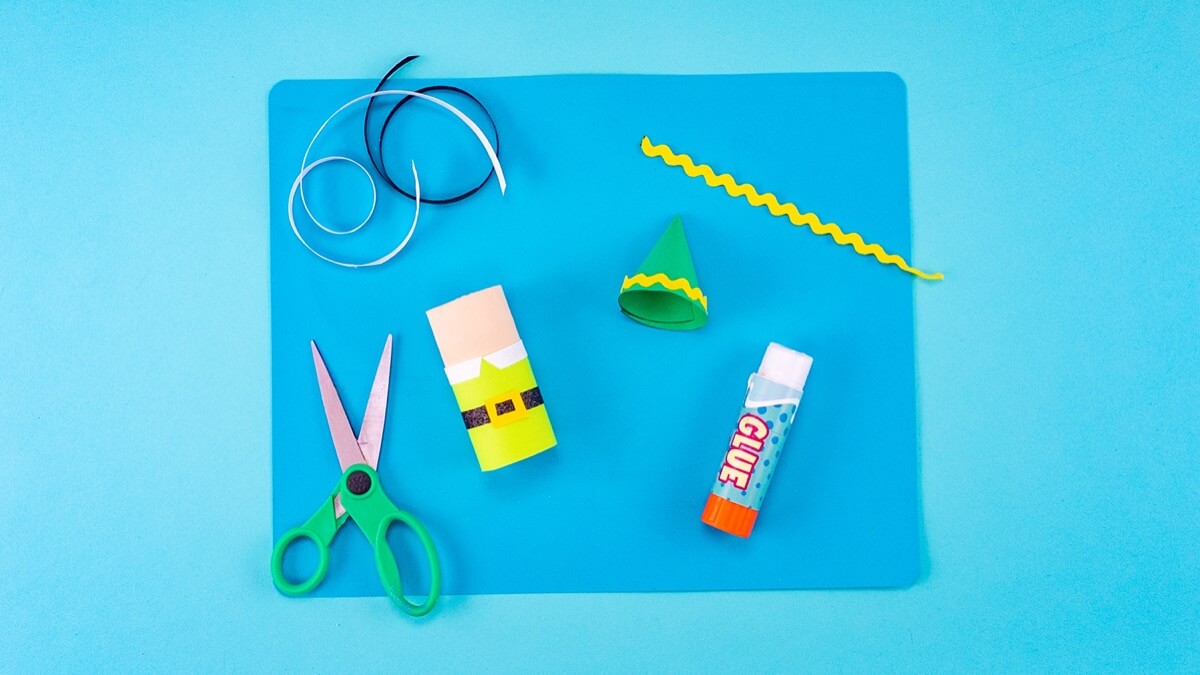
To make the elf’s belt, cut a strip of ribbon long enough to wrap around the elf and glue into place. To make the belt buckle, cut out a square of yellow paper. Fold it in half and cut away the inner square. Glue it in place onto the belt. For the collar, cut a piece of ribbon and trim the ends at an angle. Add a small button or pom pom with glue to dress it up.
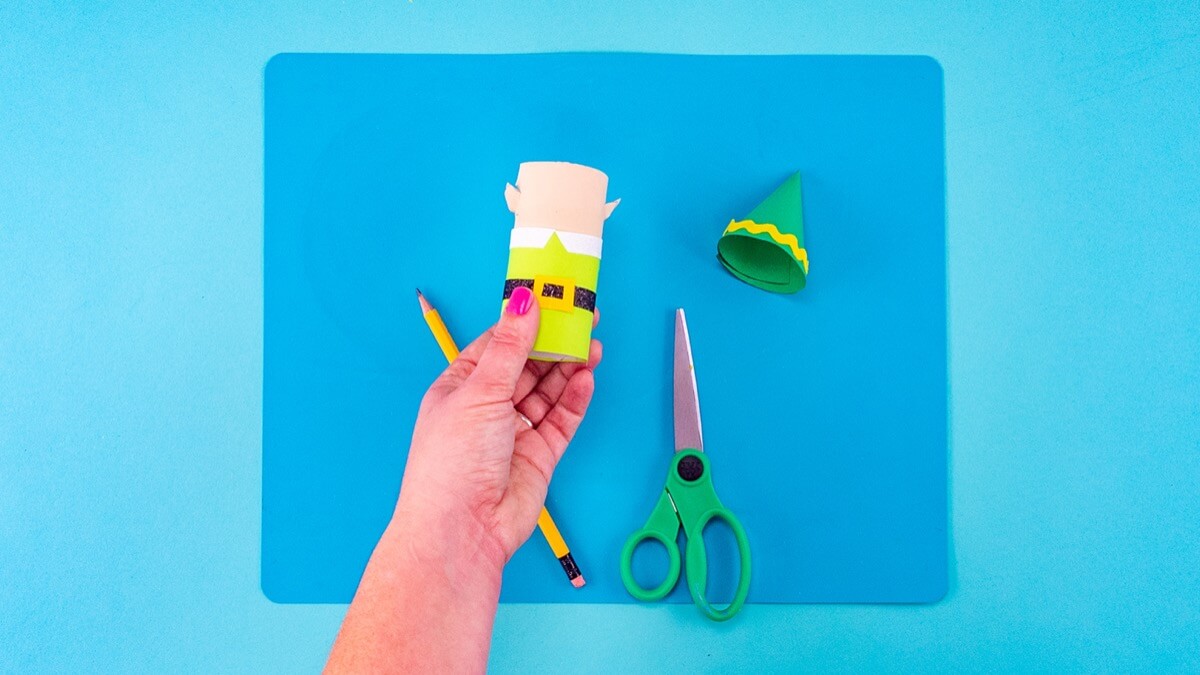
Now let’s make our elf’s ears, a very important step! To make the ears, draw the shape you would like for your ears on either side of the head. Then cut down from the top of the tube along this line and gently fold the ears forward!
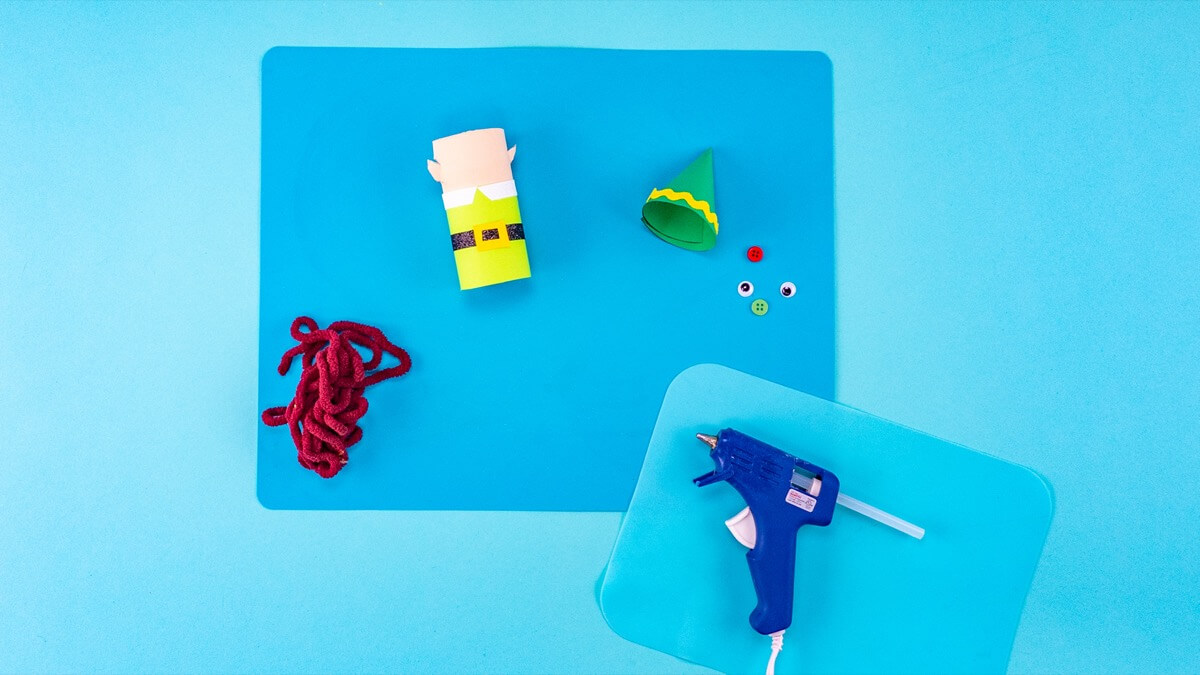
To add the elf’s hair, use a glue gun to trace glue around the top of the heads and the behind ears. Stick the yarn in place and fill in the center of the head with squiggles of yarn.
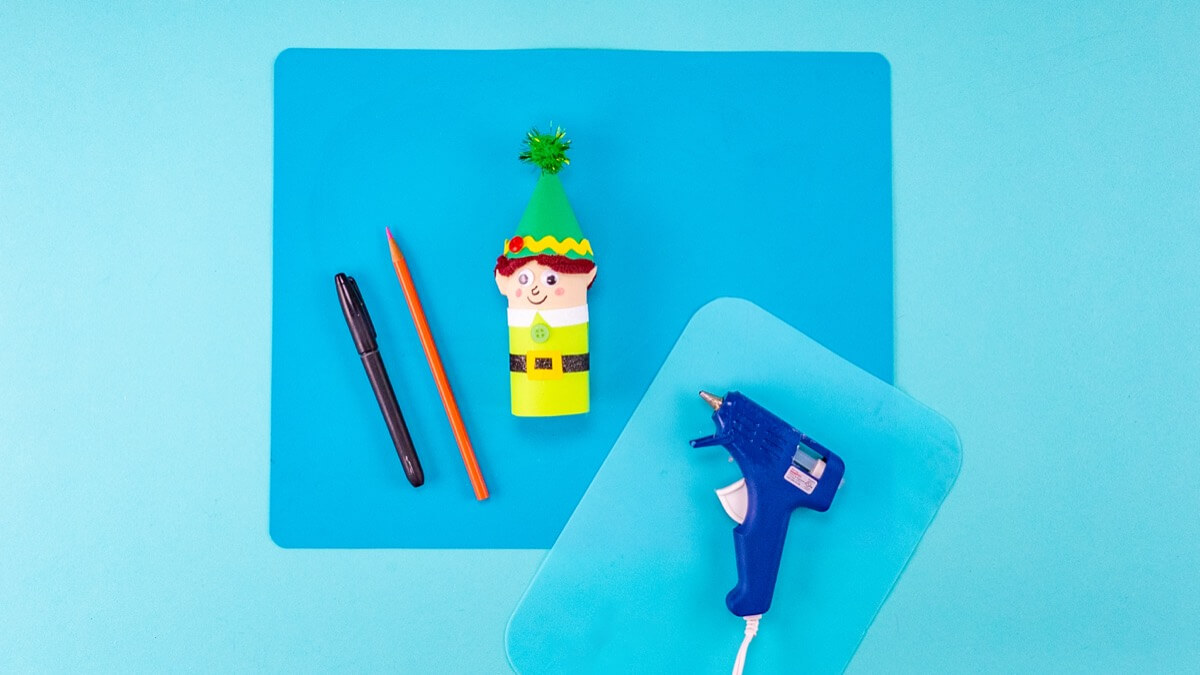
We are almost done! To finish our elf’s face, add some small googly eyes with your glue gun. Draw a nose and mouth with your black marker, and you can also add a little dot of pink paint to make rosy cheeks.
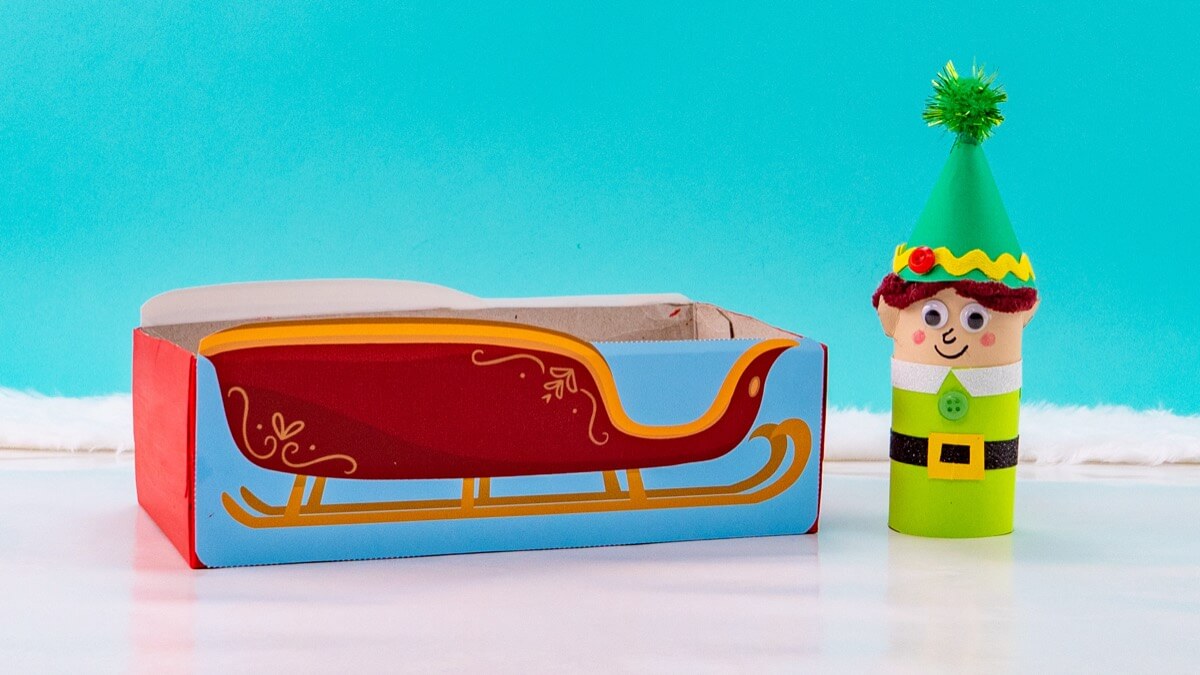
This elf is ready for a ride in Santa’s sleigh!
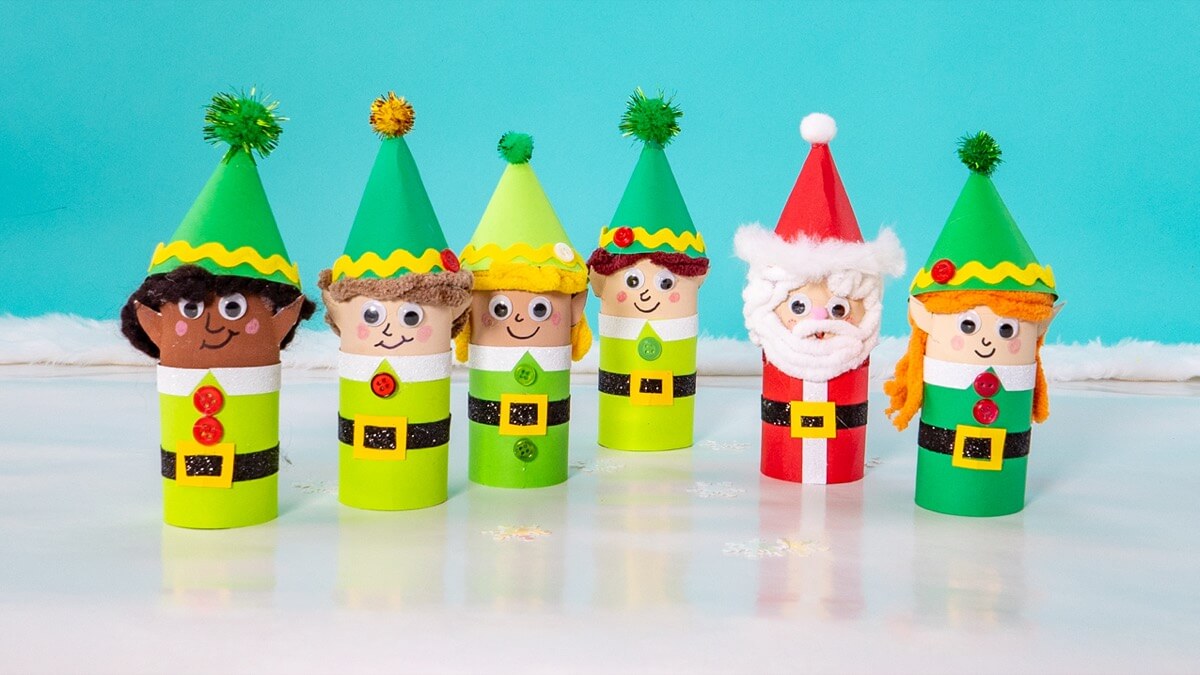
You can make the rest of the elves and Santa by following the same instructions. For Santa, simply use red paper to make Santa’s hat and coat. We also added a white wooly beard to his face using some white wool and the glue gun. Santa will want some rosy cheeks and we also added a small pink pom pom for his nose!
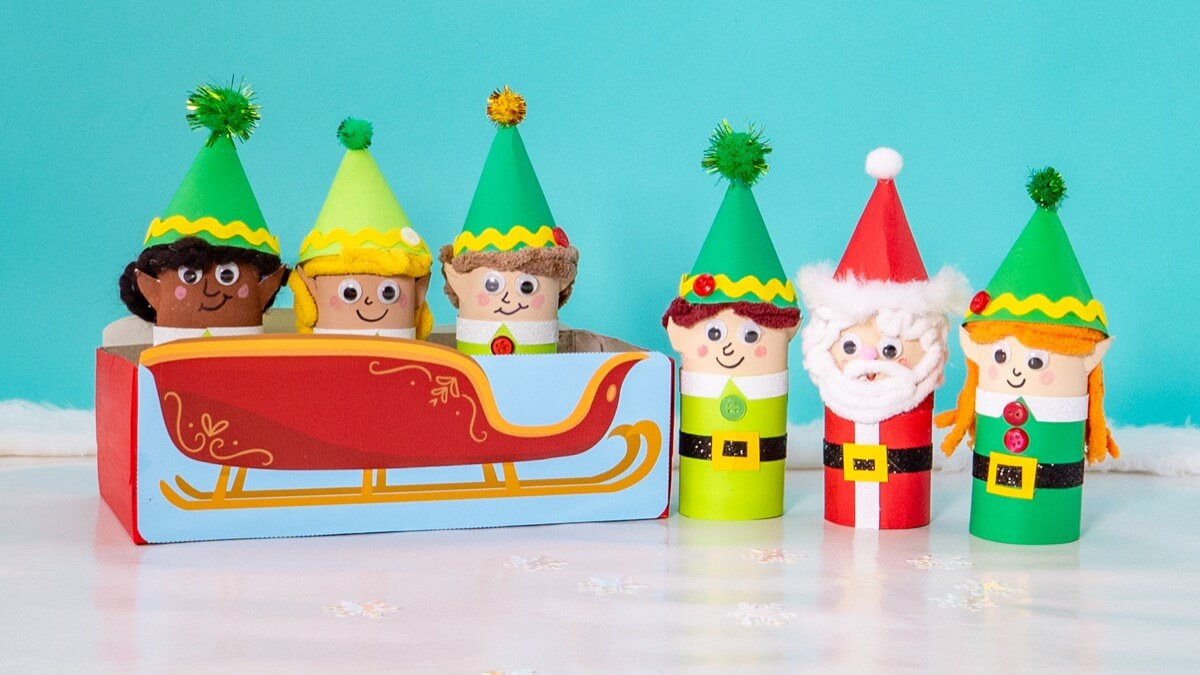
Are you ready little elves? Let’s go for a ride! Follow along to the song Five Little Elves as you play! Merry Christmas to all, and to all a good night!

Looking for more great educational activities to go along with our video content? Sign up for the Super Simple Newsletter to get great ideas sent directly to you!
Find other Super Simple Christmas videos, craft, activities, and more!
Don’t forget to follow us on Twitter, Instagram, Pinterest, and Facebook!
Original content © 2021 Super Simple. Not to be reprinted without express written permission. Terms of Service.

