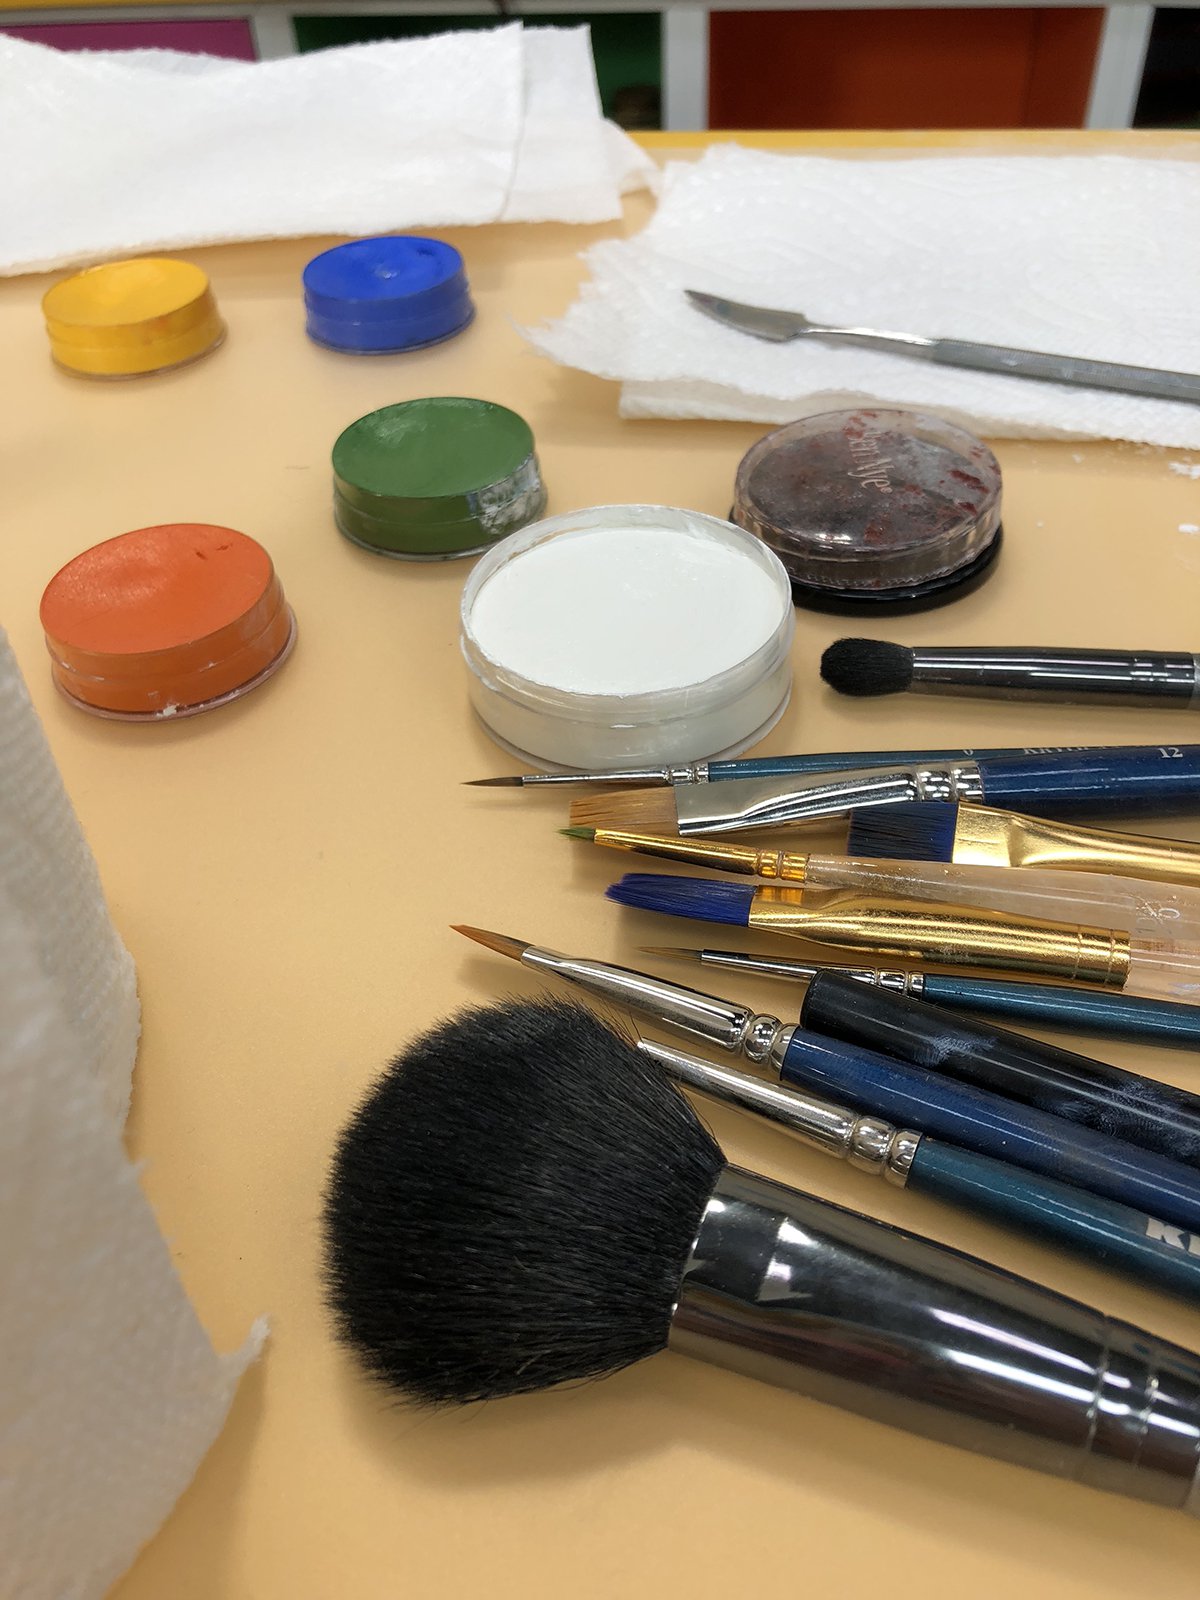
What you’ll need:
- Blue Face Paint
- White Face Paint
- Red Face Paint
- Black Face Paint
- Setting Powder
- Small brush
- Powder Brush
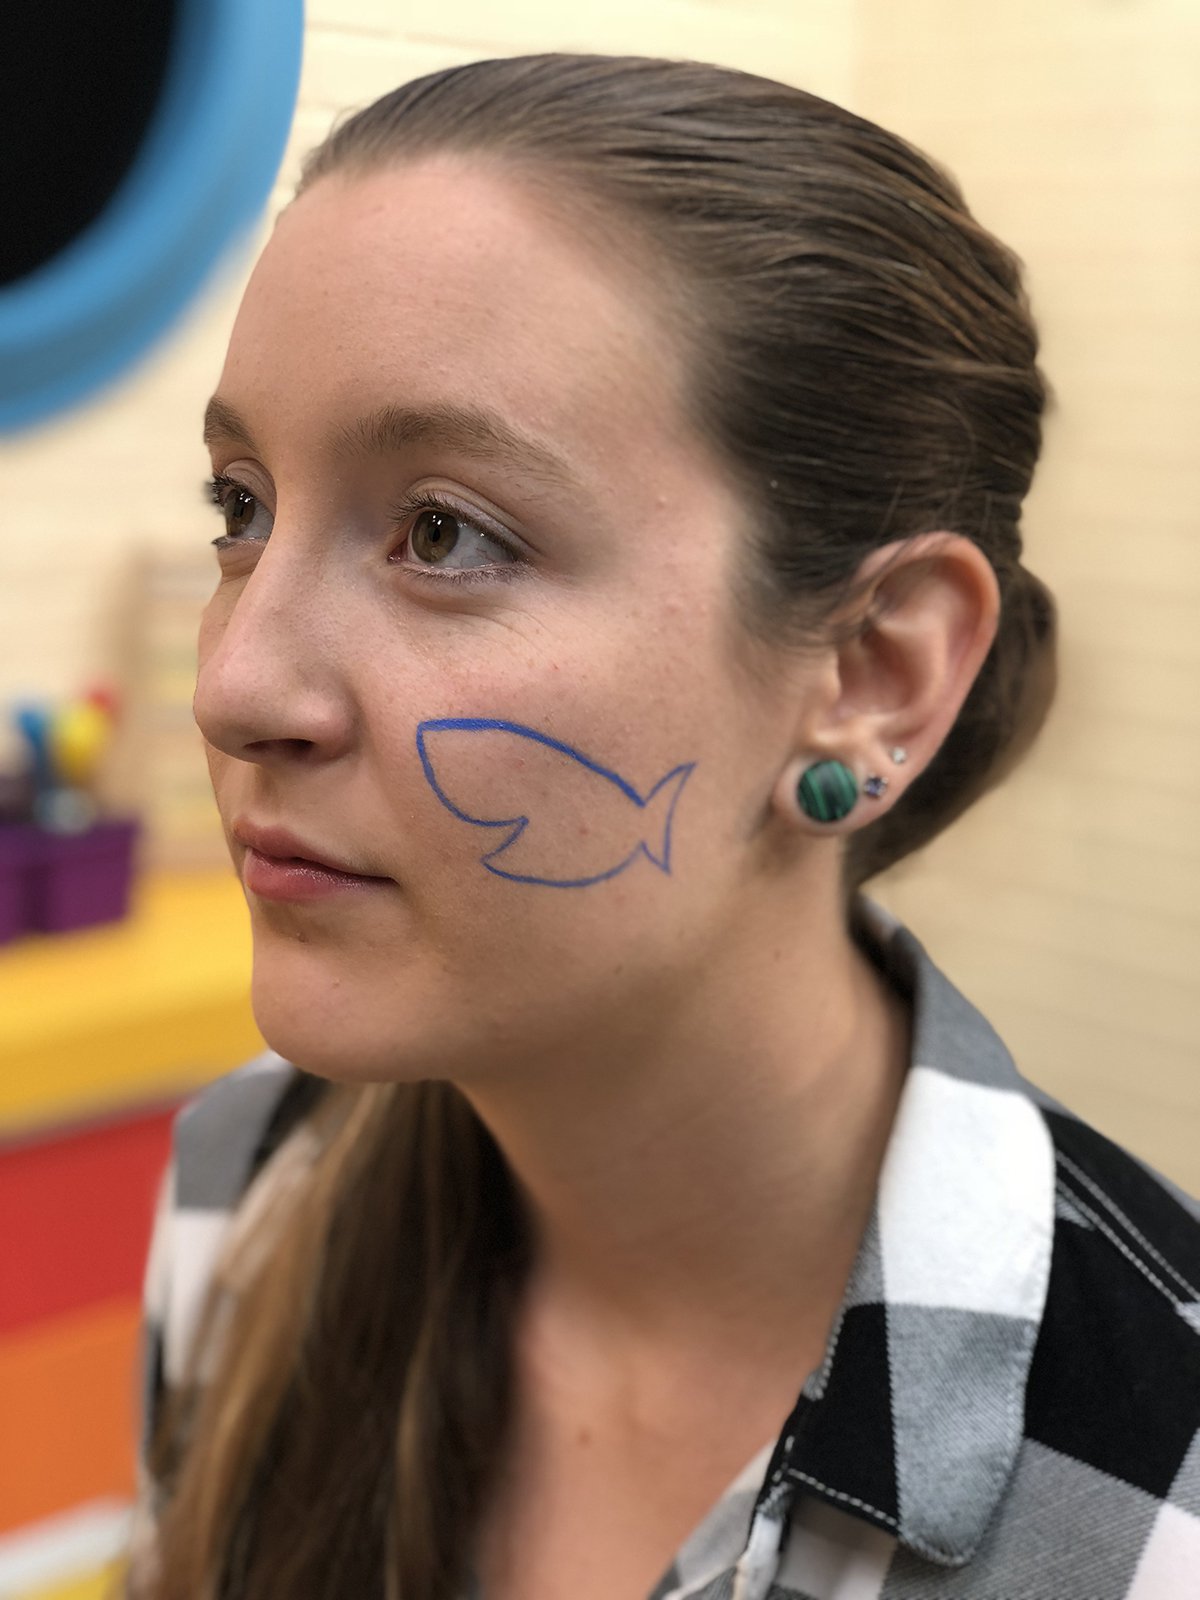
STEP ONE
Draw the outline of Baby Shark in blue paint. He can be made with 3 continuous lines. One slightly curved line for the top of his head/body. A second on the bottom that makes up his mouth. And a final crescent shaped one to close everything together.
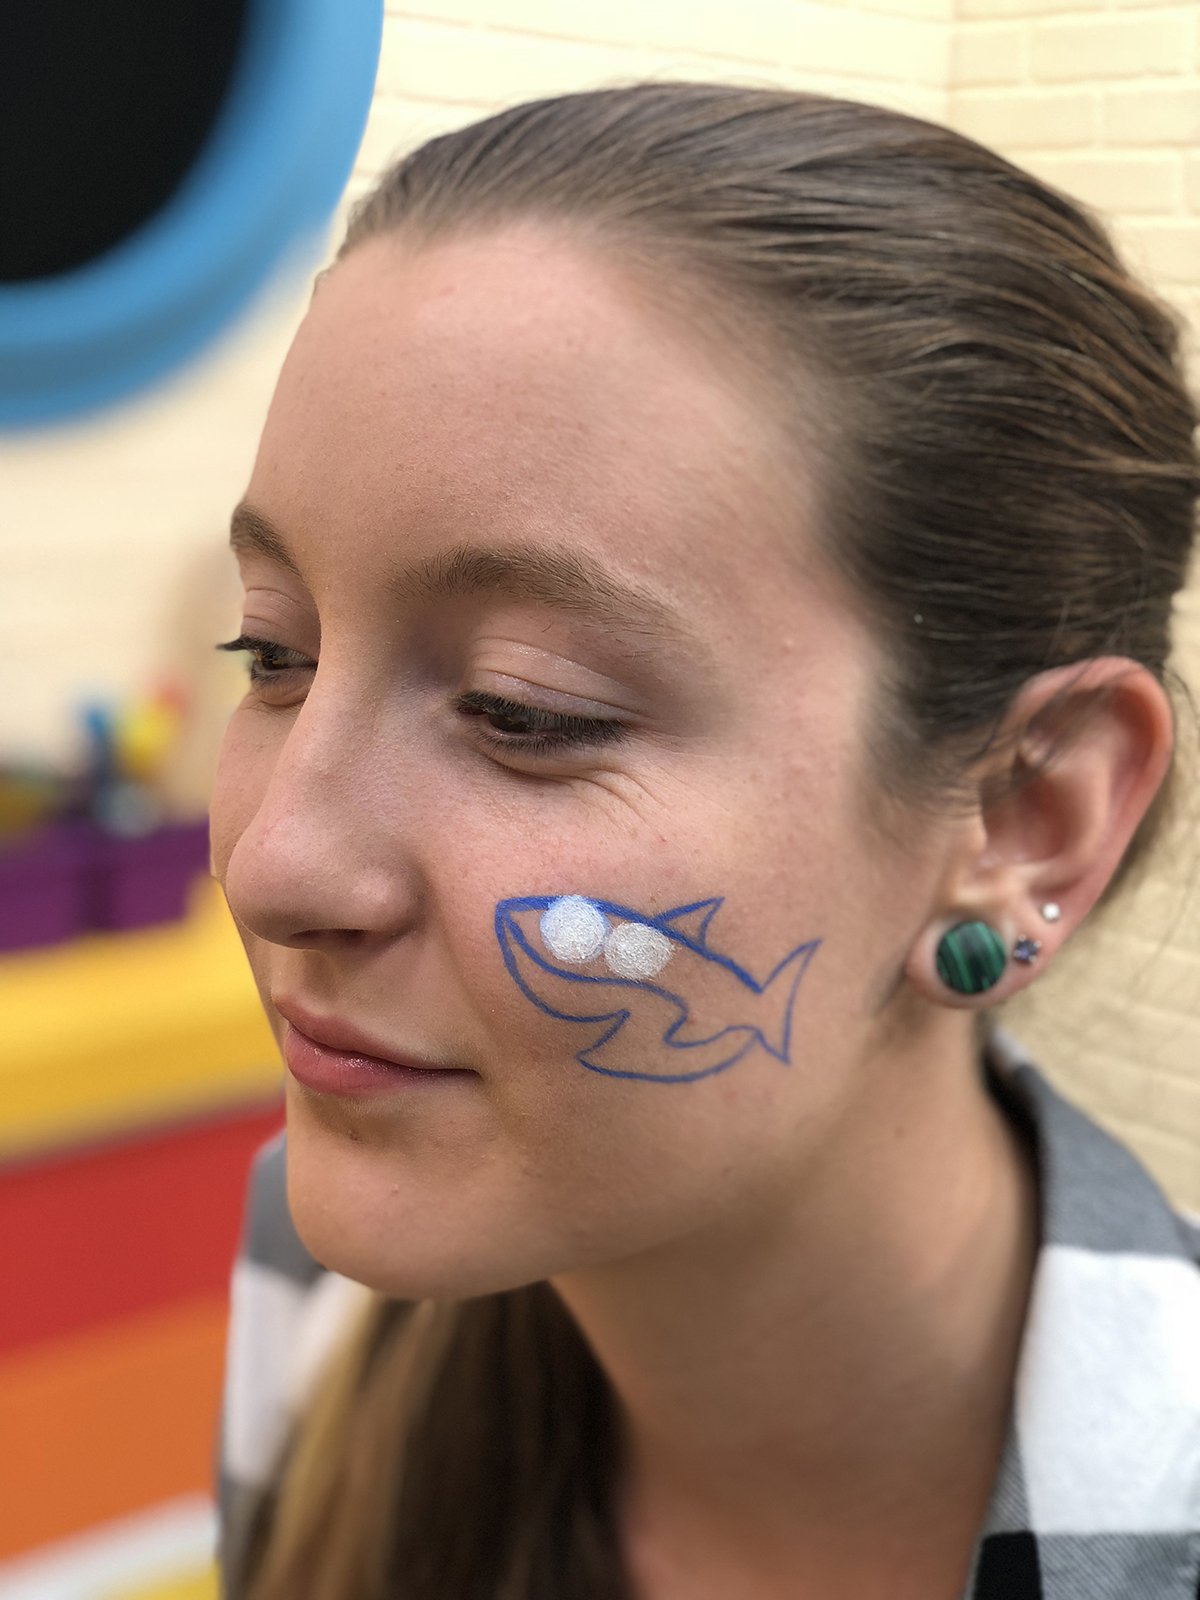
STEP TWO
Draw a line through the centre of Baby Shark’s body to create the top and bottom halves and his fin. Paint two large circles in the top section and fill them in with white for his eyes. Add his dorsal fin on the top.
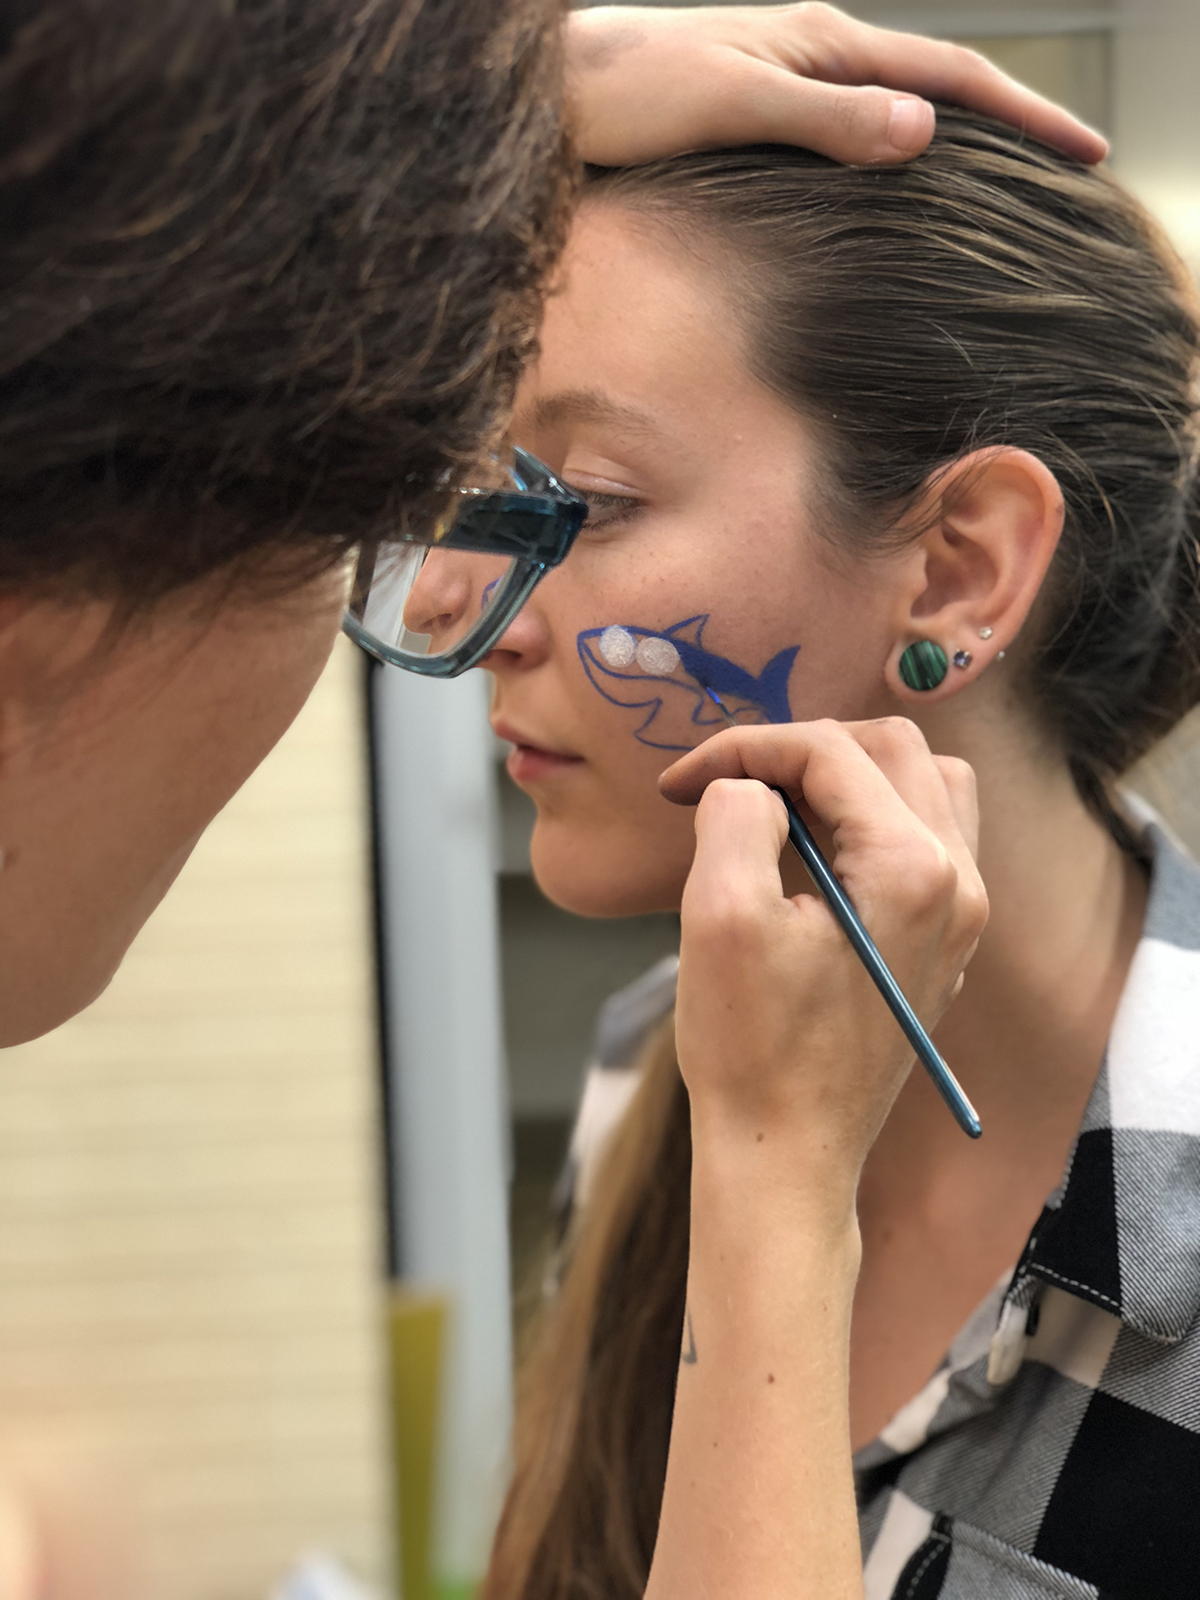
STEP THREE
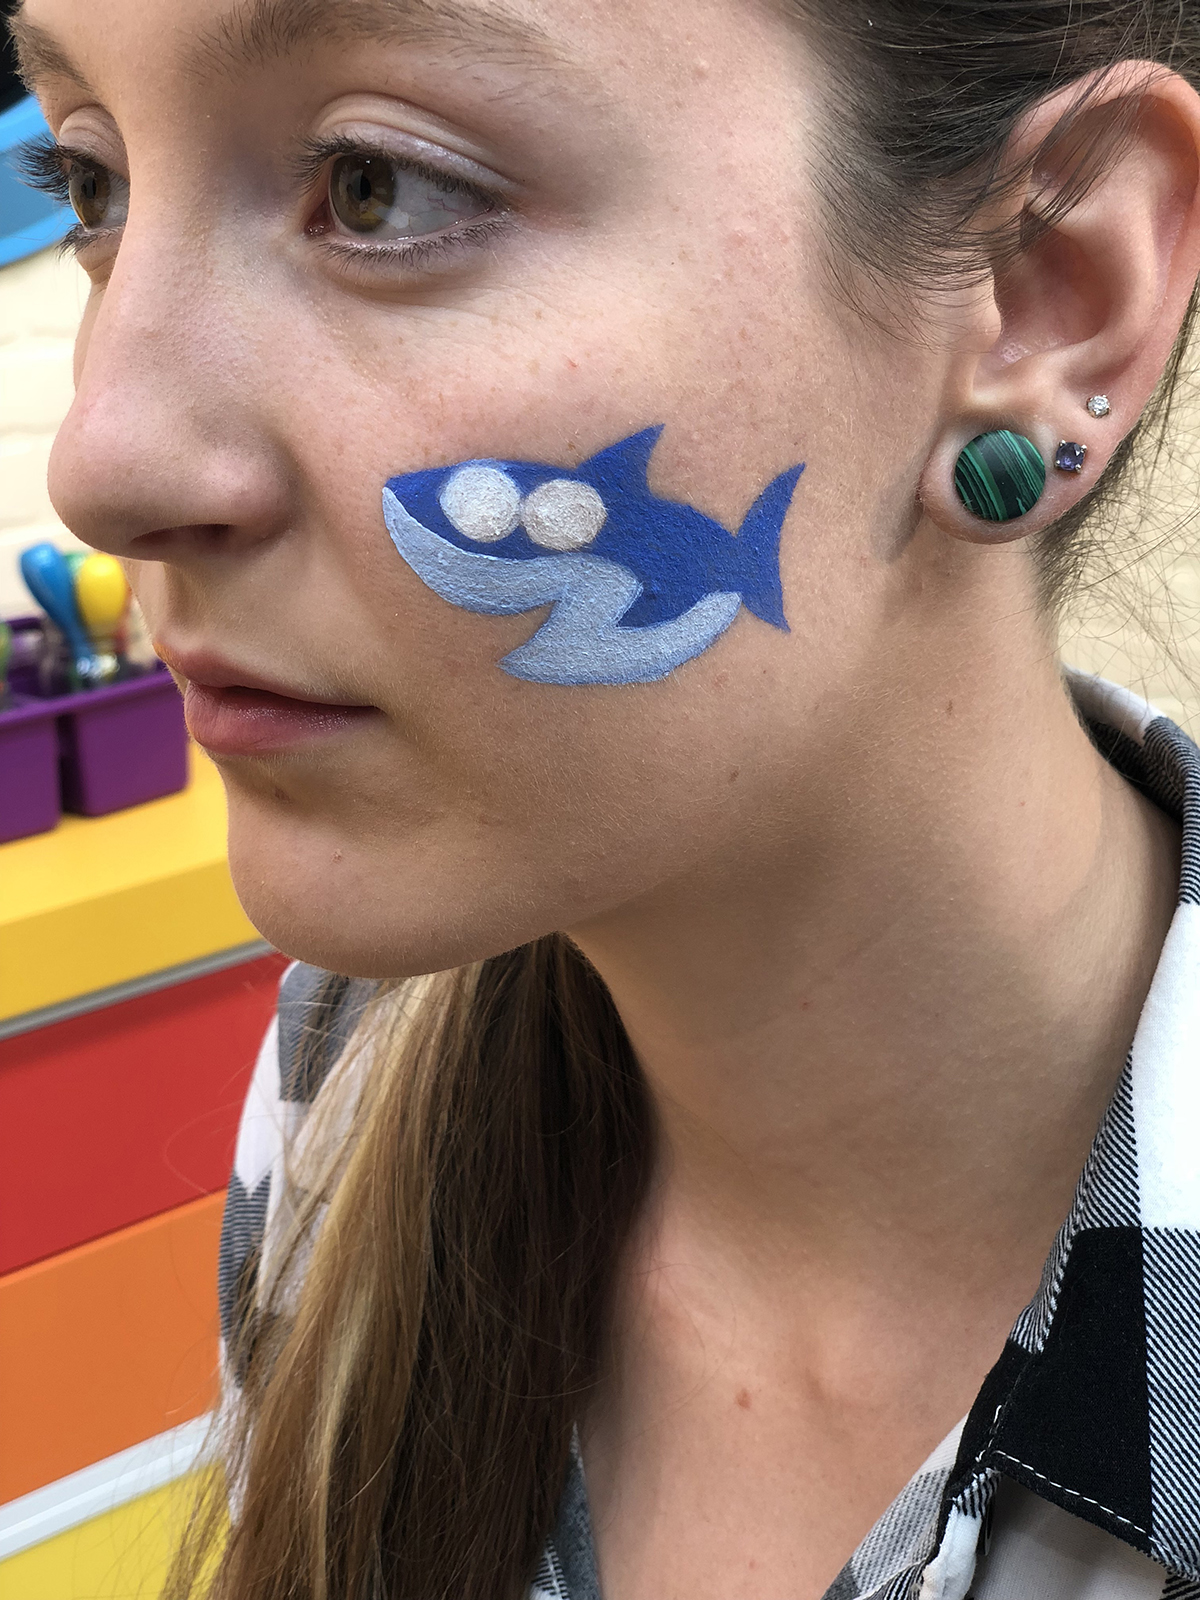
Fill the top section with the blue paint.
STEP FOUR
Mix together the blue & white paints to get light blue and fill in the bottom section.
STEP FIVE
Set what you’ve got so far with a little bit of setting powder on your powder brush. Make sure you’re pressing it into the design and not brushing so you don’t smudge anything.
STEP SIX
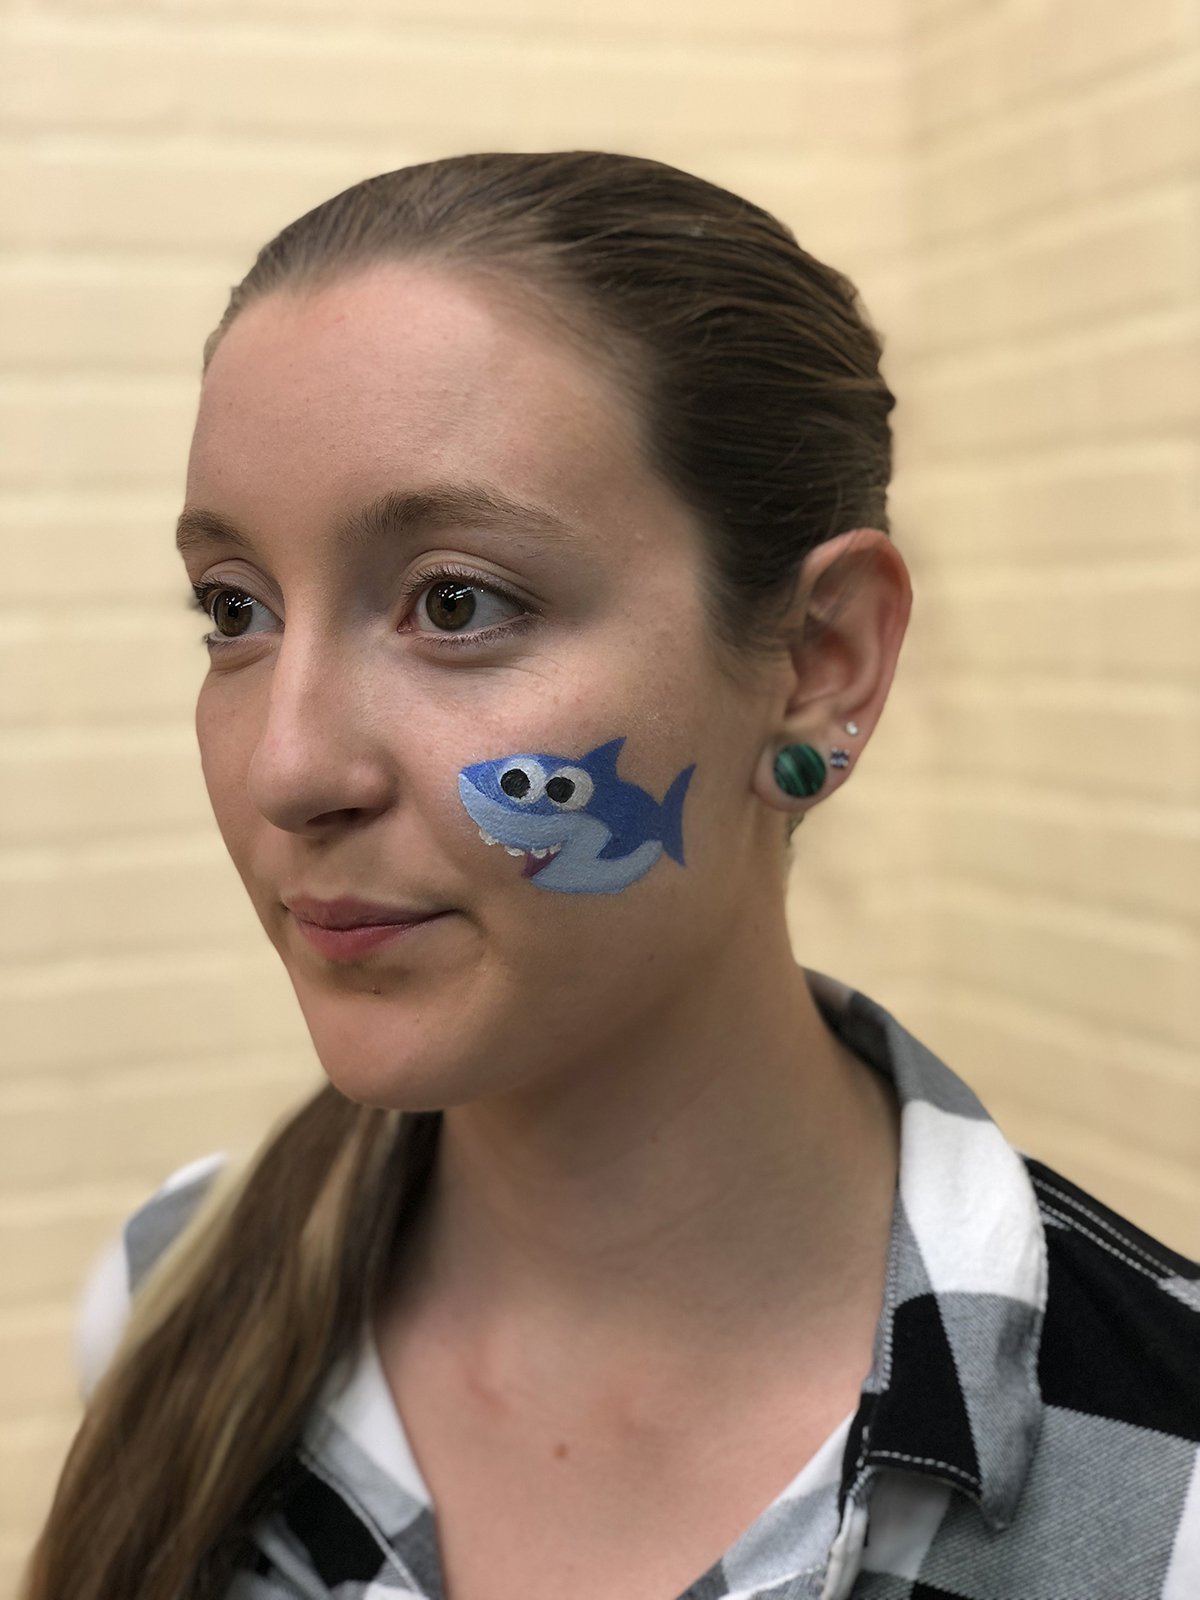
Add in his pupils in black paint inside the white circles. Create teeth by painting small half circles on the top of his mouth. And finally, mix red & white together to get pink and fill in the bottom half of his mouth.
Congrats, you’ve painted Baby Shark!
Don’t forget to follow us on Twitter, Instagram, Pinterest and Facebook!
 Contributor
Emily Jewer is a Halifax based photographer. Her company MJ Photographics specializes in portraiture, occasionally working with families and couples, but mainly focussing on headshots for performers of all kinds including many kid and teen actors in the region. Emily is also a theatre artist, working as an actor, stage manager and director on many Halifax productions. She works with kids at Neptune Theatre School and as a child supervisor for kids onstage in professional theatre productions.
Original content © 2018 Super Simple. Not to be reprinted without express written permission. Terms of Service.

