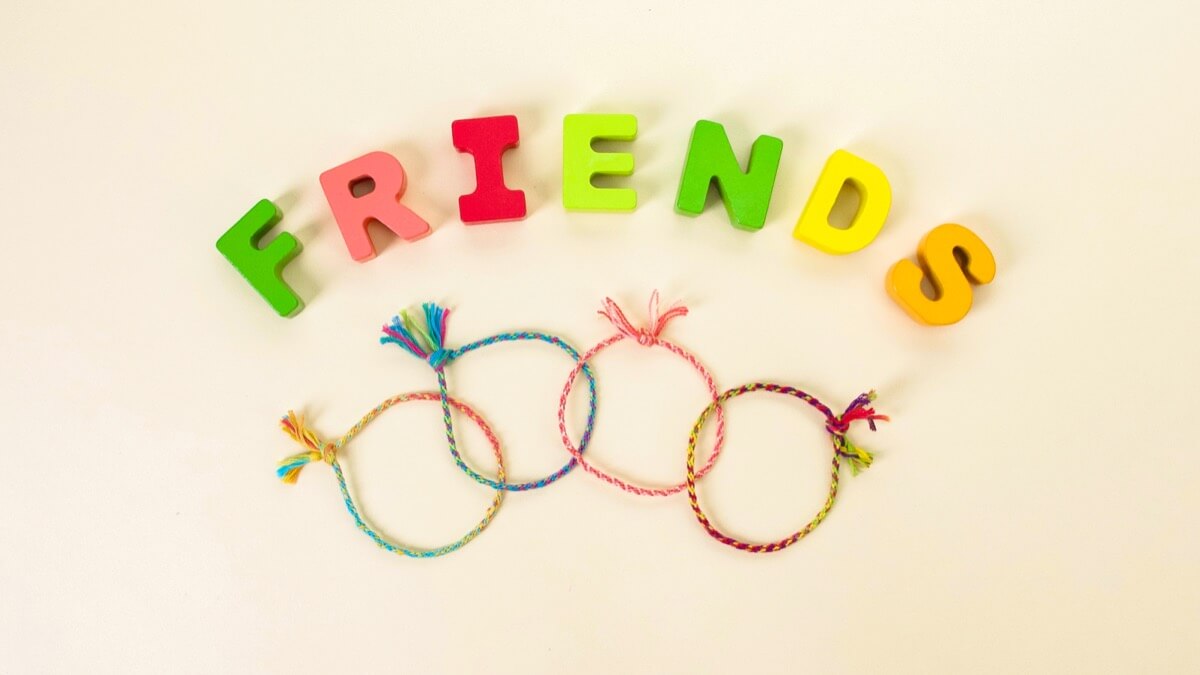
Calling all besties, bff’s, friends, classmates and neighbors! Who loves their friends and wants to show them some love with a gift? Friendship bracelets are a camp classic rainy day activity and a great way to show the world who we love and who loves us back. We’re also fans of making yourself some friendship bracelets, too!
This activity is best suited for an older child or teen. However, younger children can have fun weaving as well if you get them set up and use some thicker string, like yarn, so it’s easier for little hands to grab.
Okay, let’s get started!
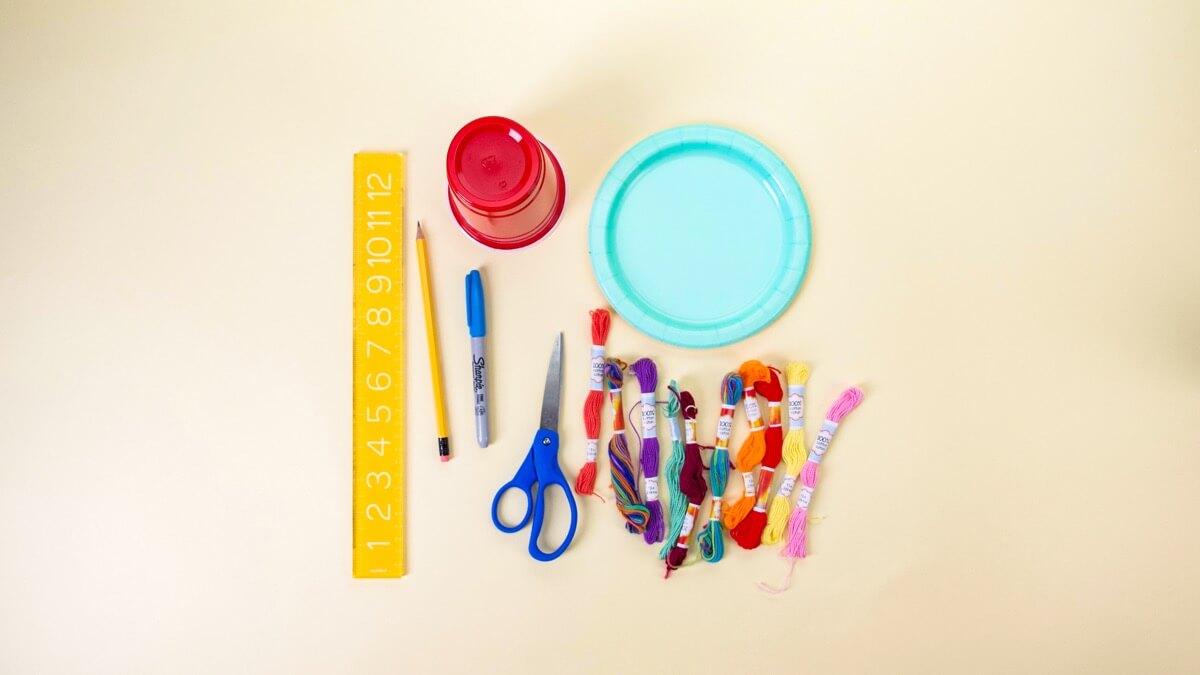
Things you’ll need
- Cardboard (from a recycled cereal box or a paper plate)
- Cup to trace a circle about 3.5” to 4”
- Marker
- Scissors
- Embroidery thread or yarn
- Sharp pencil
- Push pin
- Ruler
- Clear tape

First, make your bracelet loom. Trace your cup onto a piece of thin cardboard and cut it out.
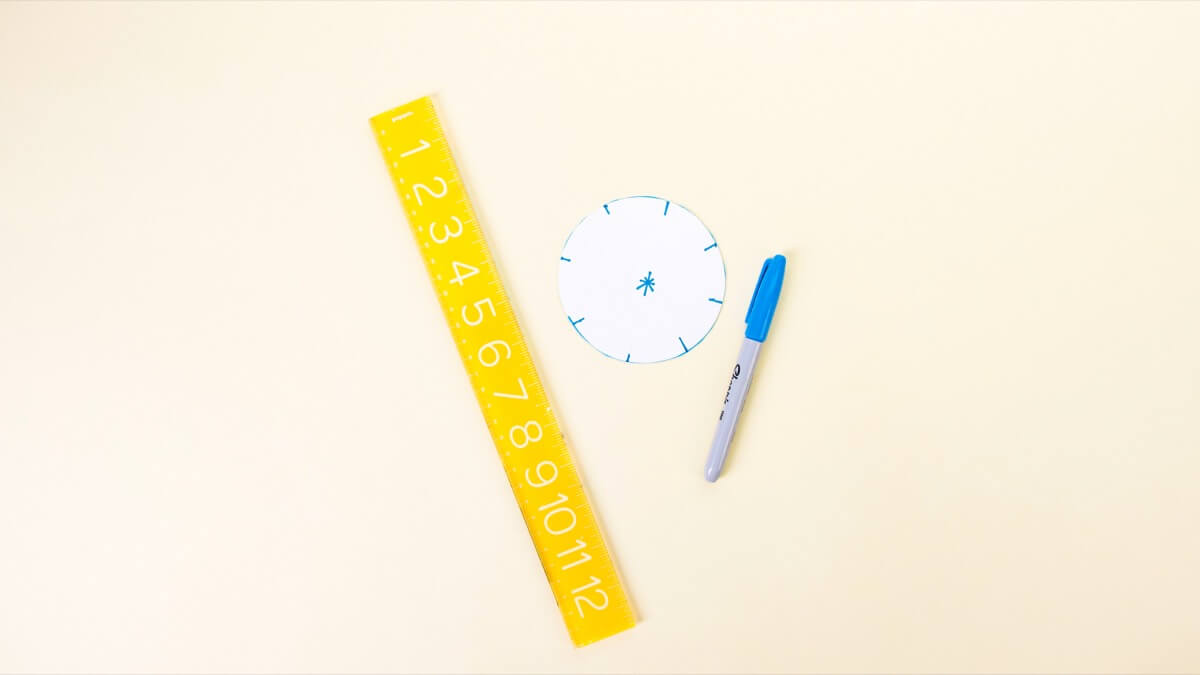
With a ruler, divide the circle into eight equal sections. You can do this by dividing the circle into four, and then four again. Mark these edges with a marker.
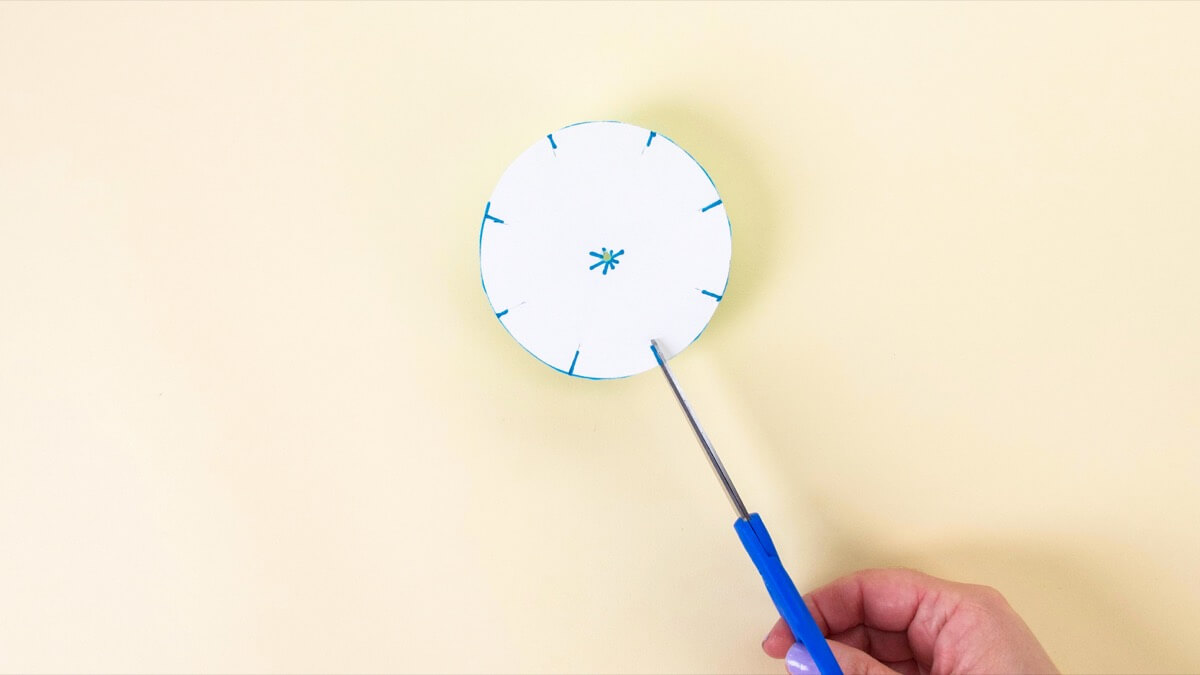
Using scissors, snip a 1/4“ opening at the tip of each of the eight sections on your loom.
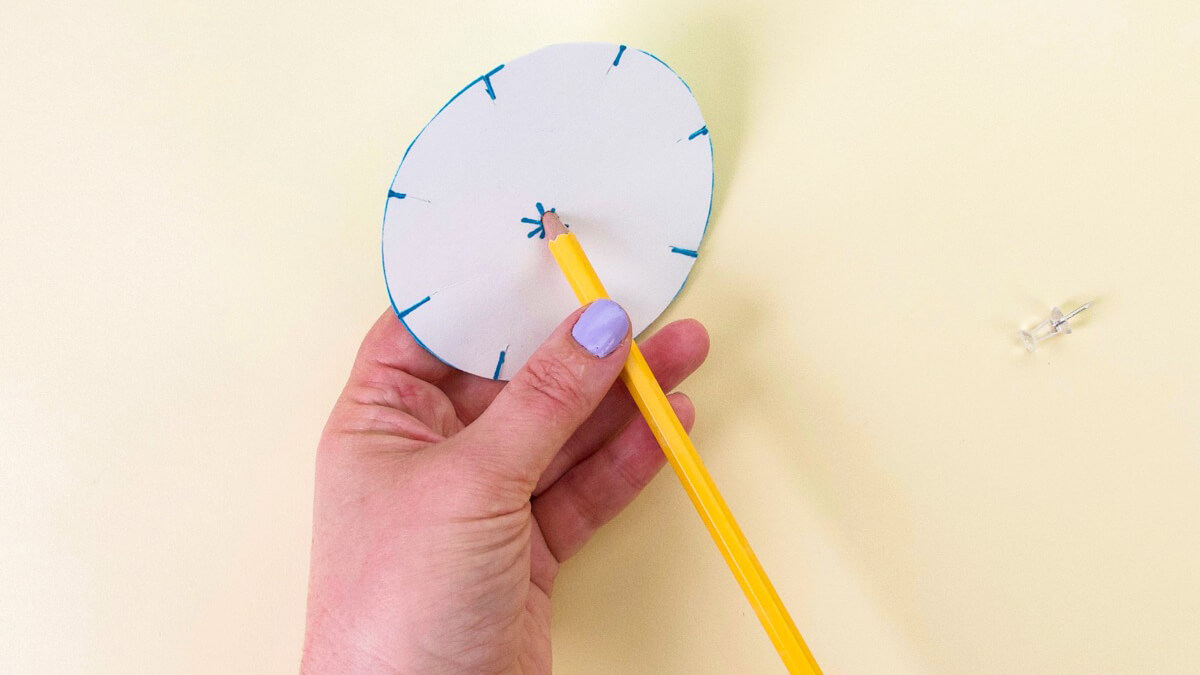
Use your push pin to make a hole in the centre of your loom. Next, widen the hole with your pointy pencil. At this stage you can cut all of the thread you will need to make your bracelet. First, measure the circumference of your wrist by wrapping some thread around it. When you have found this length, double it and that will give you one strand. Cut seven strands in total. You can be creative and use all different colors!
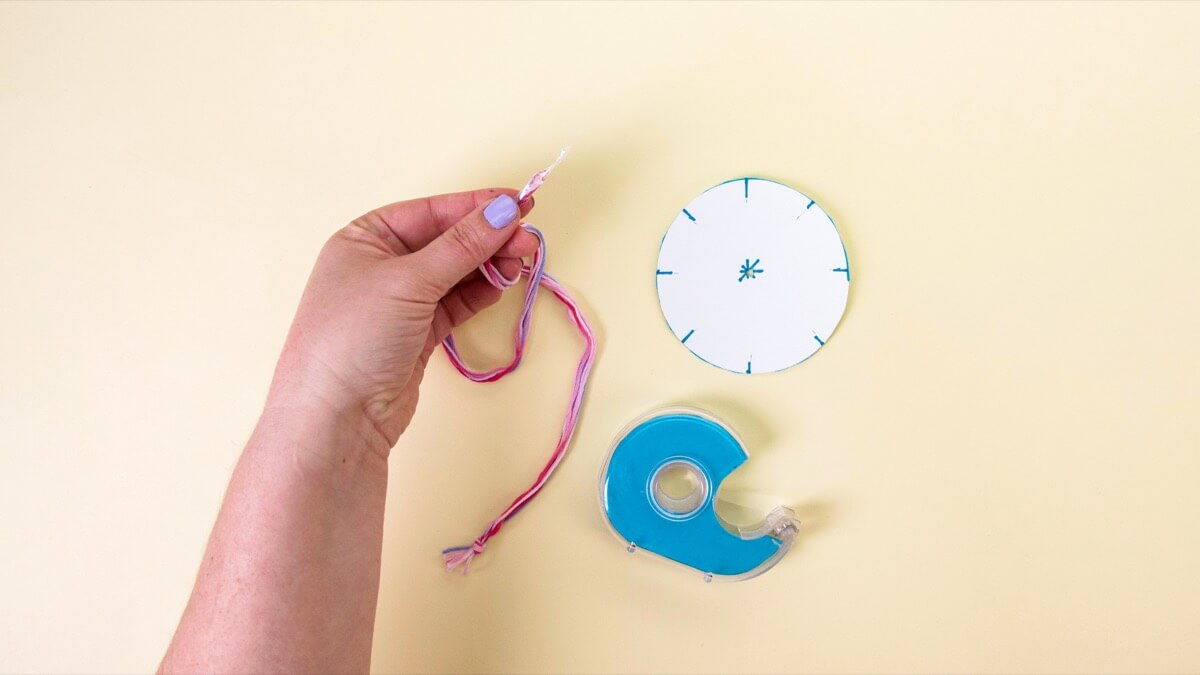
Tie all of the strands together with a knot and wrap some clear tape around the other end to make a point.
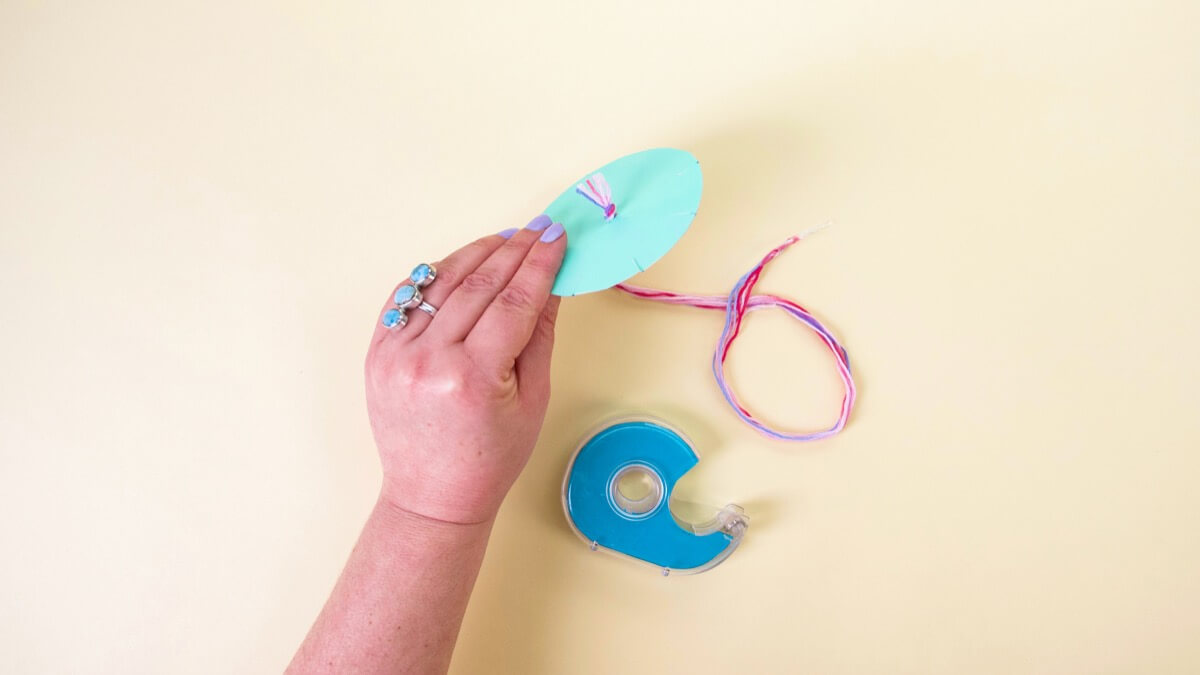
Now that you have a pointy end, you should be able to thread it through your hole in the centre of the loom. Pull them all the way through so the knot is flush with the bottom of your loom.
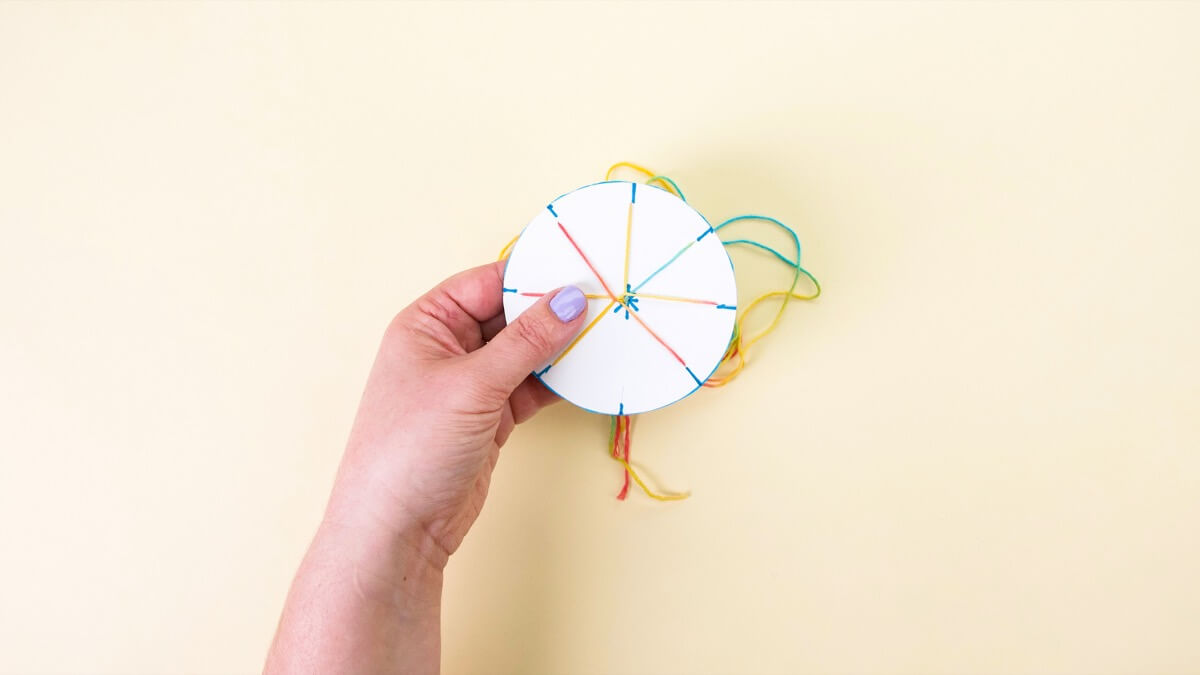
Put one string in each of the cut slots of your loom.

So, you have seven strings and eight slots. That leaves you with one empty slot at all times. As a rule, always face the empty slot closest to you. Count three strings up on the right. Grab this string and feed it in the empty slot in front of you. Rotate your loom so the new missing slot is now in front of you and repeat this step over and over.
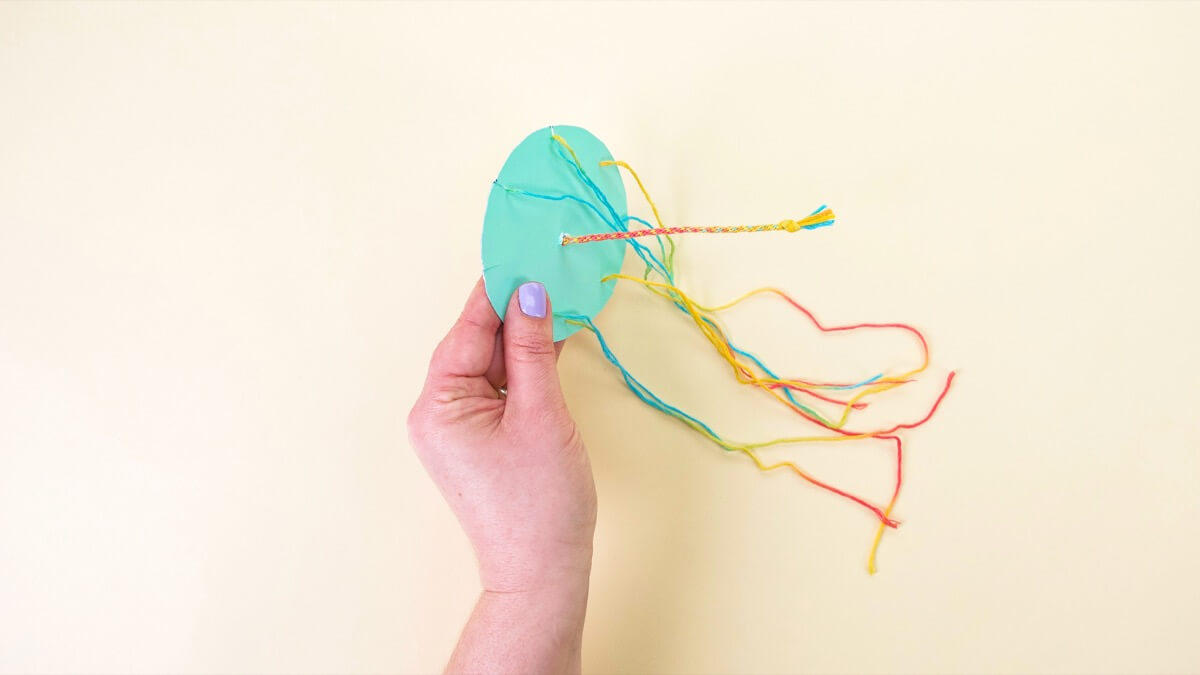
Once you get the hang of it, it’s fun to weave and talk with your friends!
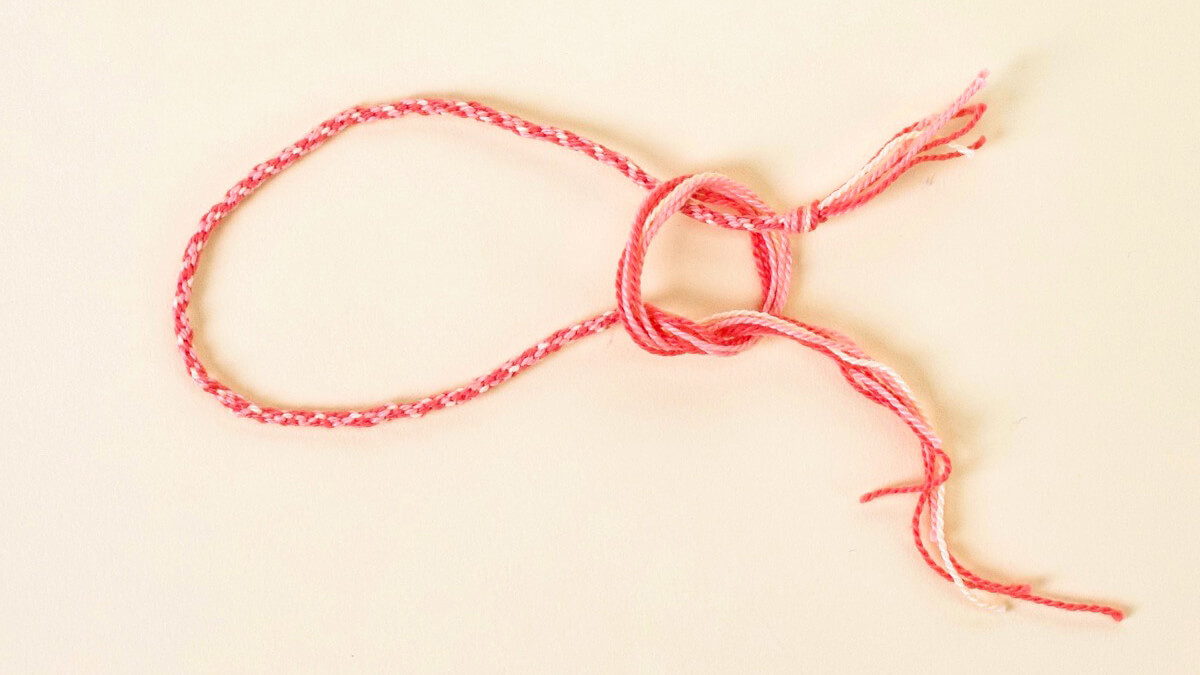
When you’ve reached your desired length, remove the bracelet from the loom and tie a knot.
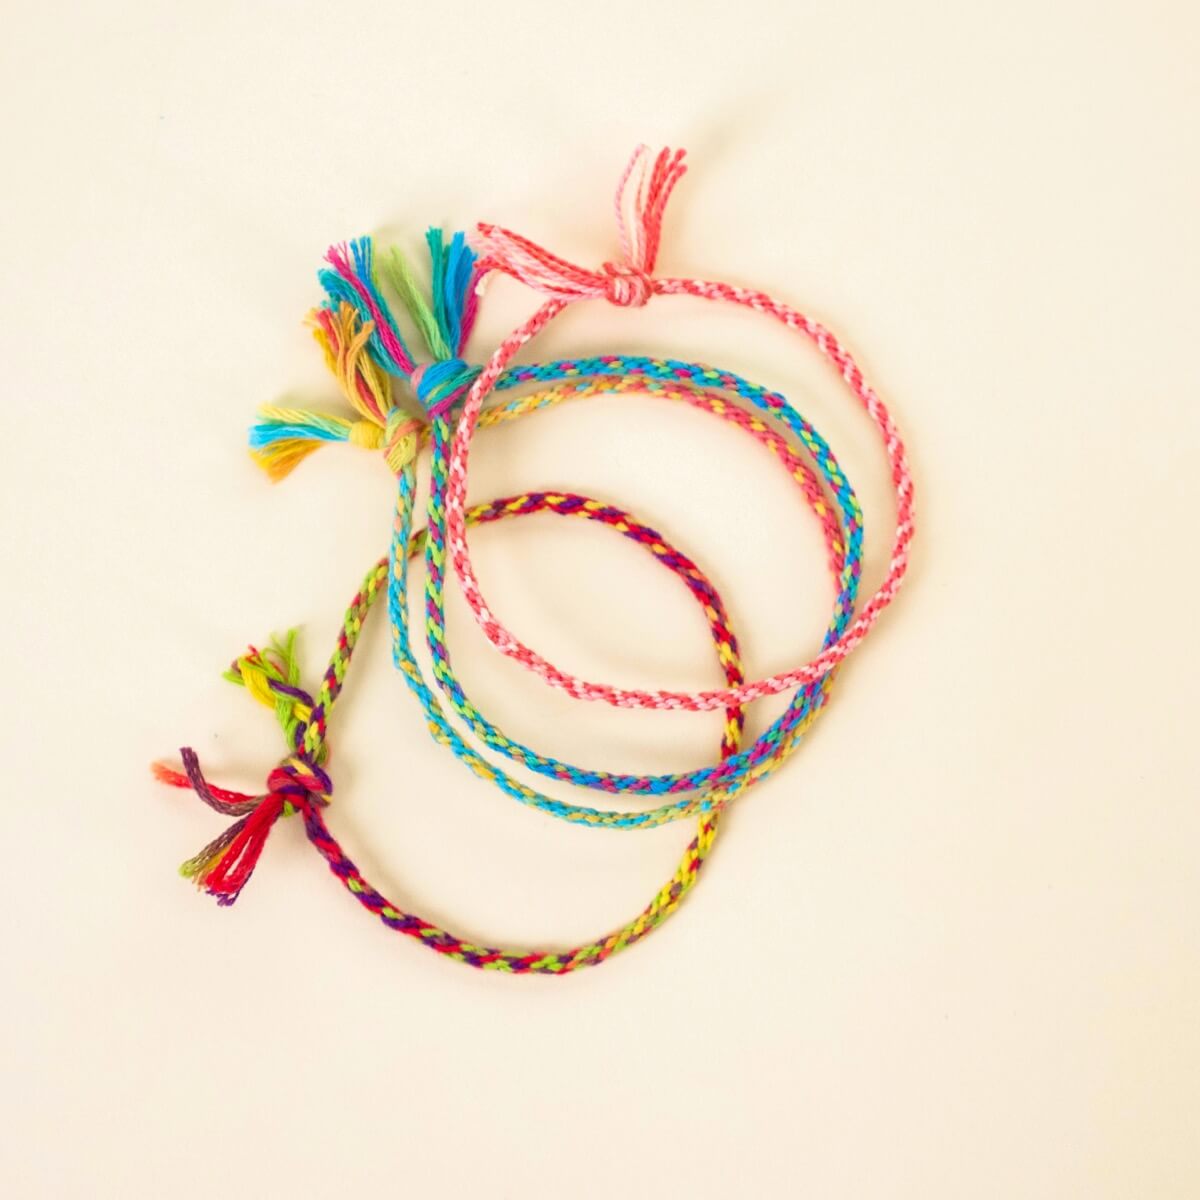
They look great together as a set.
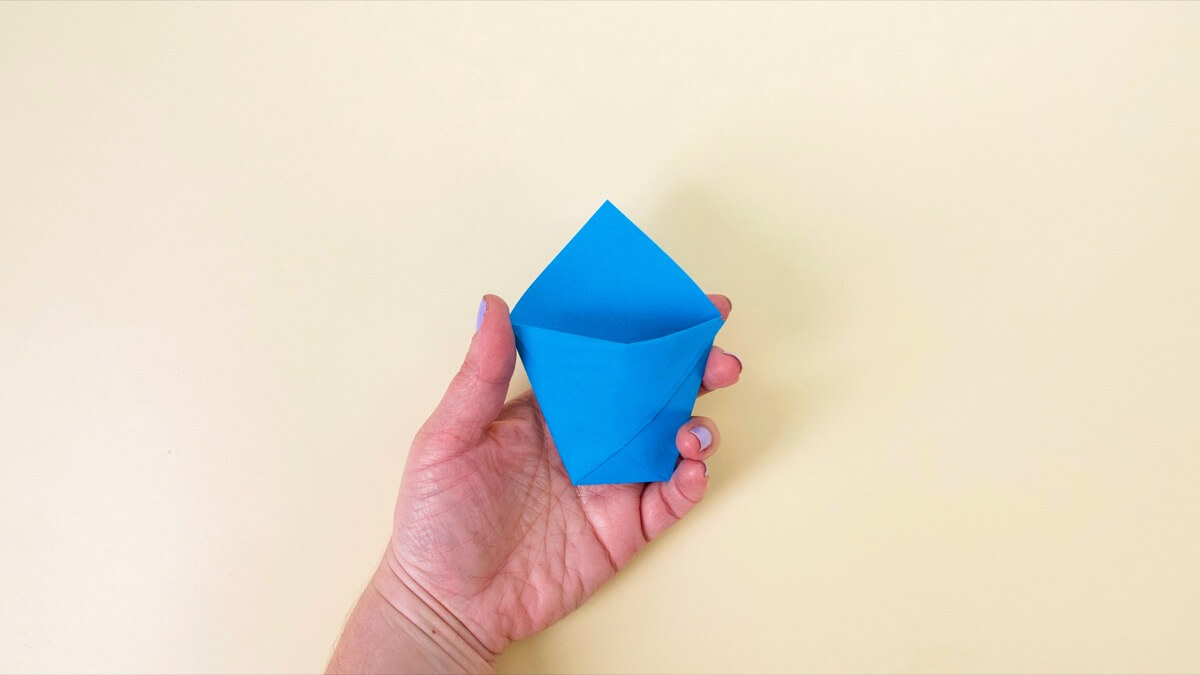
BONUS! Want to make this adorable paper pouch so you can bundle your beautiful friendship bracelets and give them as a gift? Here’s how we made it…

Take a square piece of paper and fold it in half on a diagonal. Position the two points at the top.
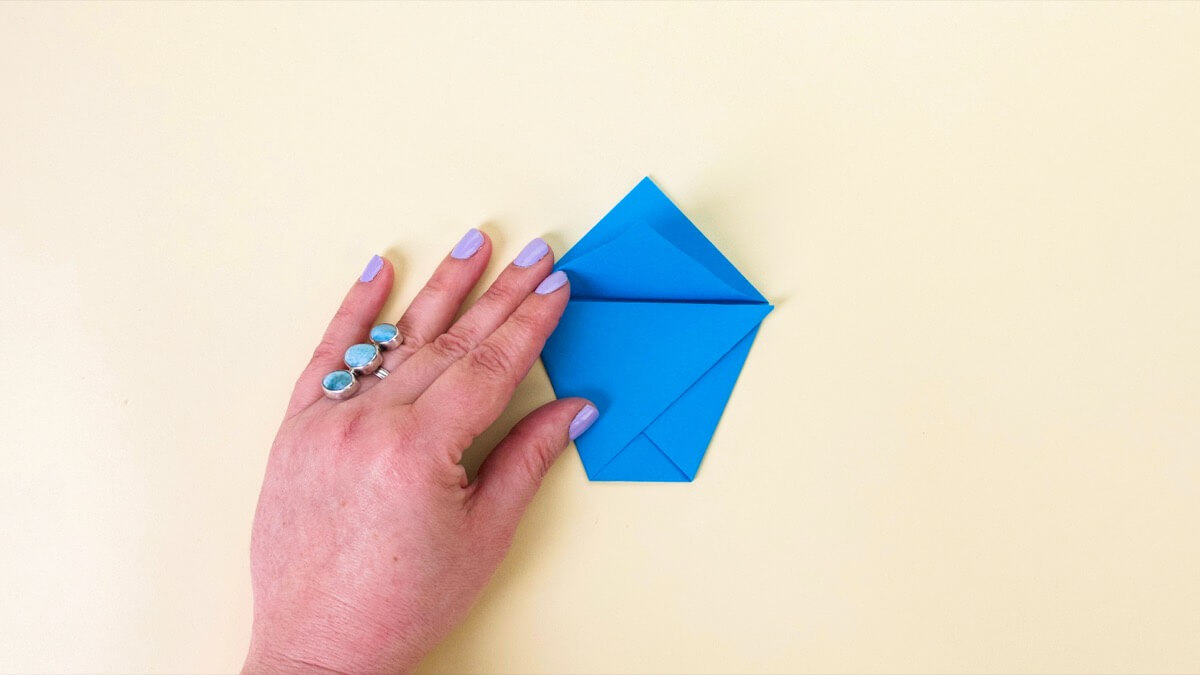
Fold in each side, layering them on top of one another.
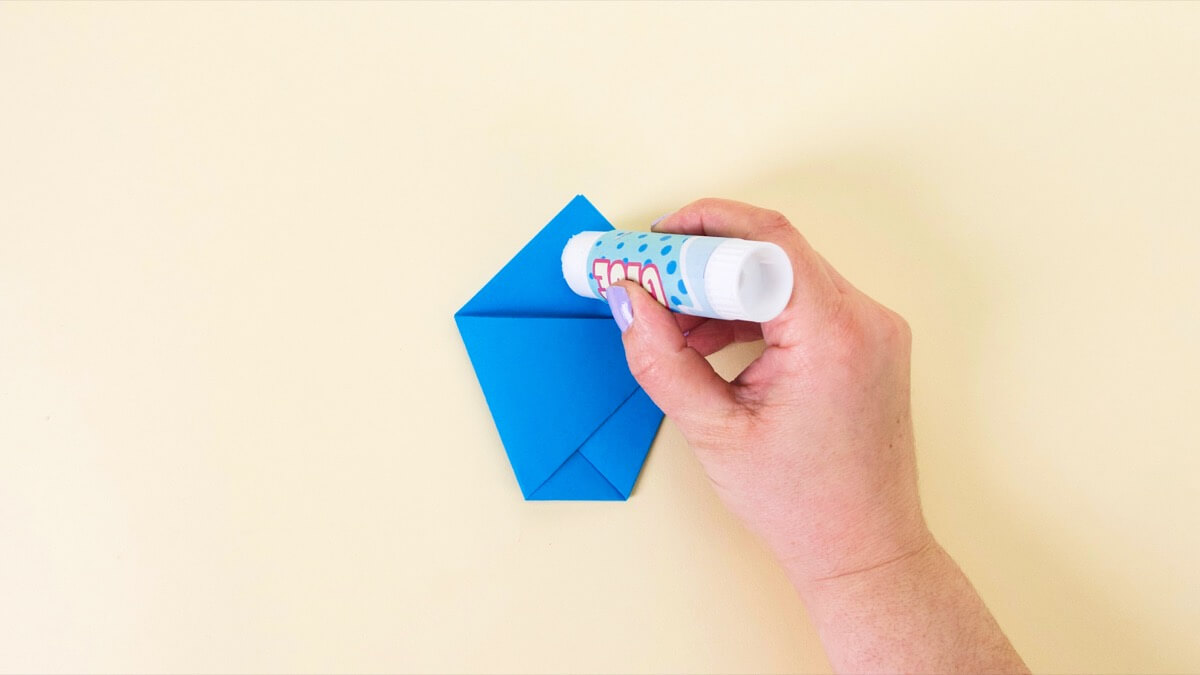
Separate the triangles at the top and glue the one closest to you over the two folded sides to seal the envelope together.
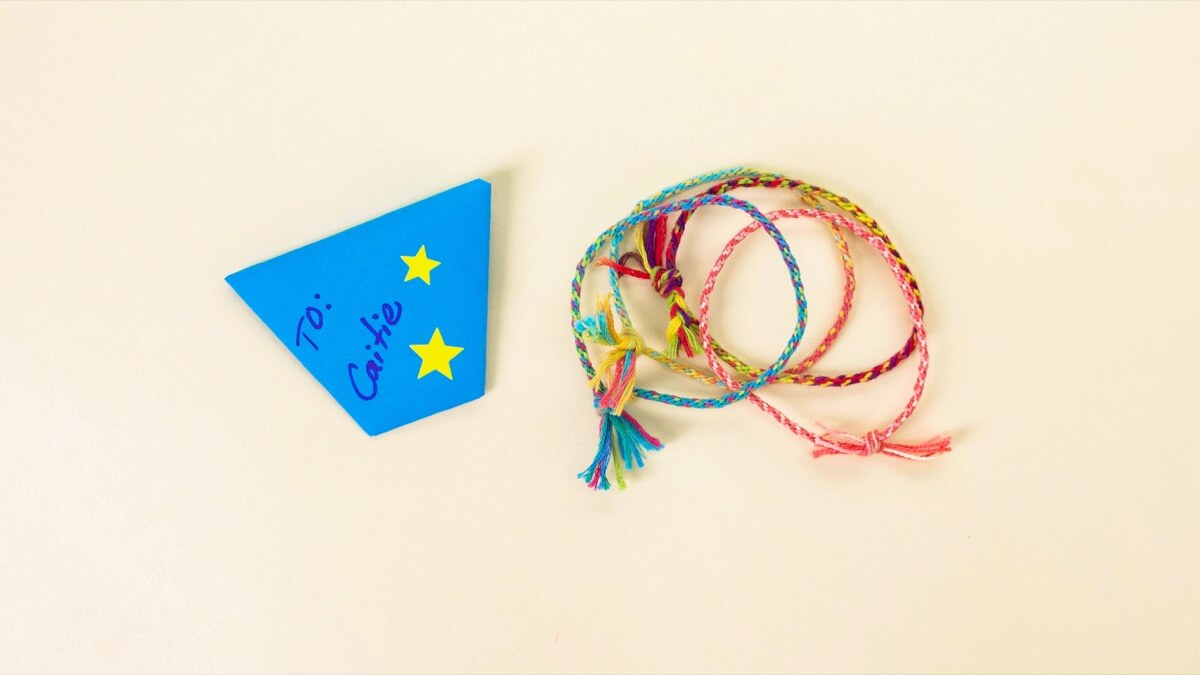
Now you can put some bestie bracelets inside and seal the envelope with a dab of glue or a cute sticker. Good to go!
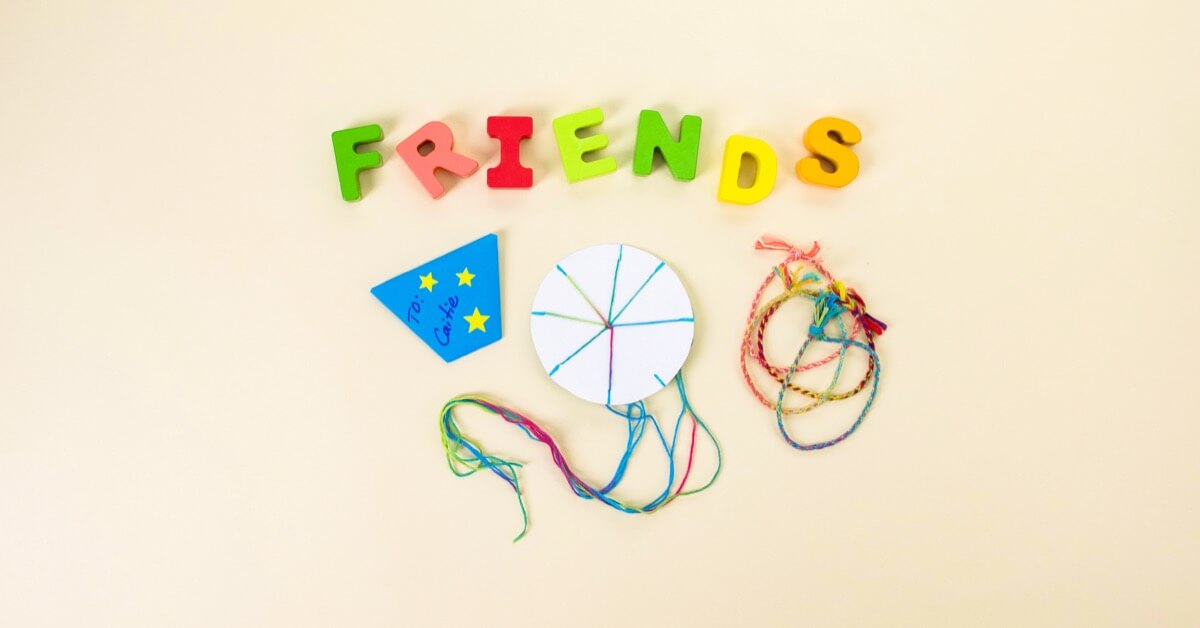
We hope you had fun making some friendship bracelets with us. Thanks for being our friend!
Caitie makes a friendship necklace in the classroom.
We love to sing The More We Get Together with our friends!
Check out these two buddies Bear and Rabbit in their song Are You Sleeping!
Don’t forget to follow us on Twitter, Instagram, Pinterest, and Facebook!
Original content © 2020 Super Simple. Not to be reprinted without express written permission. Terms of Service.

