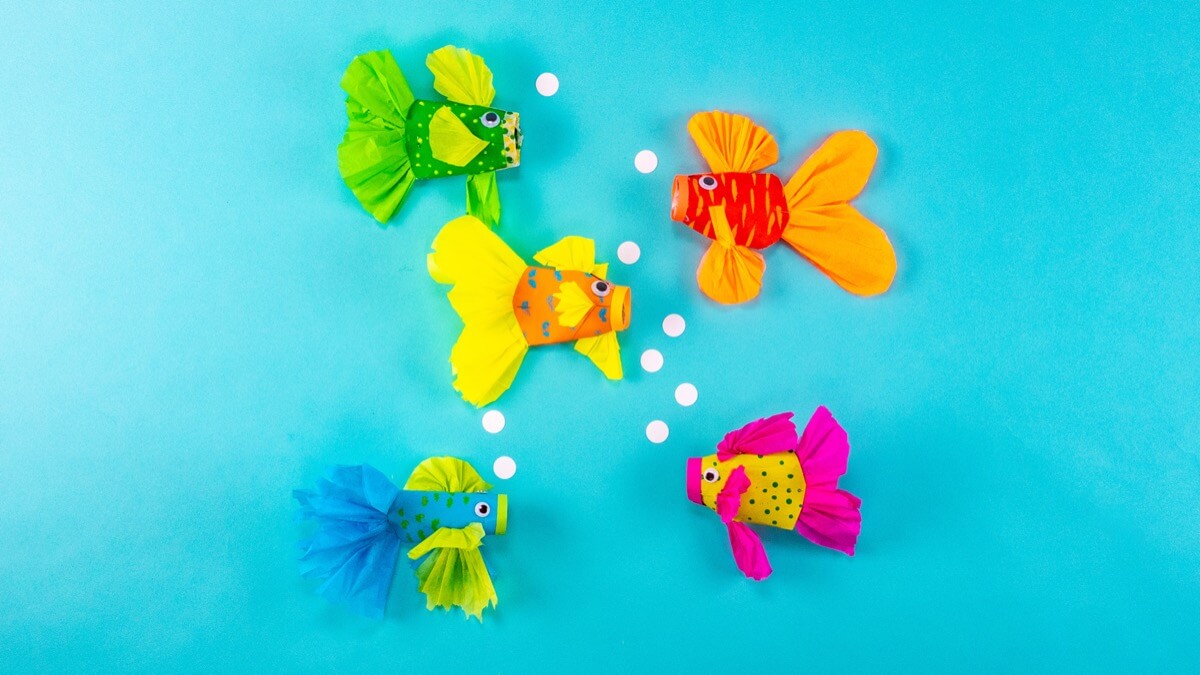
Learning about life in the ocean is truly incredible! Finny The Shark sings about it in the song “I Love The Ocean”, and we couldn’t agree more. We love the ocean, too! Colorful fish are one of our favorite things to see under the sea. Let’s make some paper tube fish that can be made into a mobile or used as decorations for an underwater theme in the classroom.
Things you’ll need
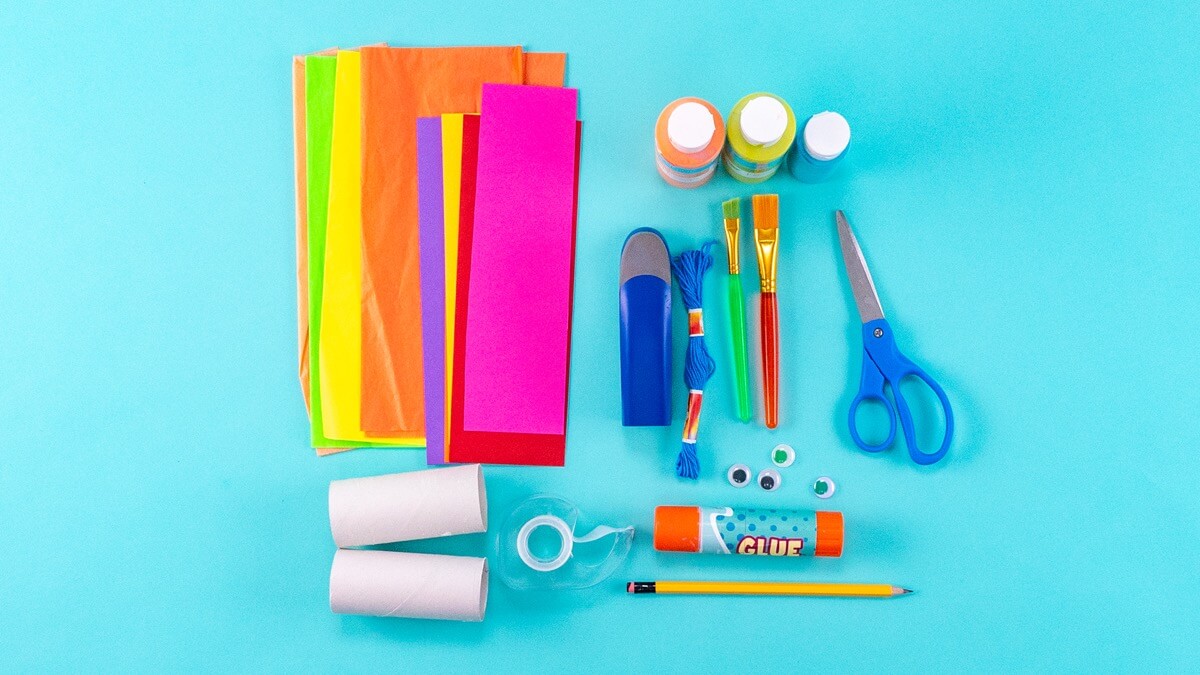
- Paper tubes
- Tissue paper
- Construction paper
- Googly eyes
- Paint brush
- Craft paint
- Glue stick
- Scissors
- Stapler
- Pencil
- Tape
Steps
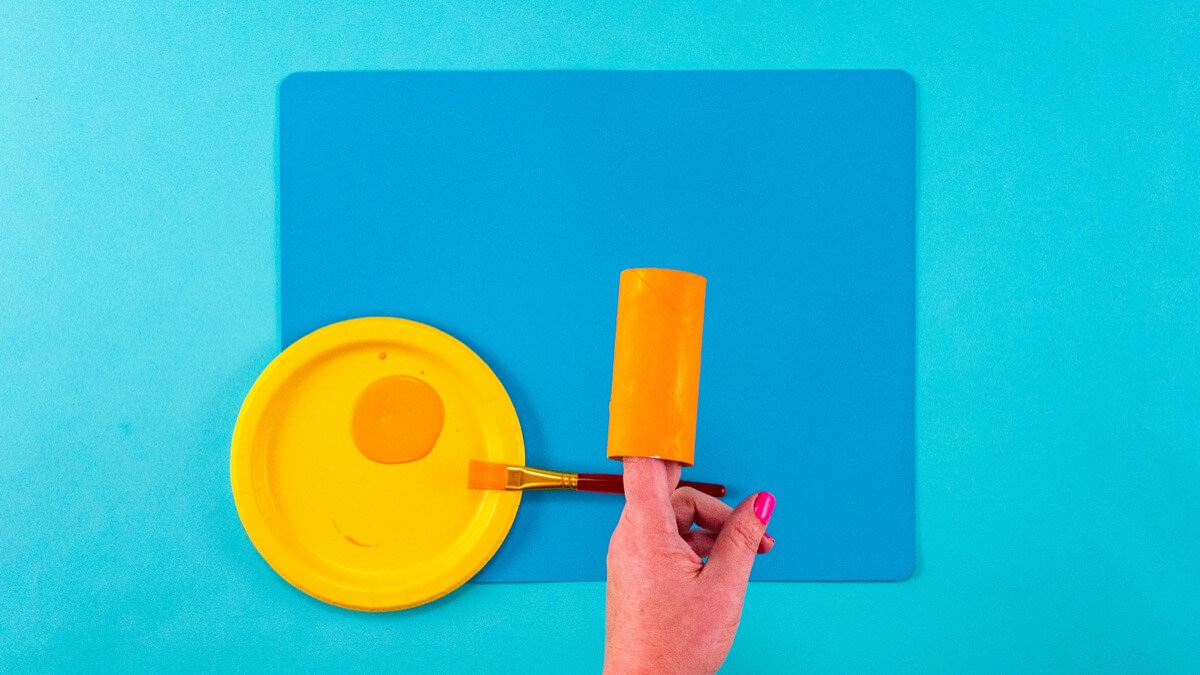
Start by painting your paper roll the color of your fish. Set it aside to dry.
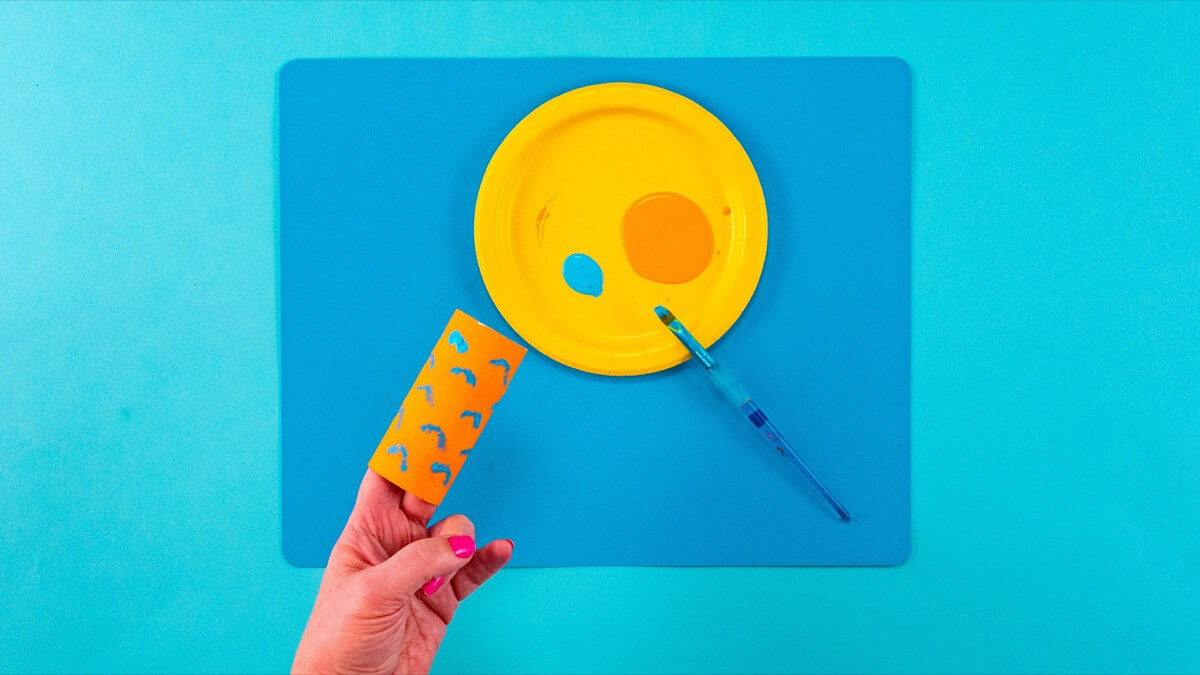
Create a scale pattern by stamping the tip of the paint brush, or make dots with either end of a pencil. Stamp, stamp, stamp!
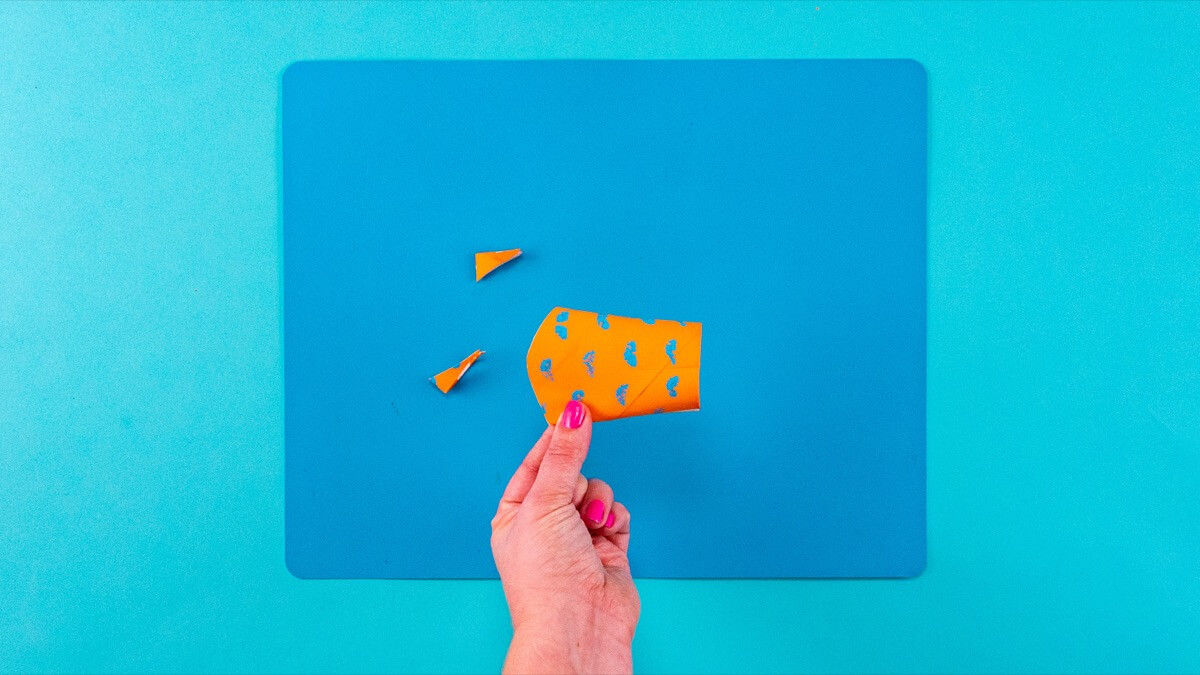
To make the tailfin, press one end of the paper tube so it’s flat. Round off the edges with scissors.
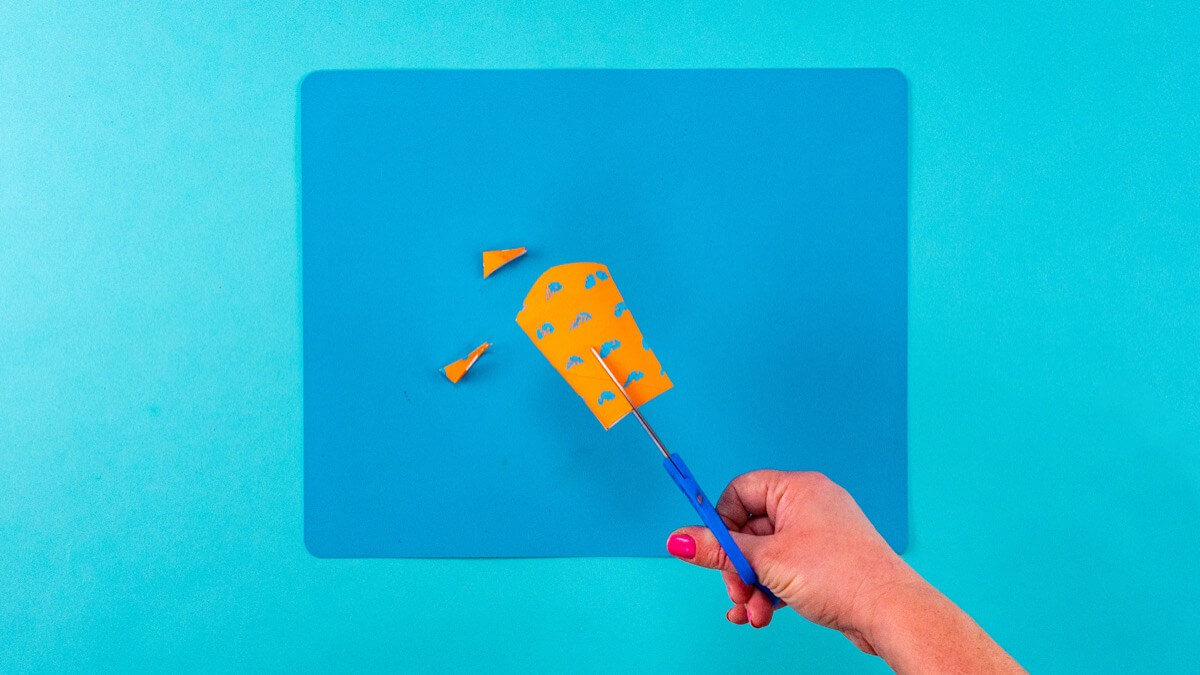
On the open end of the paper tube, make two cuts about half way down. This is where you will be attaching the pectoral fins.
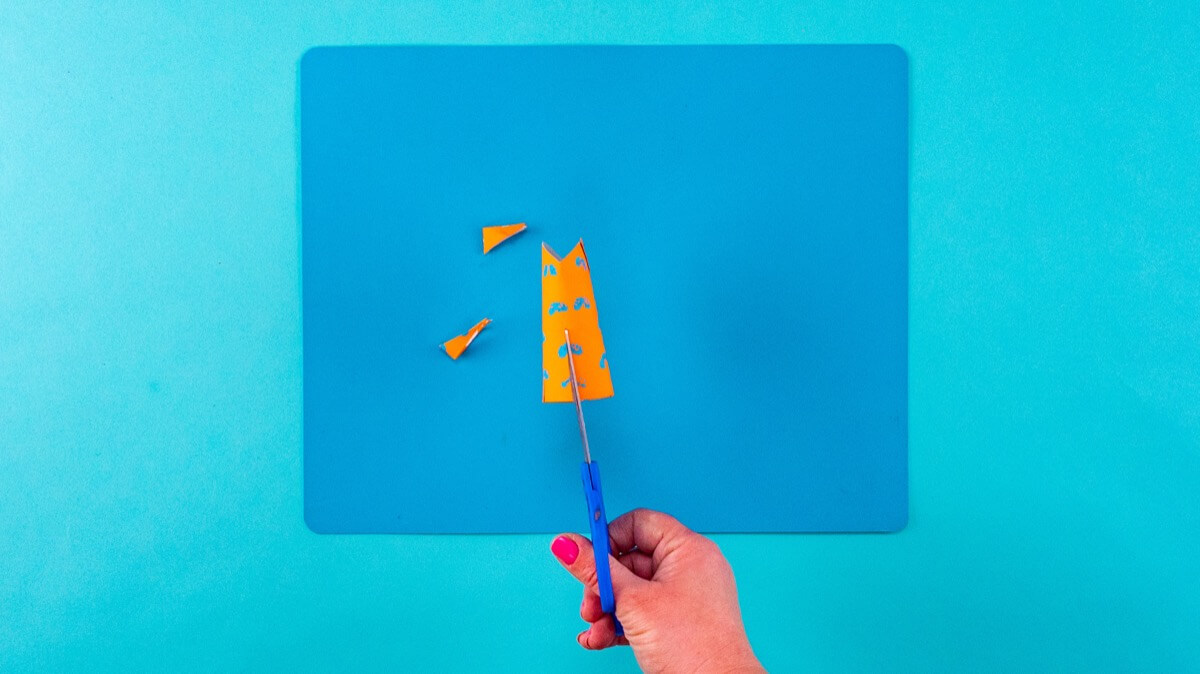
Next, cut the tube halfway down for the bottom fin (pelvic fin) and the top fin (dorsal fin). The tube should now have four slots.
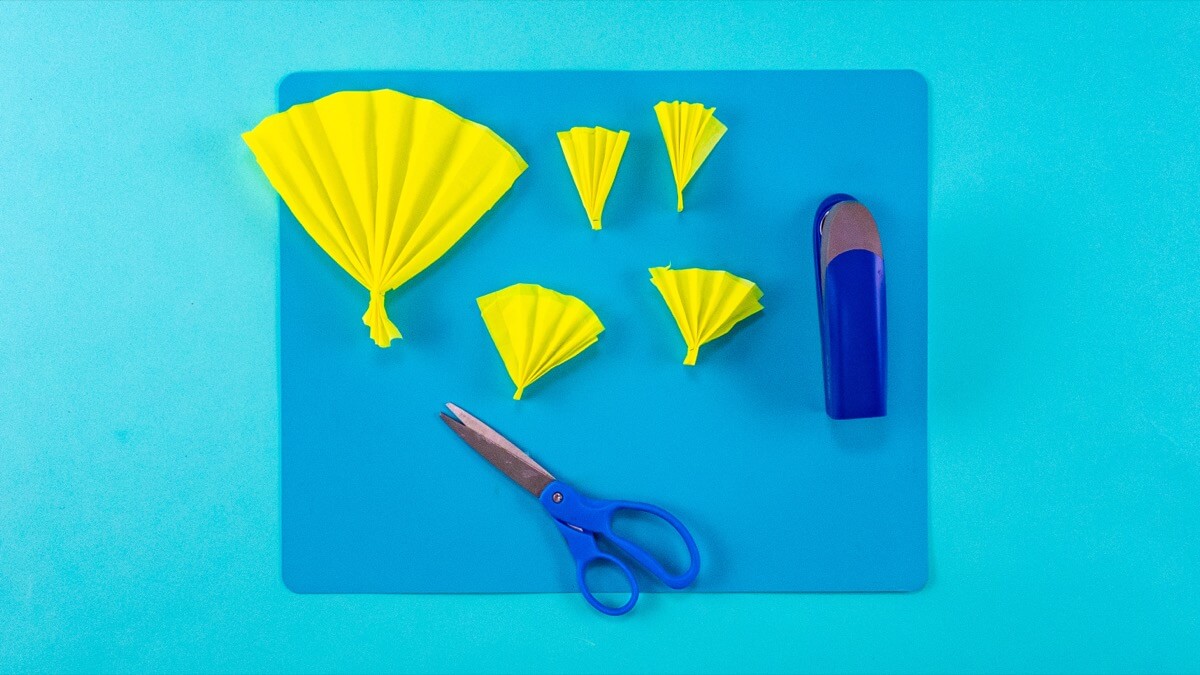
To make a fishy fin, fold a strip of tissue paper like an accordion. Use your stapler to secure the fin at one end. Repeat for all of the fish fins. You can use the same color, like we did here. Or you can experiment with colorful fins.
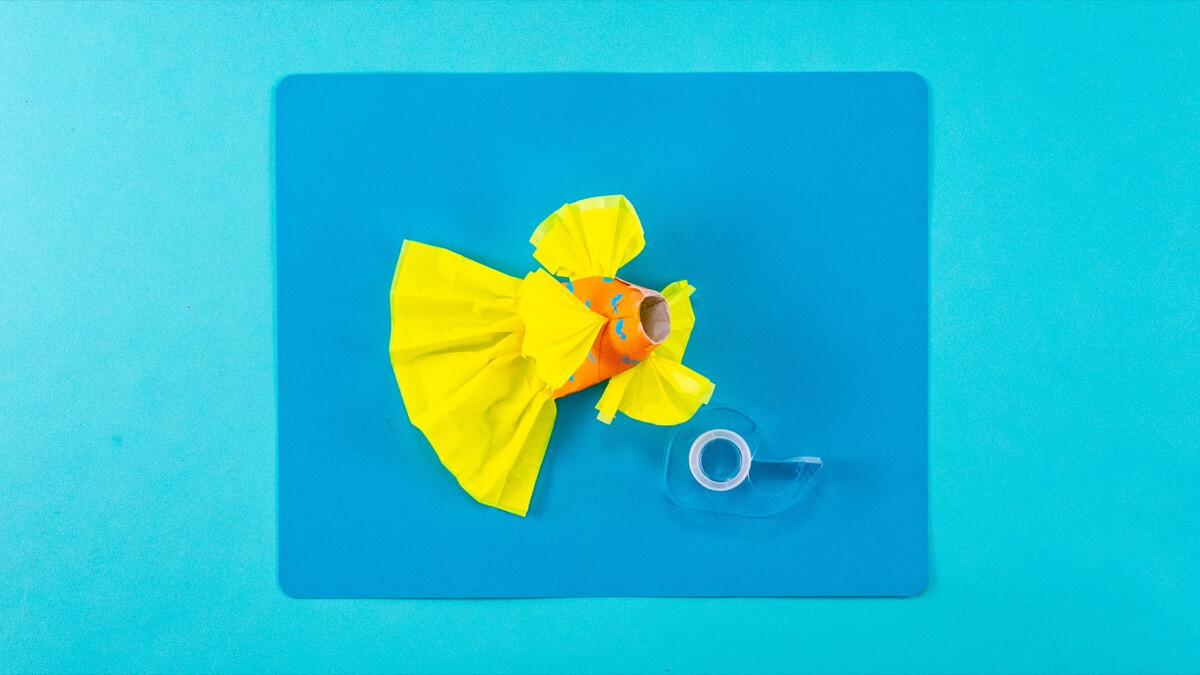
Insert the tissue paper into the slots. Overlap the ends of the paper tube to give the fish a mouth shape. Use tape or a stapler to hold in place.
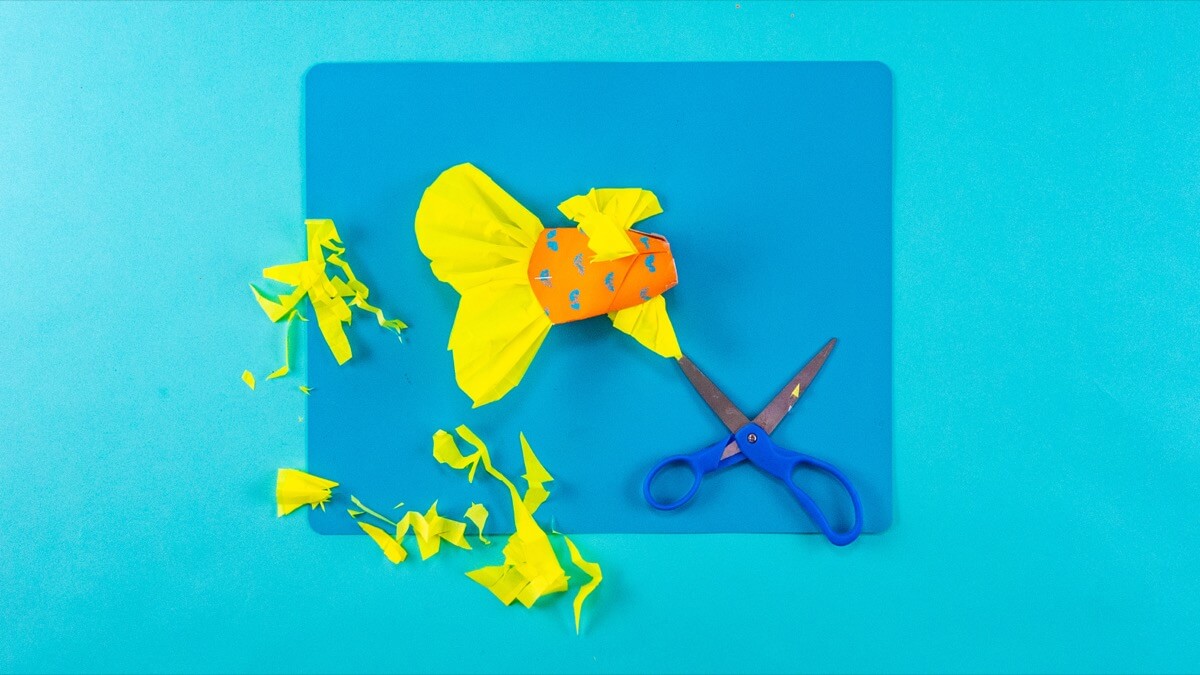
Trim the tissue paper into a fin shape.
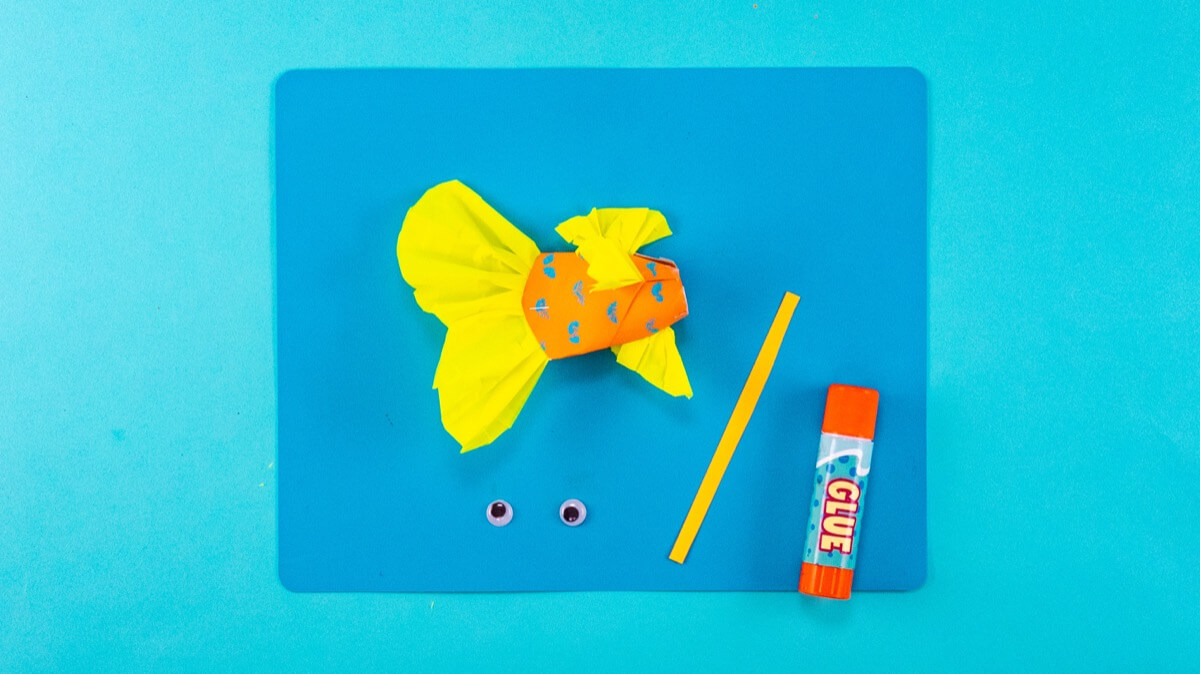
Cut a strip of construction paper and glue it in place with a glue stick to make a fishy mouth. Glue on some googly eyes.
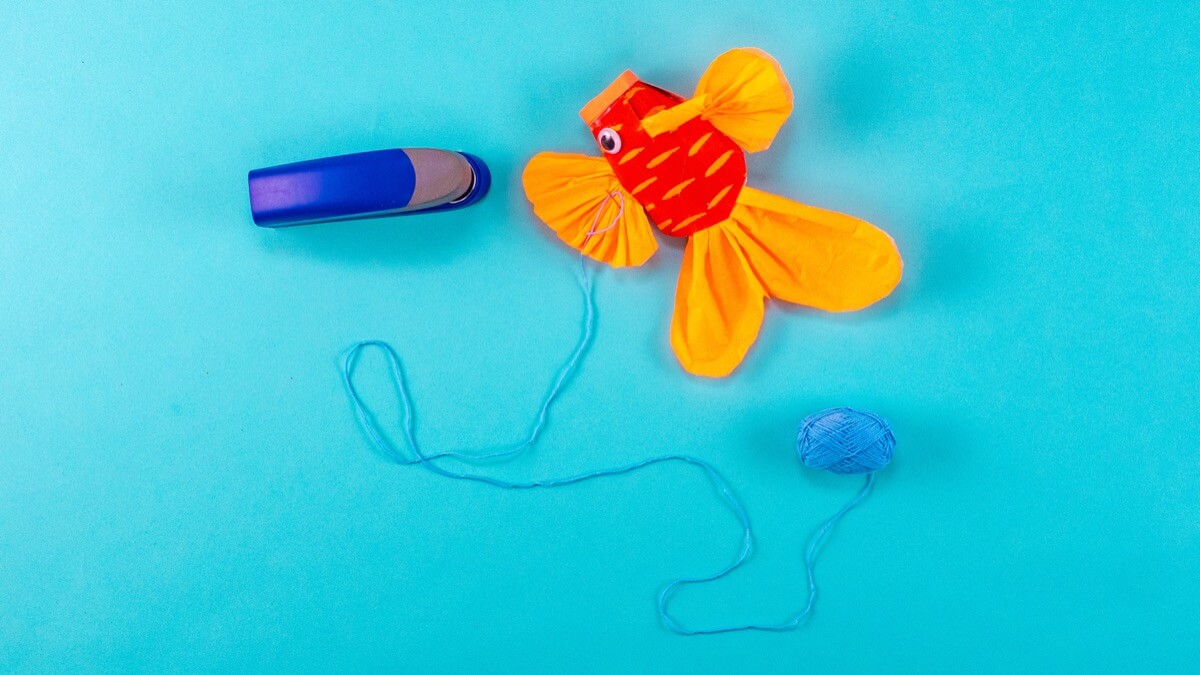
Feel free to staple a string to the top of the dorsal fin so you can hang up your fish craft.
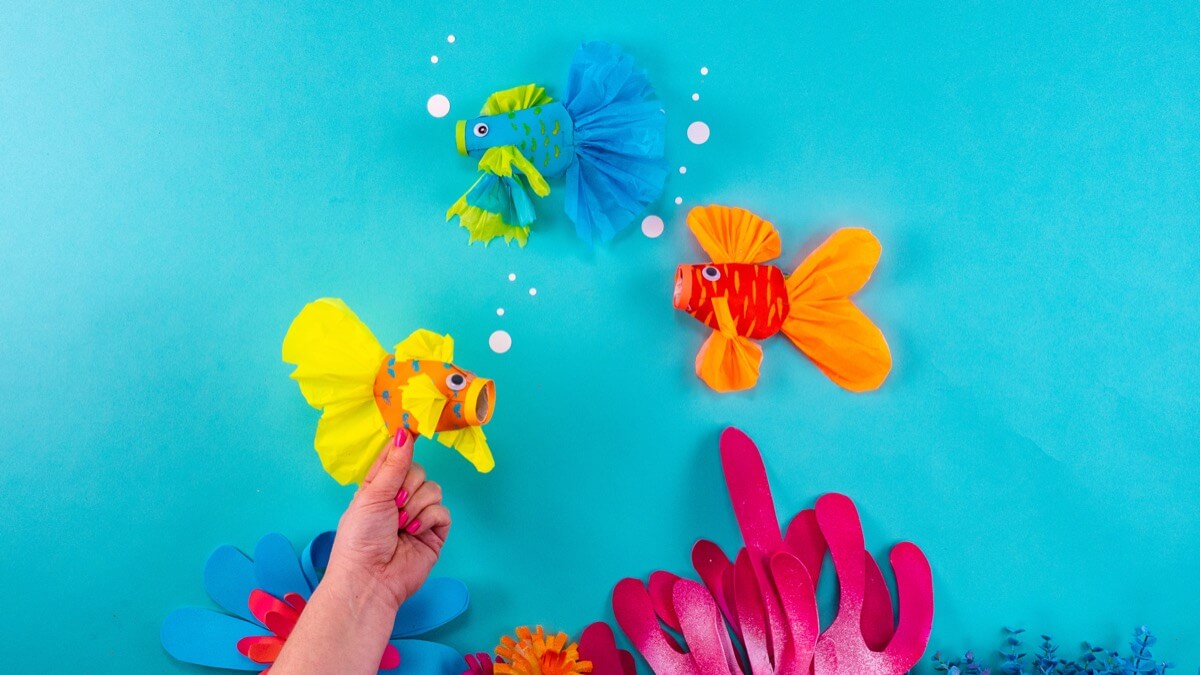
You did it! Glub glub!
Don’t forget to follow us on Twitter, Instagram, Pinterest, and Facebook!
Original content © 2023 Super Simple. Not to be reprinted without express written permission. Terms of Service.

