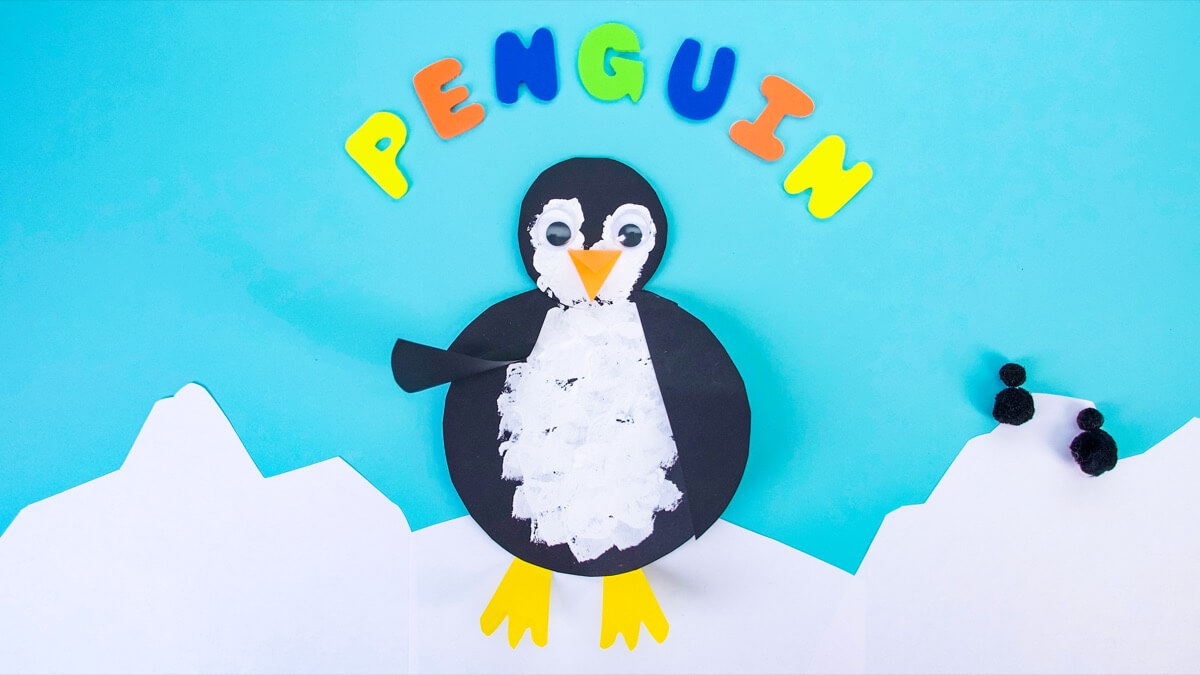
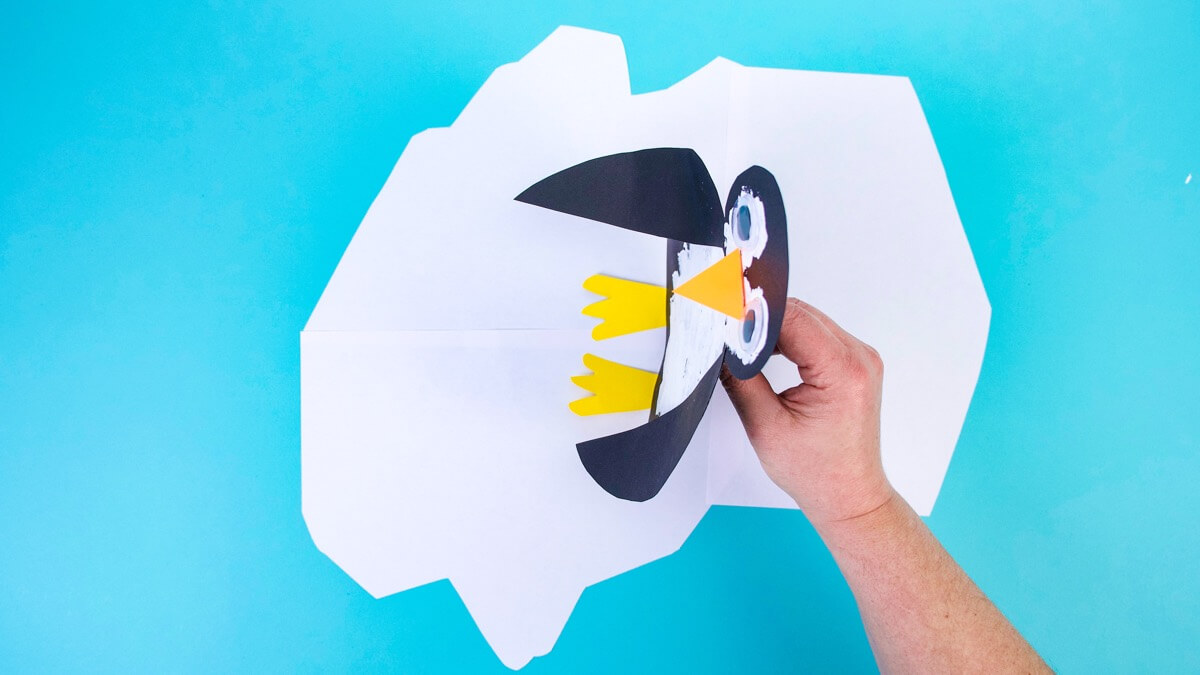
These winter months may be cold, but here is an amazing animal that doesn’t mind at all! Penguins are comfortable swimming in cold water and living on the ice. This penguin craft is a super simple cut and paste project, perfect for little ones developing their fine motor skills with some help from a grown up. We use a cotton ball to stamp the paint onto our penguin instead of a paint brush for some extra fun and to make it easier for little hands. We’ve also attached a little flap handle to the back of our penguin, so it can move too! Penguins are able to walk for a long time, often marching 60 miles over ice to get to their breeding grounds, so we made our penguin waddle, hop from iceberg to iceberg, and jump into the water to swim in the sea!
Check out more Super Simple penguin related episodes, crafts, and activities at the bottom of this post!
Things You Need
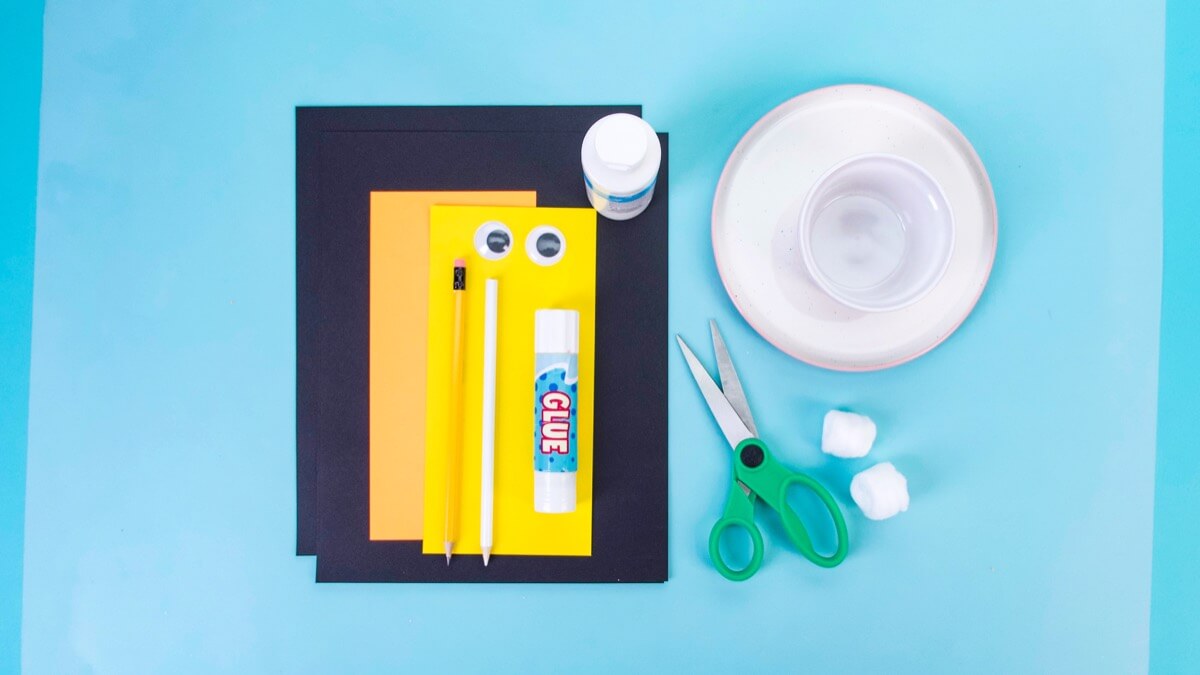
- 2 sheets of black cardstock or construction paper
- Orange or yellow construction paper
- Googly eyes
- Cotton ball
- White craft paint
- Two circle items to trace, one small and one big – a plate or a bowl works well
- Scissors
- Glue stick
Steps
Let’s make the body and head of our penguin! Trace a large circle onto a sheet of black construction paper for the body, and a smaller circle for the head.
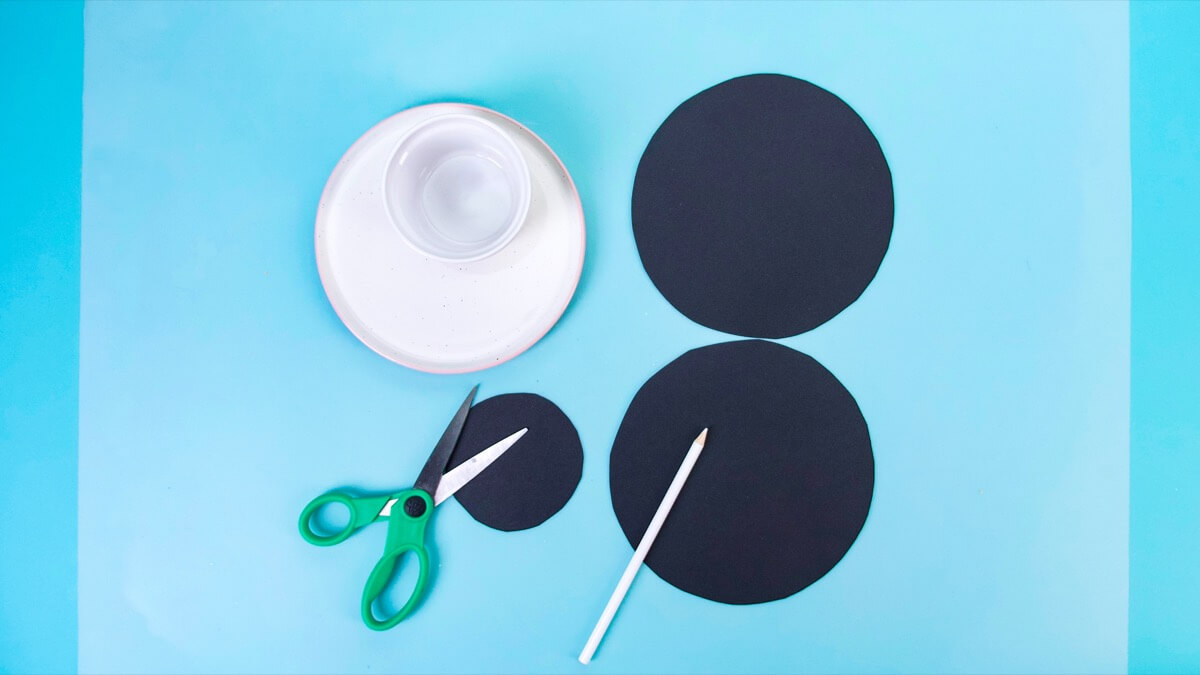
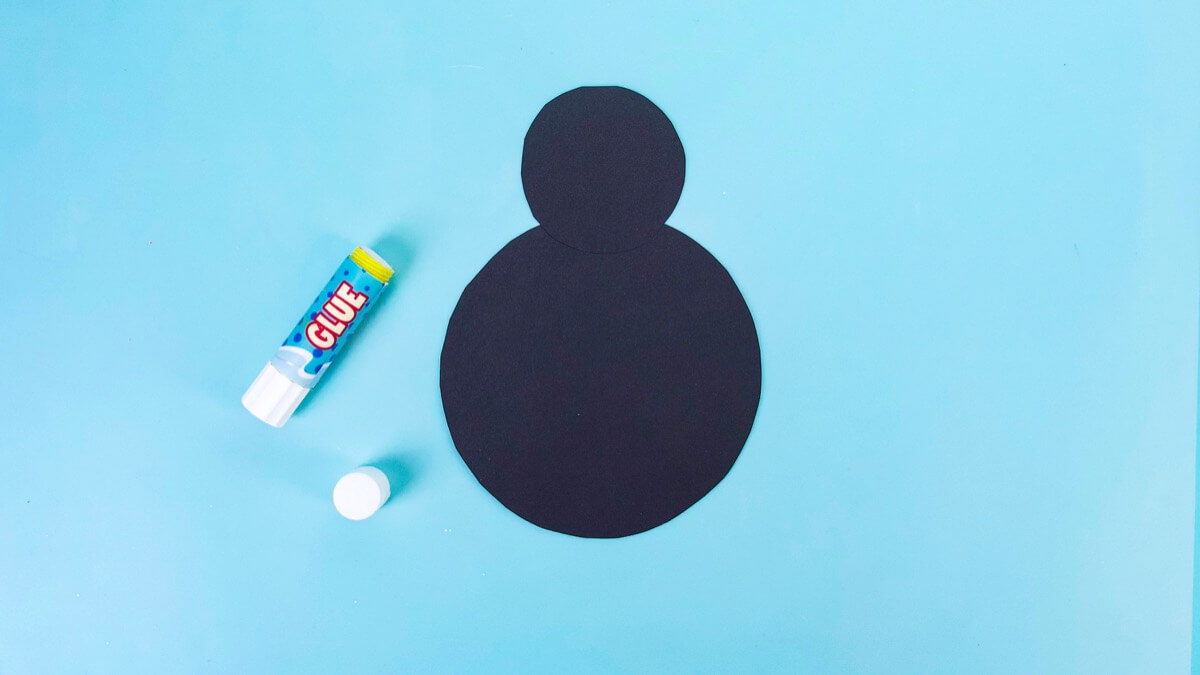
Cut them out, and glue the bottom edge of the head onto the body.
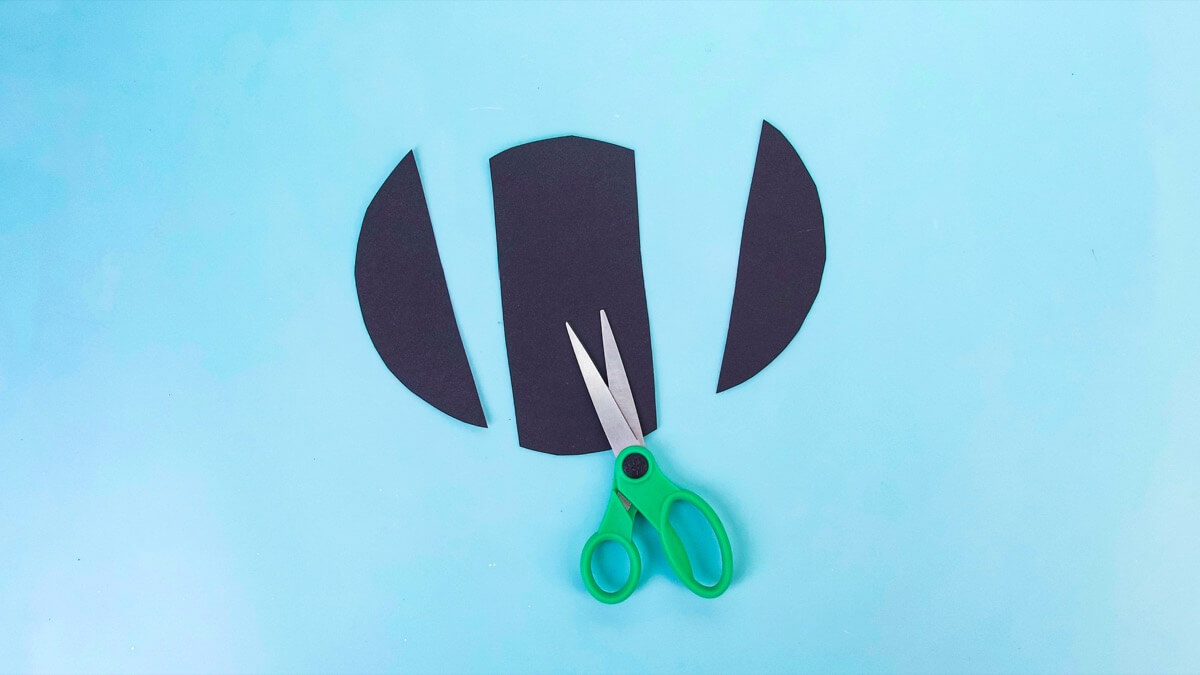
Trace another large circle onto the other sheet of black construction paper, cut it out and section the circle into thirds. The two end pieces will be the flippers!
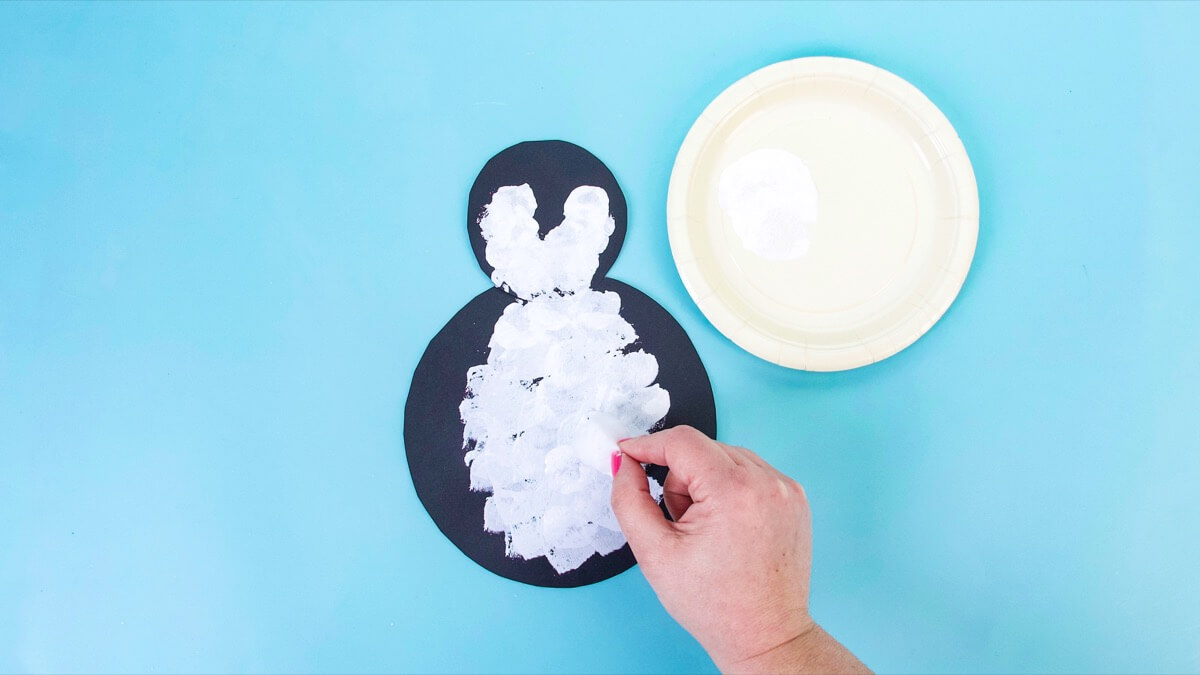
Take a cotton ball and dip it into the white craft paint. Stamp the paint into the centre of the penguin’s belly. Then stamp a heart shape onto the head for the face.
Take a look at a picture of a real baby penguin to see where the baby penguin is white and where they are black. Did you know a penguin is black and white because it helps them from being seen by predators when they swim in the water?
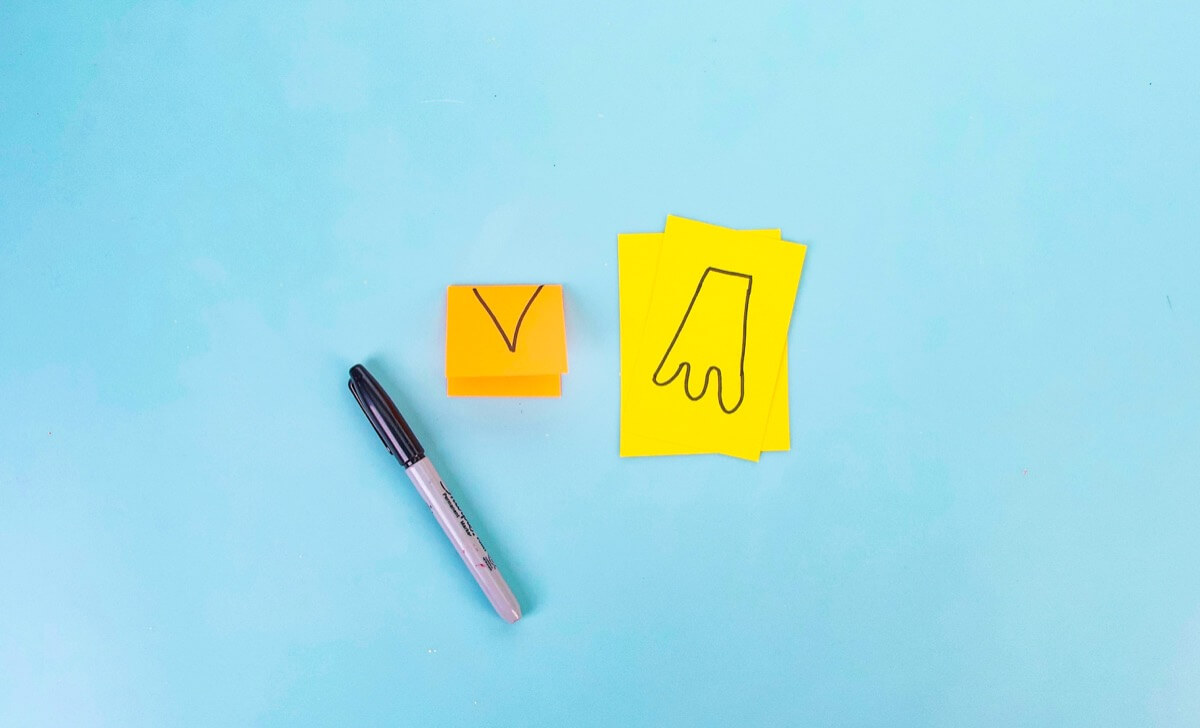
To make the penguin’s mouth, called a bill, fold a small piece of orange construction paper in half and cut a triangular shape from the folded side. For the webbed feet, layer two pieces of construction paper, one on top of the other, and cut a triangular shape with three toes on each foot.
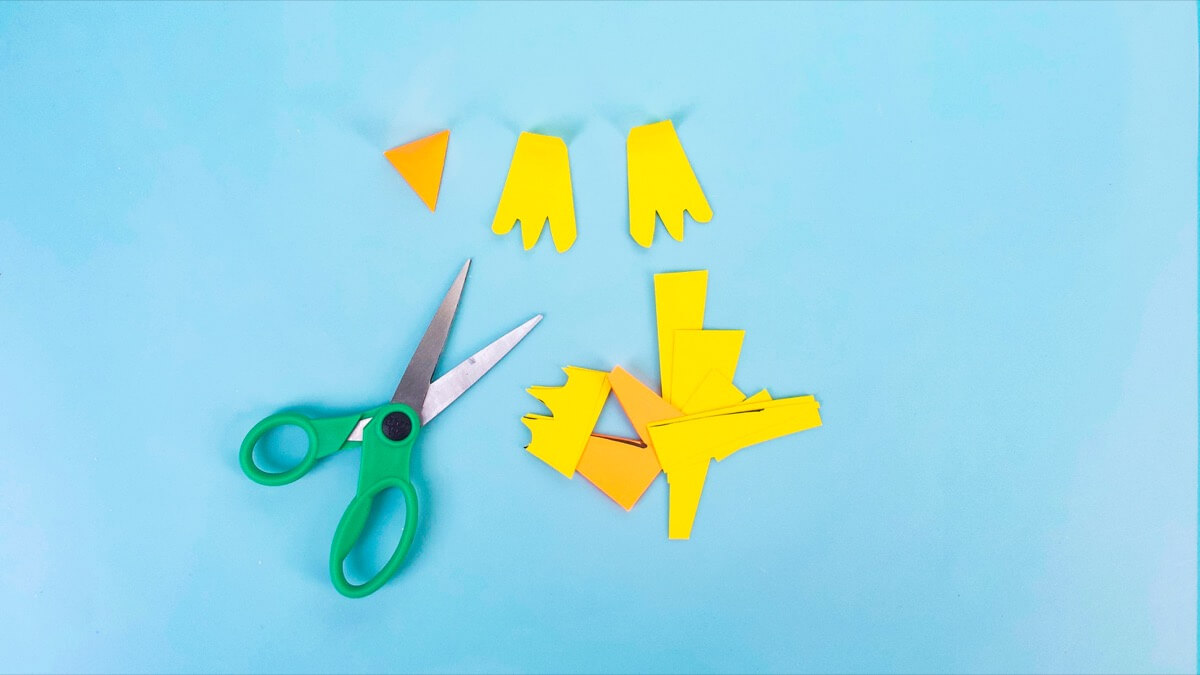
Fold a flap on the heel end of the foot and glue it to the back of the penguin so the feet are sticking out. Now it’s time to add in the rest of the features!
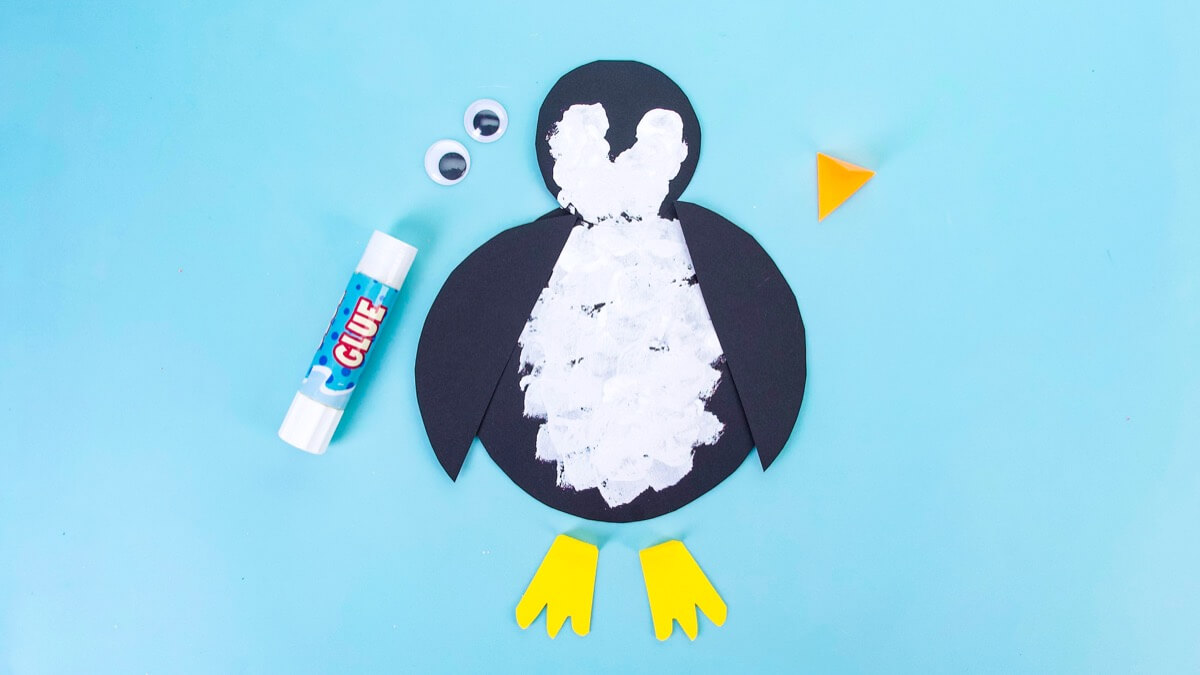
Glue the bill and googly eyes onto your penguin’s head, and glue the flippers on either side of their body.
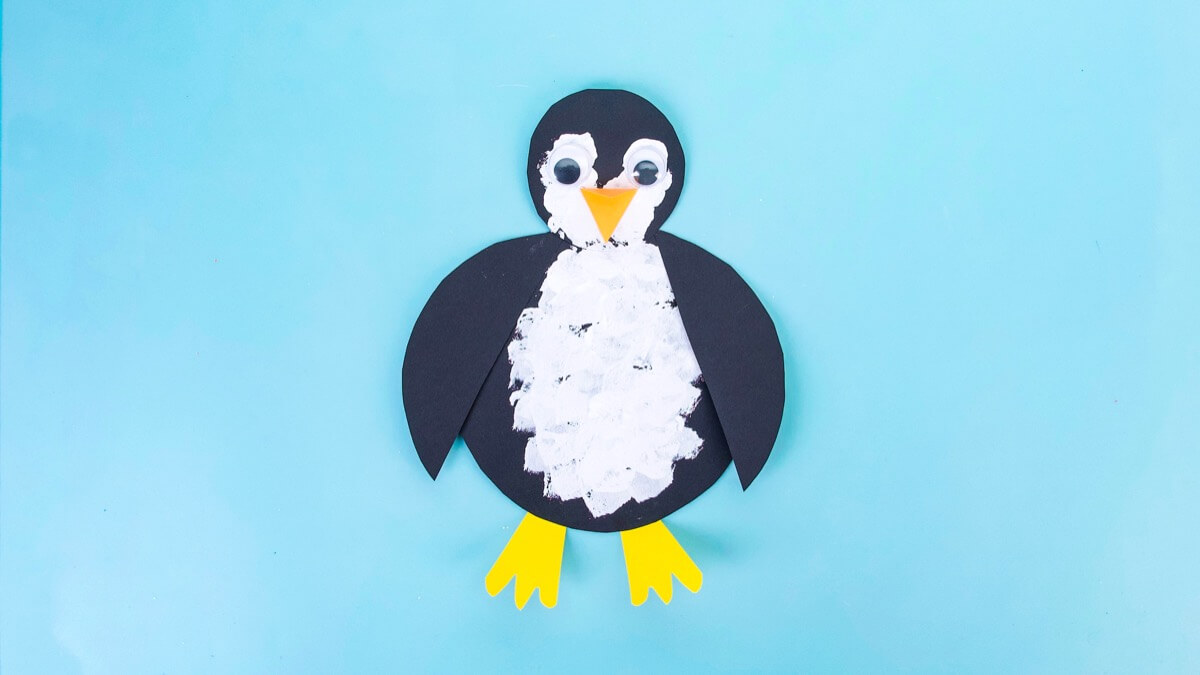
To make the little handle on the back of the penguin, cut a strip of paper and fold it in half, then fold it in half again. Open it up and glue the middle section folds together to make a T shape.
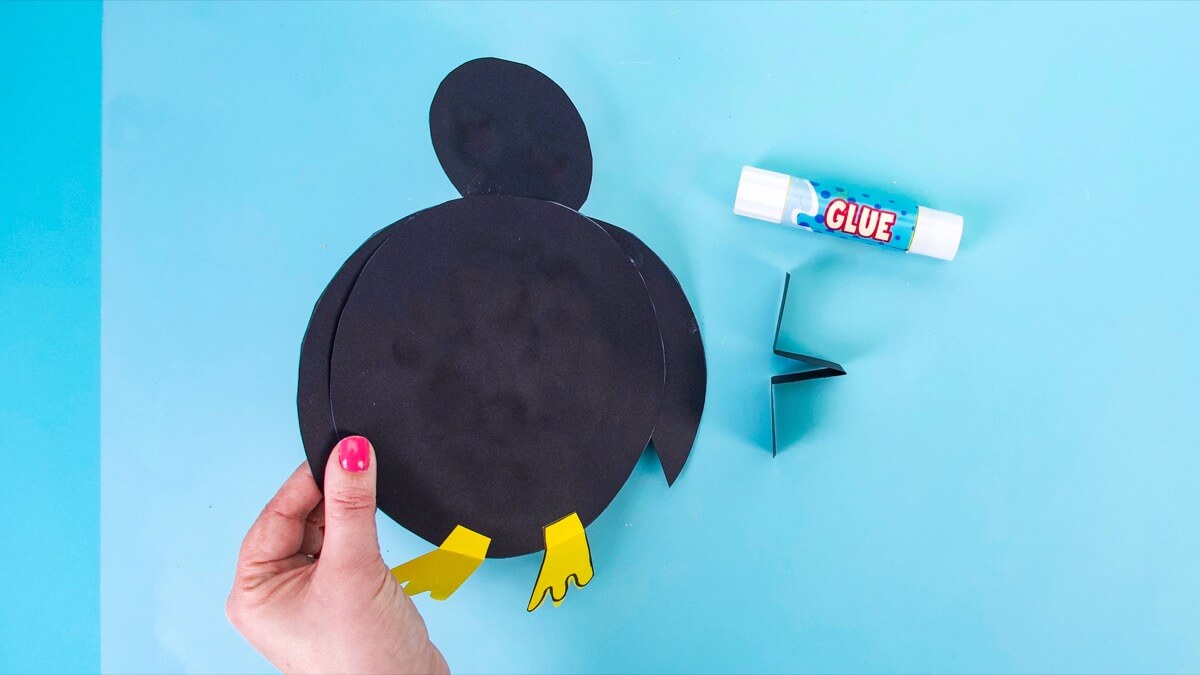
Then glue the flaps onto the back of the penguin so you can hold the flap handle and move your penguin to make them waddle, jump and swim!
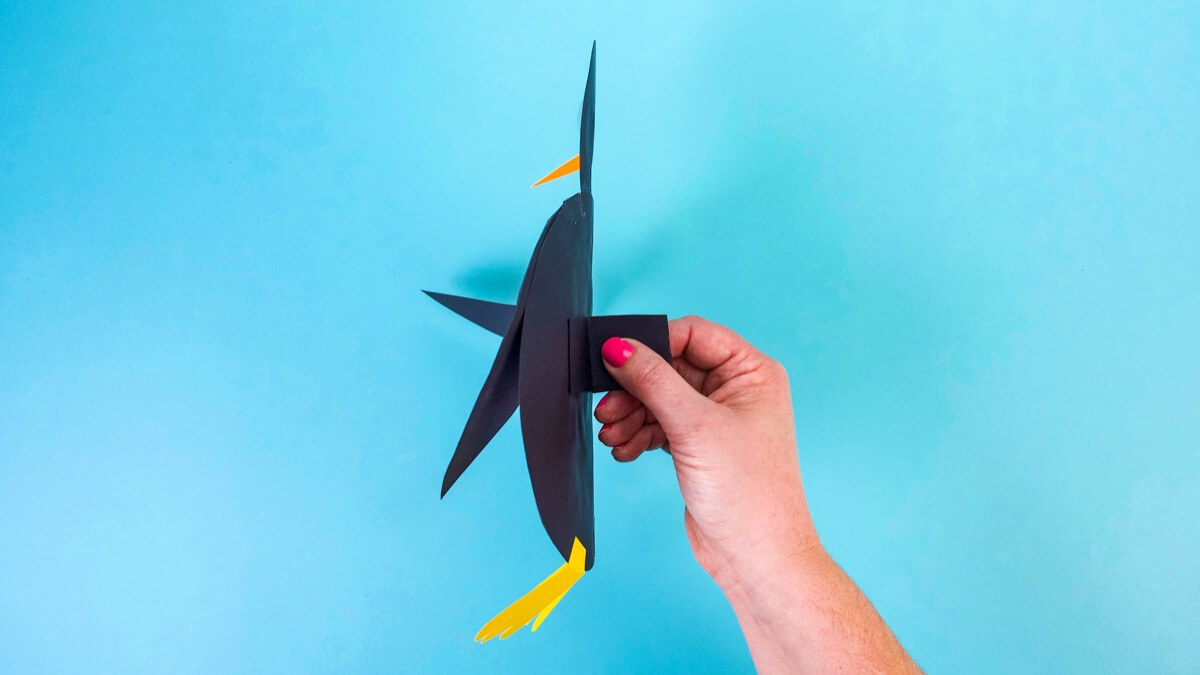
For a fun activity, place some piece of white paper on the floor to be icebergs. Have your penguin jump from iceberg to iceberg, counting as you go!
Watch Mrs. Penguin in Mr. Monkey, Monkey Mechanic! Mrs. Penguin’s ice cream truck is hot and all that yummy ice cream is melting! Can Mr. Monkey figure out a way to keep her ice cream truck cool in the hot hot sun?
Try coloring a penguin with our penguin coloring sheet.
Find the word penguin and other animals in our word search! We have two versions for different age groups: word search #6 & word search #7.
Don’t forget to follow us on Twitter, Instagram, Pinterest, and Facebook!
Original content © 2021 Super Simple. Not to be reprinted without express written permission. Terms of Service.

