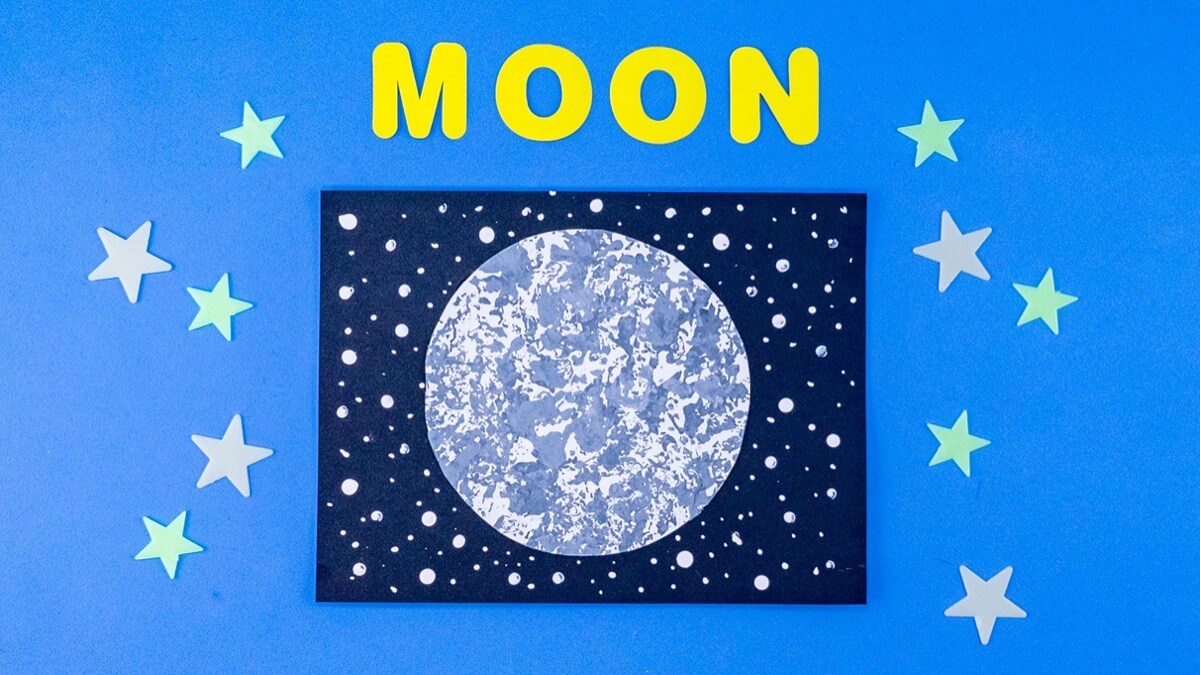
When you look up to the clear night sky, what do you see? Bright shining stars, maybe a shooting star! And the great big Moon. The Moon orbits around the earth, and it’s surface is rocky and filled with craters. In this craft we use tin foil and layers of paint to make that rough texture of the Moon’s surface. It also has a great built in learning activity about making paint lighter or darker by mixing in black or white. It’s simple enough for little hands, and uses craft supplies you probably already have at home! Let’s get started!
Things you’ll need
- aluminum foil
- plate (for tracing a circle)
- disposable plate (or something to put paint on)
- marker
- white paper
- black construction paper
- scissors
- pencil
- glue stick
- craft paint – gray, black, white and silver (if you have silver!)
Steps
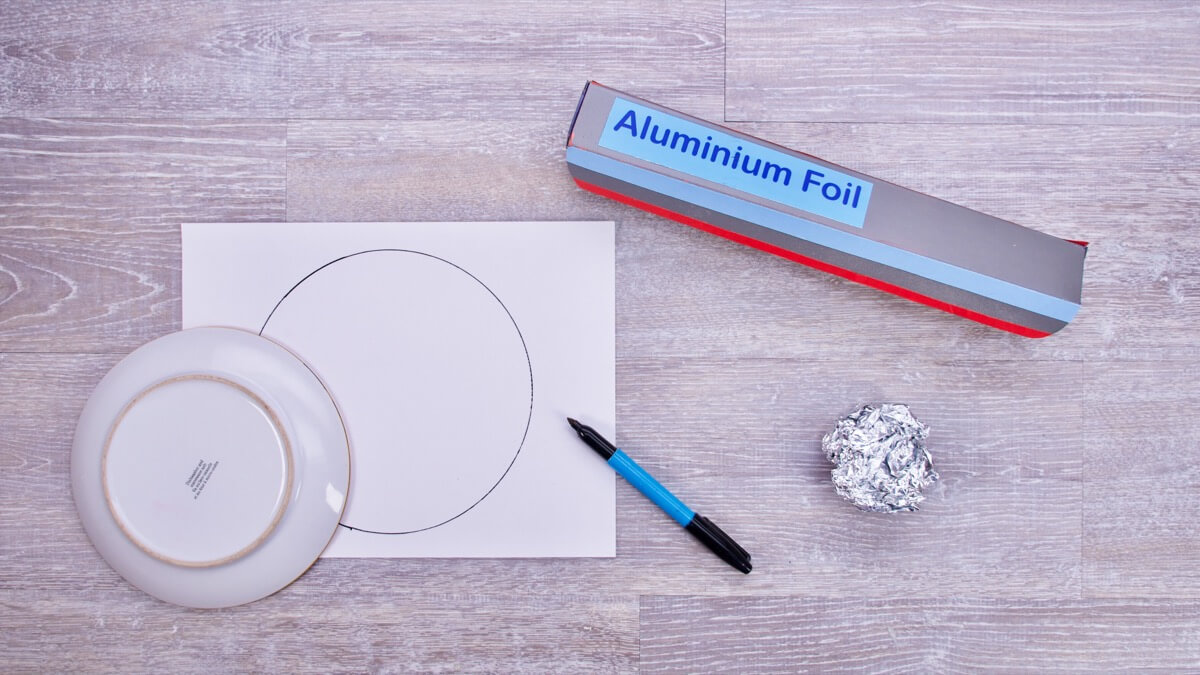
Crumple up a piece of aluminum foil and form a small ball. Flatten the ball lightly by pressing a plate onto the ball and form a little handle. With a marker trace a plate (or something else circular) onto a sheet of white paper.
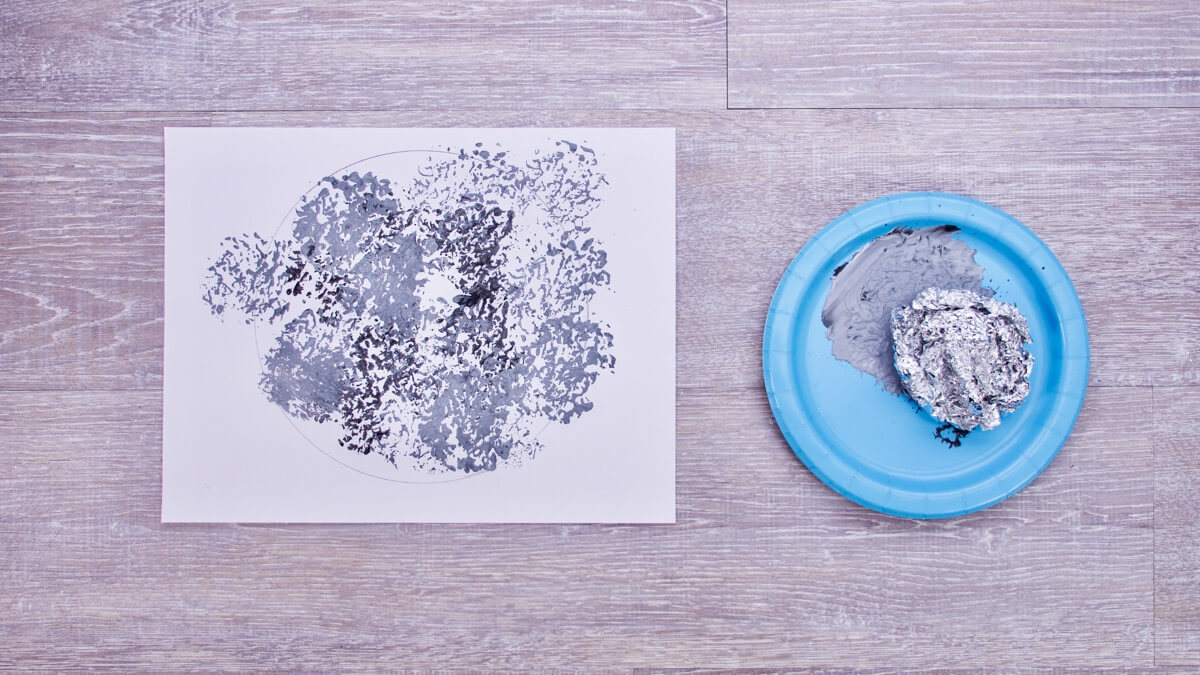
Squeeze your grey craft paint onto a disposable plate. You can make your grey paint darker by mixing in some black paint, or lighter by mixing in some white paint. Use your aluminum foil ball to stamp the paint onto the circle. It’s okay if you pass the lines (we’ll be cutting out the circle later). The Moon’s texture looks best if you stamp your darkest color first and end with silver paint.
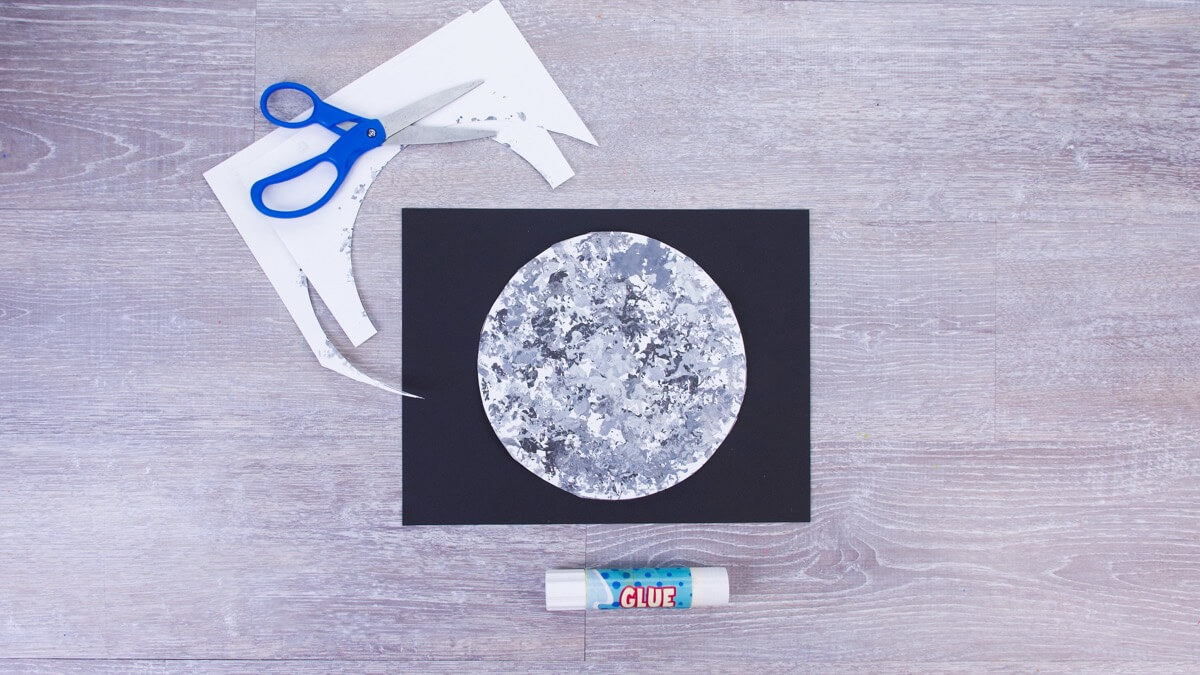
Once your moon is dry, cut it out and glue it to a black piece of construction paper.
To make the stars we used a pencil as a stamp! Dip the eraser end of the pencil into white paint to stamp big stars and use the writing end of the pencil to make smaller stars.
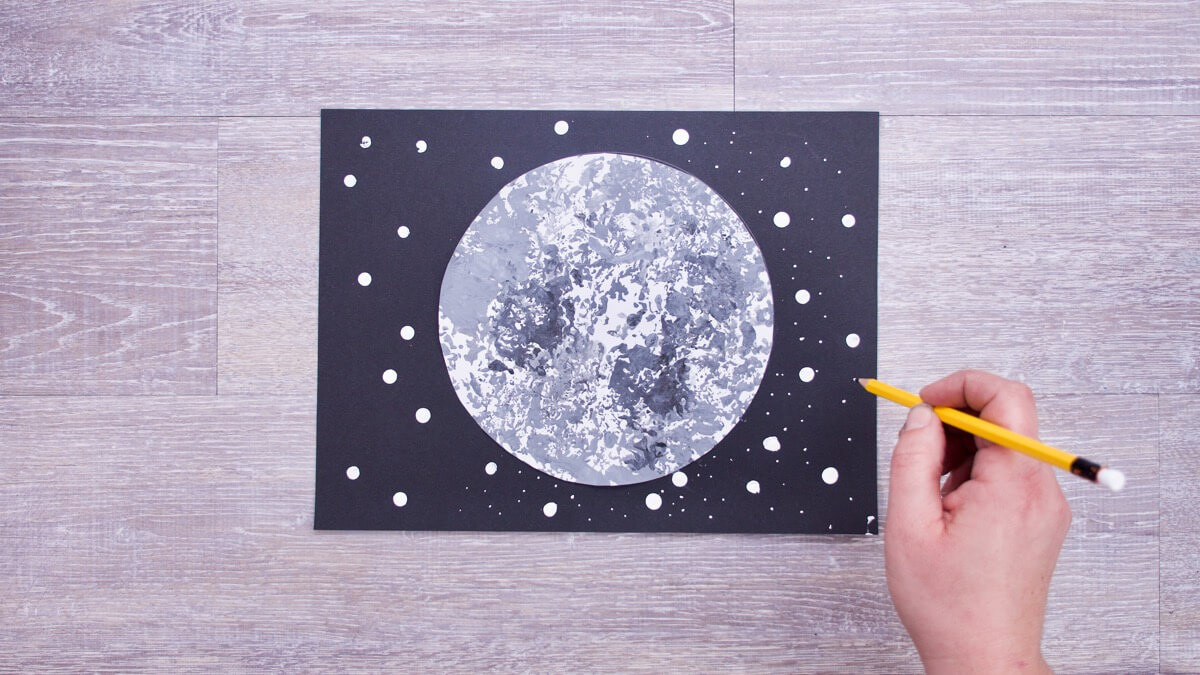
A beautiful night sky!
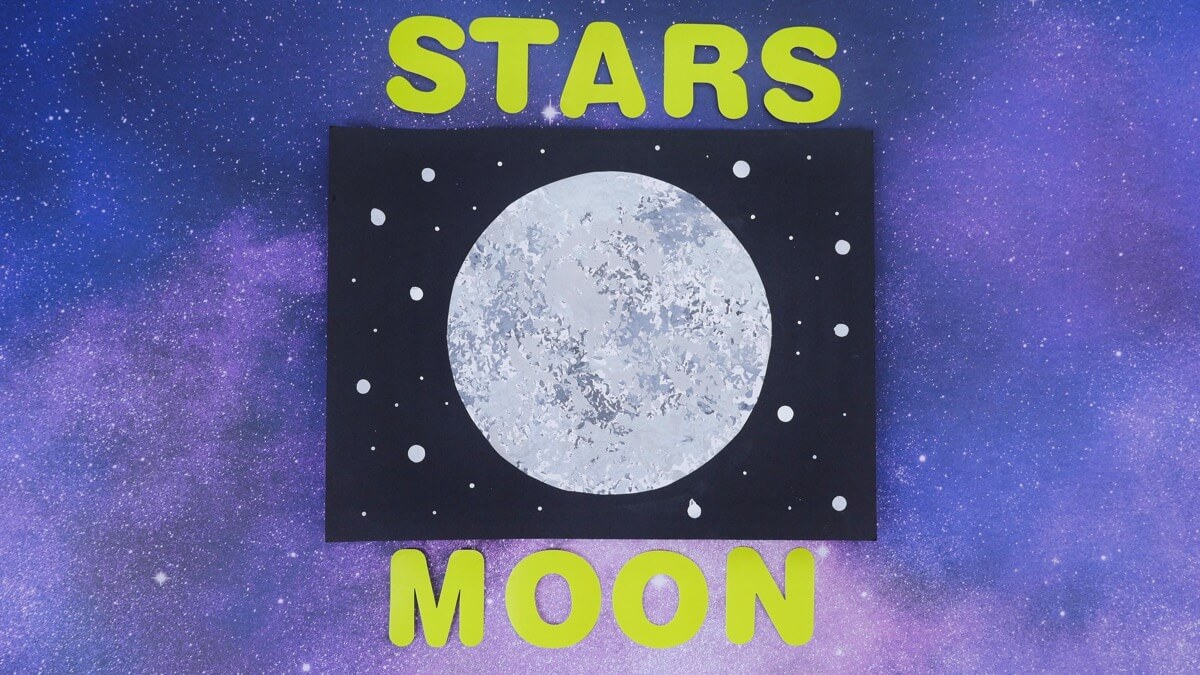
For more activities and learning about the night sky, watch Caitie’s Classroom The Magnificent Night Sky episode.
Don’t forget to follow us on Twitter, Instagram, Pinterest, and Facebook!
Original content © 2020 Super Simple. Not to be reprinted without express written permission. Terms of Service.

