“Arts education is a big part of building a 21st century creative mind, and I think that we have let way too many kids lose their way by not drawing in their young minds with music, dance, painting and the other various ways we can express those things we do not have words for.”
– Heather Watts
Why is Music and Dance so important for children to be exposed to at a young age?
There have been many studies that have shown positive results developmentally to children who have been exposed to music and dance at a young age. Development in their fine and gross motor skills, communication, listening skills and emotional development are all shown to have improved with this exposure. Those actively taking part in instrument playing, singing, dancing and listening to music appear have improved behaviourally, emotionally and cognitively.
From the womb to birth music has a place to play. Babies can hear and respond to music playing outside the womb. Playing music and singing to premature babies aids their development. Even babies that aren’t premature are soothed by singing. From personal experience, we sang the same song to my youngest daughter since she was born. She is two this month and this lullaby still holds great calming power for her. If for whatever reason she is very upset, by simply humming the tune in her ear she will almost instantly become still when hearing it and calm right down.
Moving on to toddlers; before they even learn how to speak their bodies react to music. Whether it be bobbing their heads, moving their hands, bouncing on their bums, swaying or twirling, their bodies can’t contain the movement until it erupts through their dingy dances. This time can be a really frustrating one for a child who is still finding their words. Encourage this dancing! It allows them to express themselves in a way they can’t yet in words. It also is excellent practise for them in terms of balance and coordination. Have regular and spur of the moment ‘dance parties’ in your house. Apart from it being great bonding for you and your children, you may even find that you the adult, find it a good release and good for your soul!
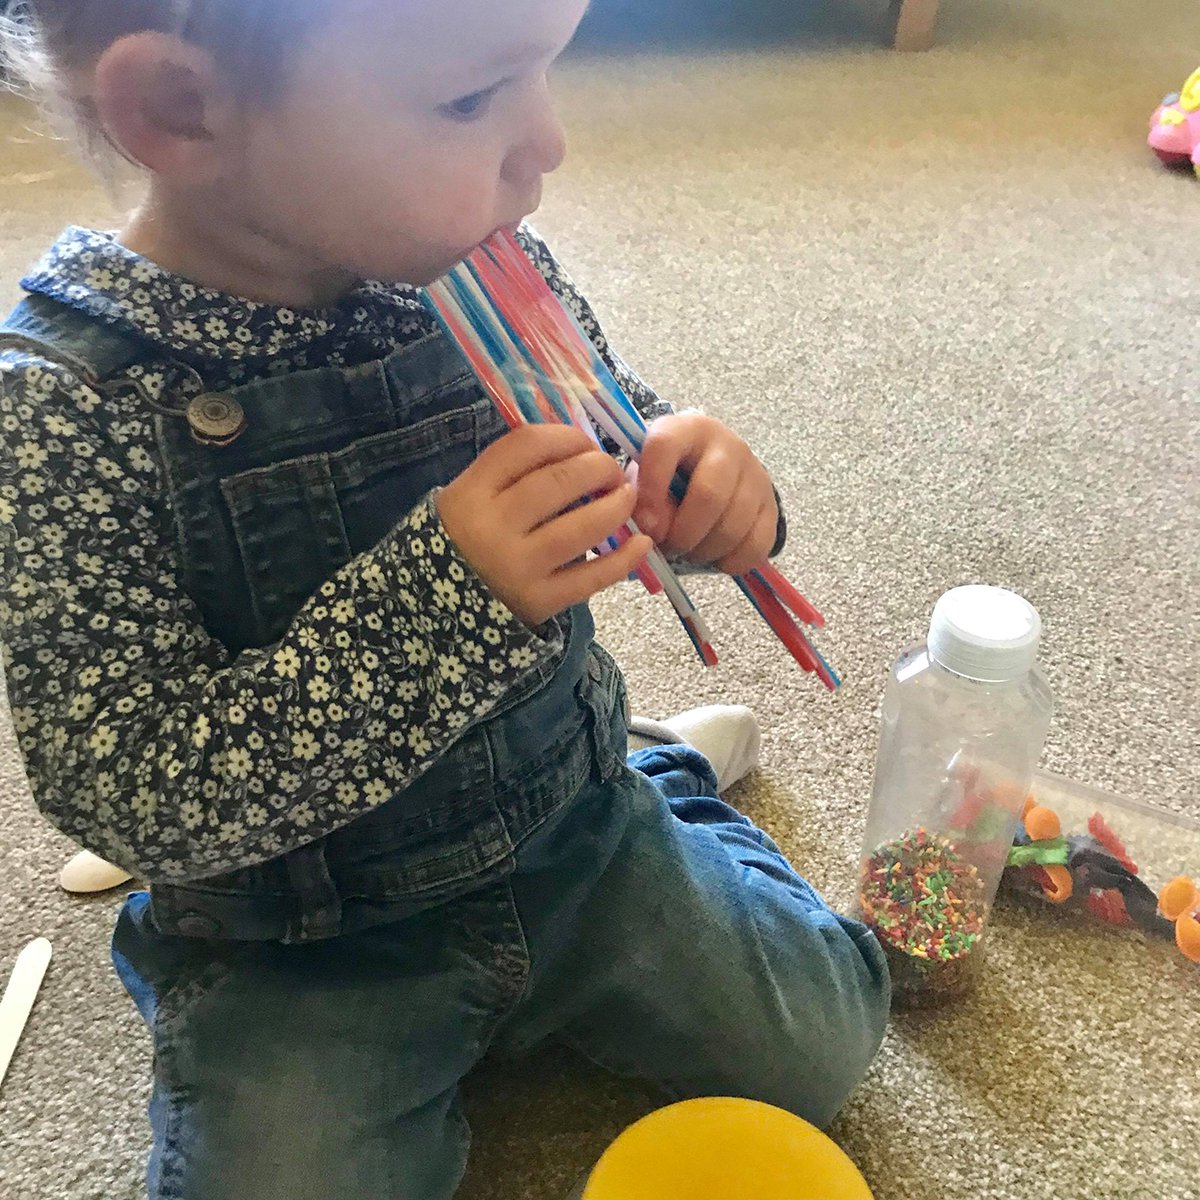
During the journey from toddler to preschooler, when language begins to emerge, it is common for them to request the same nursery song over again and again, until it is likely you’ll wake up humming it yourself… ♪ ♪ Baby shark do do do do do do, baby shark… ♪♪ (I’ll just leave that there for you all as a little example!) Children may sing the tune before they even make sense of the words! As well as listening and singing to music, it is equally important to give them the opportunity to experiment and play with toy instruments. This will encourage hand-eye coordination through their play.
Preschooler to school age children may start to become interested in learning an instrument. This is excellent for their fine motor skill development as lots of instruments require intricate finger movements. More then this, they will start to notice how some music can make you feel. Sadder melodies may make them feel sad, whereas more up beat ones make them want to dance.
Older children to teenagers; this is when an opinion on music preference begins to emerge. It may help mould their identities, deepen friendships and help them grow as people.
Instruments, isn’t that expensive?
No!
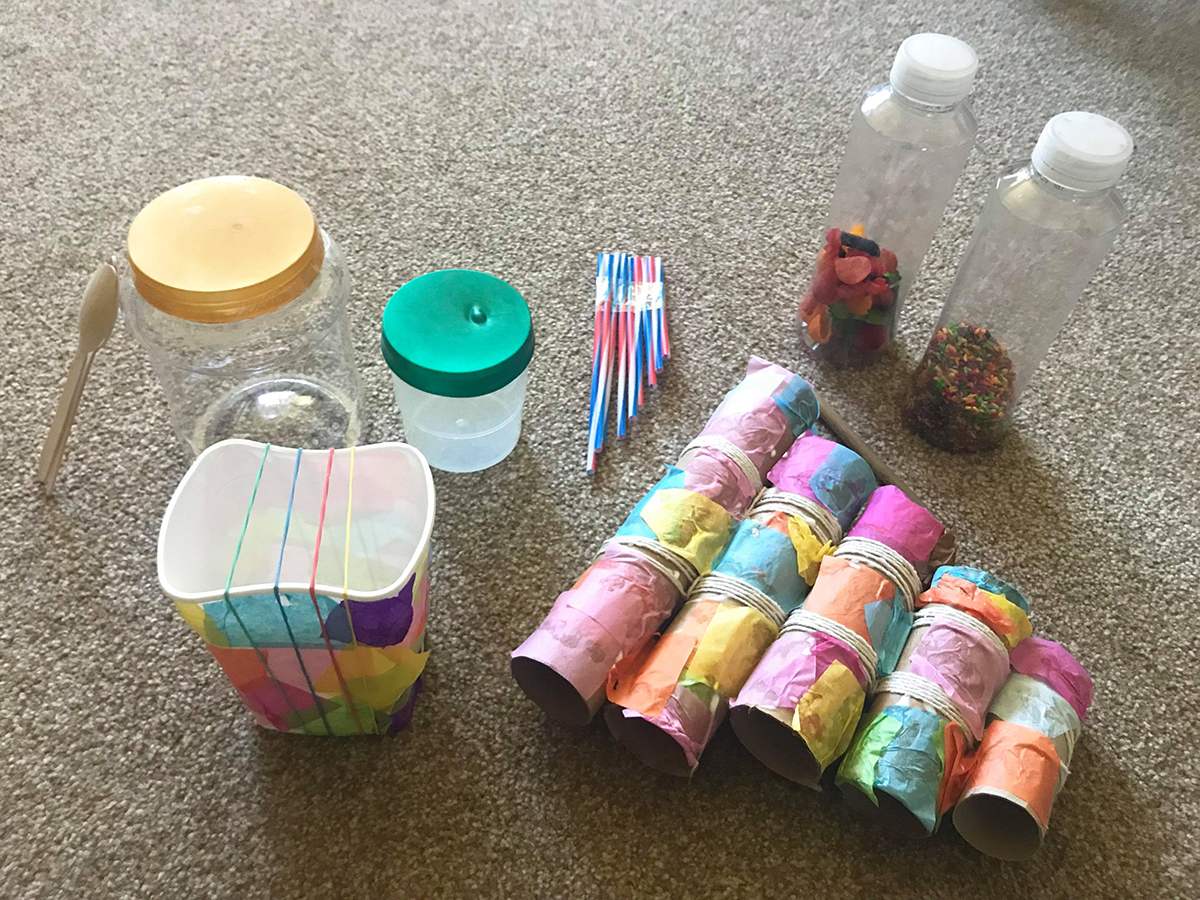
Allowing your children to play with instruments doesn’t have to be expensive. In fact, you can pretty much make an orchestra of percussion instruments from just things you have in the house – recyclables and arts and craft supplies you have lying around. It is that super simple! We made five different types of instrument in no time at all. Here is some examples of what you can use that is already in your house.

| Recyclables to Use: | Decorations: |
| Cardboard rolls – toilet, kitchen, wrapping paper | Paint |
| Glass jars | Felt tip pens |
| Tin cans | Washi tape |
| Plastic tupperware | Crayons |
| Plastic bands | Spray paint |
| Plastic bottles | Glitter glue |
| String | Stickers |
| Balloons | Sequins |
| Straws | Tissue paper |
| Cardboard boxes | Chalk |
Our orchestra included:
| What we made: | Made of: |
| Drums x2 | Plastic tubs, balloon & sellotape |
| Shakers x2 | Plastic bottles, rice, pasta & glue |
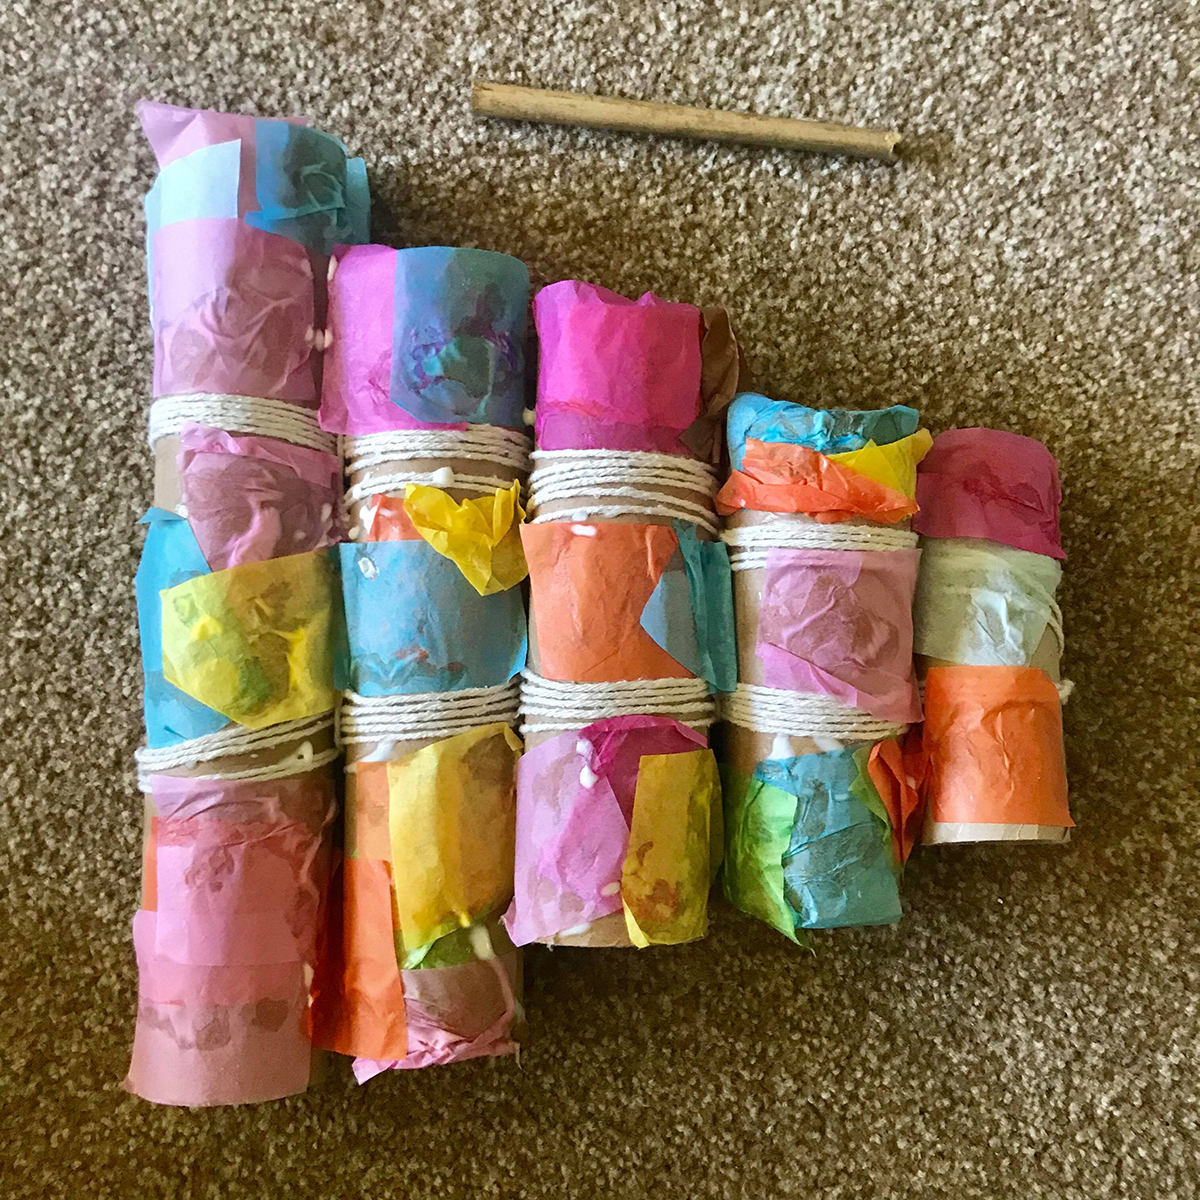
| Xylophone | Cardboard wrapping paper roll, glue, tissue paper, string & stick |
| Flute | Straws & sellotape |
| String instrument | Plastic tub, glue, tissue paper & elastic bands |

Instructions:
Shakers
We used two empty transparent plastic bottles. We took the wrappers off them, rinsed them out and dried them. We then put rice in one and pasta in the other. We had some previously coloured rice and pasta lying around in our crafts boxes so we used them to give them some colour. This is optional. Once you have filled them 1/4 full, glue or sellotape the lids on. You may need to explain to your younger children that it is not for opening. Give a little demonstration, they’ll soon be copying you!
Drums
We made two drums of varying sizes out of hard plastic tubs we had in our recycling pile. We disposed of their lids and replaced them with balloons. Cut off the thin section of the balloon, where you blow it up and throw that part away. Take the bulbous part and stretch it over the top of your plastic tub so that it stretches over it completely. Sellotape it down. Find a stick or a spoon to use as drumsticks. Each different sizes drum tub will make slightly different noises.
Xylophone
Cut up a cardboard wrapping paper tube up into 4 or 5 different size tubes. Each one should be a few centimetres smaller than the last. Line them all up, biggest down to smallest. We tied them all together in a line with string by looping figure of 8’s around two at a time, until they were all secure. Sellotaping them all together would work just as well. Use a stick or piece of cutlery for the stick.
Flute
Creating a flute is the same process as the xylophone but on a smaller scale with straws. Using 5 or 6 straws line them all up next to each other and cut everyone a bit shorter than the next. This will mean when you blow through them, each one will sound different. Sellotape them all together in a line.
String instrument
You can really use anything to make a string instrument, a deep oven pan, an empty tissue box, a glass jar, you name it. We used another plastic tub we had in the recycling. Once you have chosen you will need 3 to 4 elastic bands that you will need to stretch around over the opening. If you ping each elastic band you will find that they all make different notes.
So there you have it, with very little effort you can create a basket full of instruments without having to have spent anything. Once you have assembled your instruments, feel free to either leave them raw or allow your children to decorate them. We used PVA glue and tissue paper. We also used some colourful elastic bands to match the colours of the tissue paper.
As always, share your creations on social media so we can see your masterpieces, even better, we want to see them being played!
Don’t forget to follow us on Twitter, Instagram, Pinterest, and Facebook!
 Contributor
Grace Selous Bull is an arts education author and freelance blogger. Her book, ‘Potty About Pots: arts and crafts for home and school’ is aimed at children from 5-12 years old and takes them through a journey of ceramics through time. She is a full time Mummy of two girls, both of whom love being creative, and is married to her husband, Andrew, who does not.
Original content © 2018 Super Simple. Not to be reprinted without express written permission. Terms of Service.

