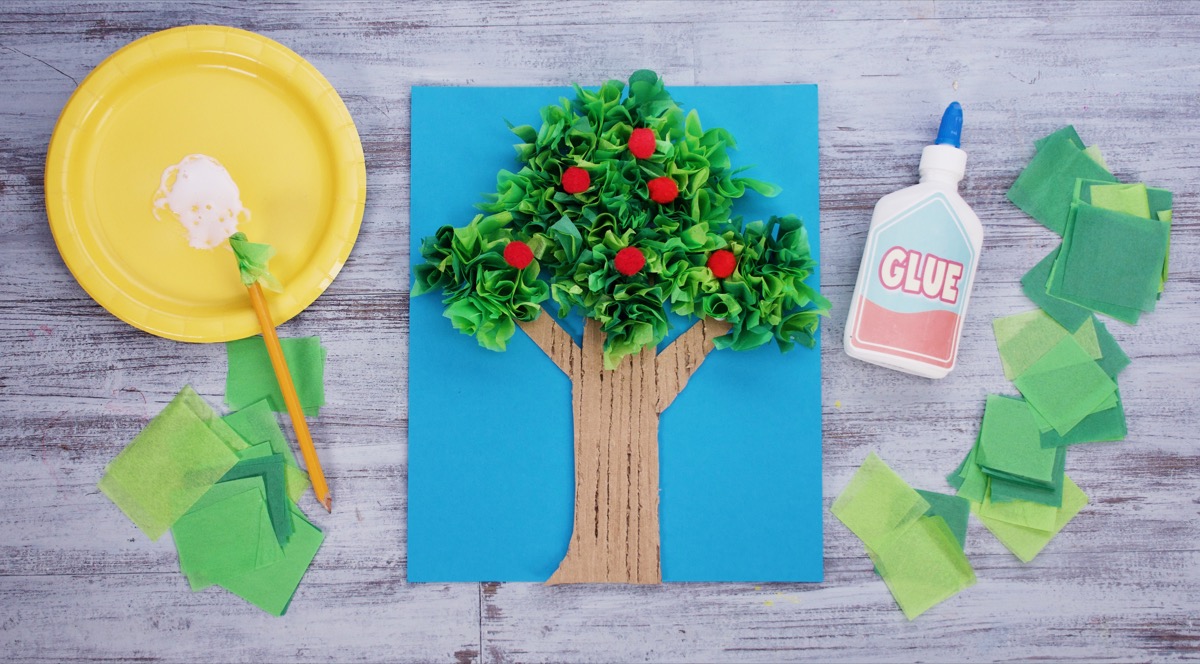
This simple tree craft is one that everyone can get involved with. You can make a big tree, or a little tree! Maybe your tree grows fruit! Maybe it has long branches! Trees are versatile, and so is this craft. You can change it to make it easier for little ones by simply gluing the tissue paper pieces to the branches to make your leaves. And they will love making the tree bark texture in the cardboard. Give it a try!
Things you’ll need
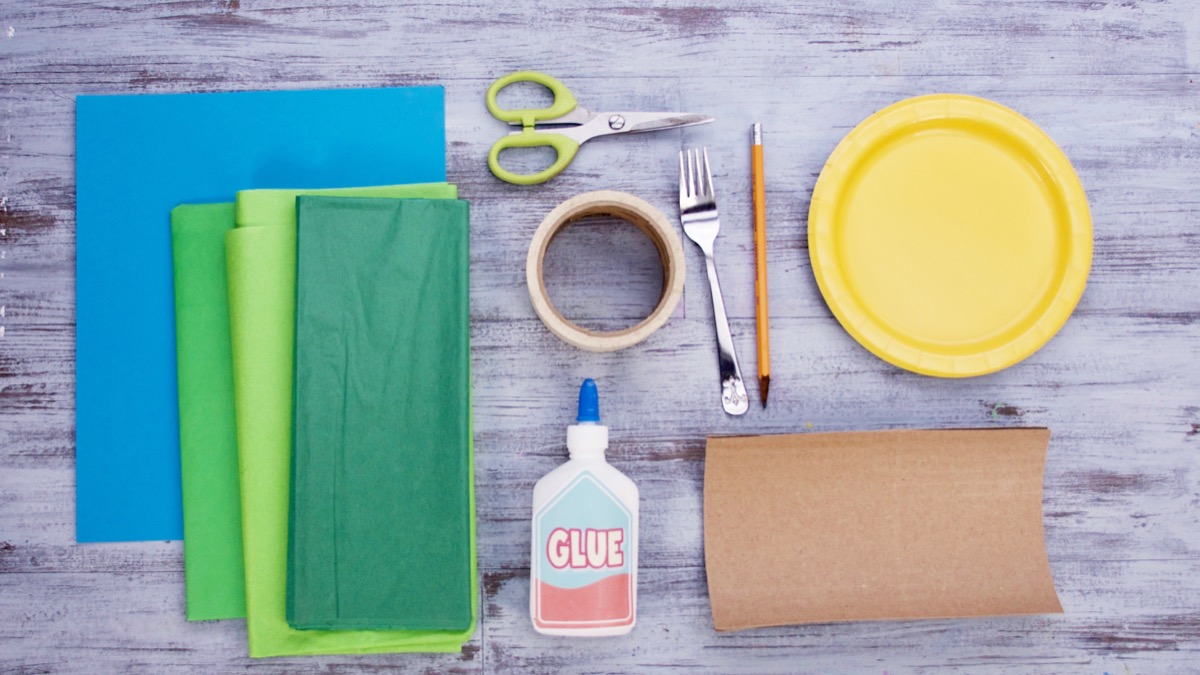
- Different shades of green tissue paper
- Pencil
- Construction paper
- White glue
- Scissors
- Cardboard
- Fork
- Masking tape (or something to secure the cardboard)
- Optional pom poms or buttons to decorate!
Tree Trunk
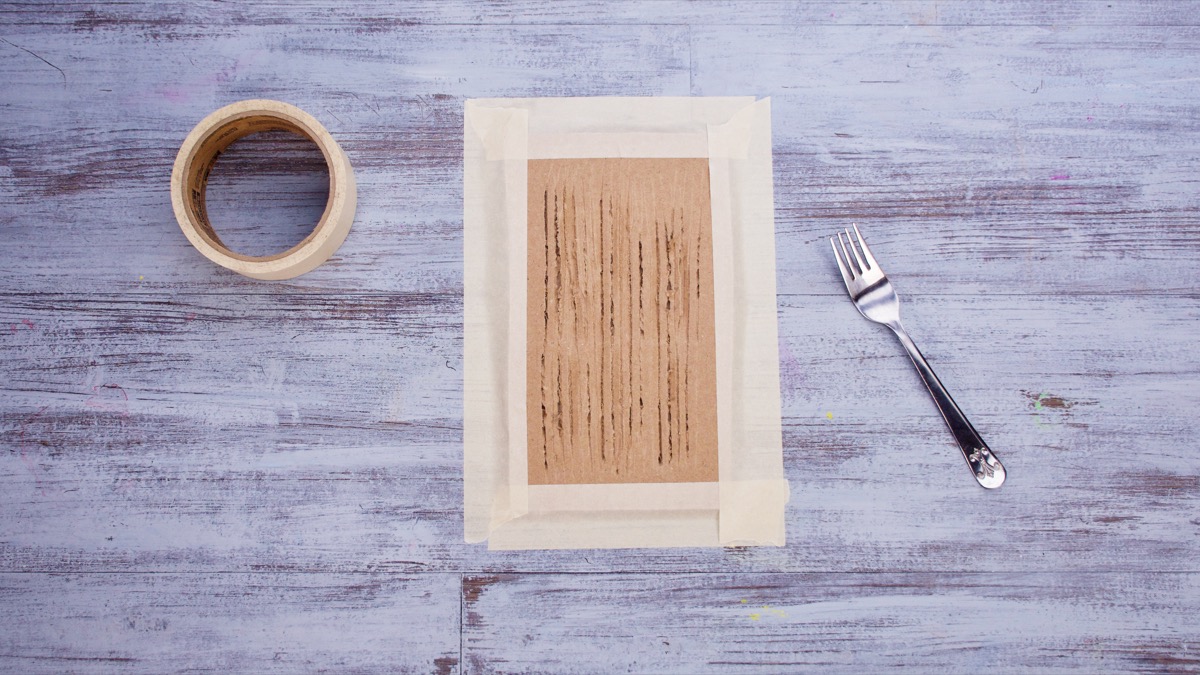
Cut a section of the cardboard for your tree trunk. Make sure it is a bit larger than what you will need to the final tree trunk. With masking tape, secure the cardboard piece to a table – this will help keep those little fingers away while making the tree texture, and make it easier to scrape.
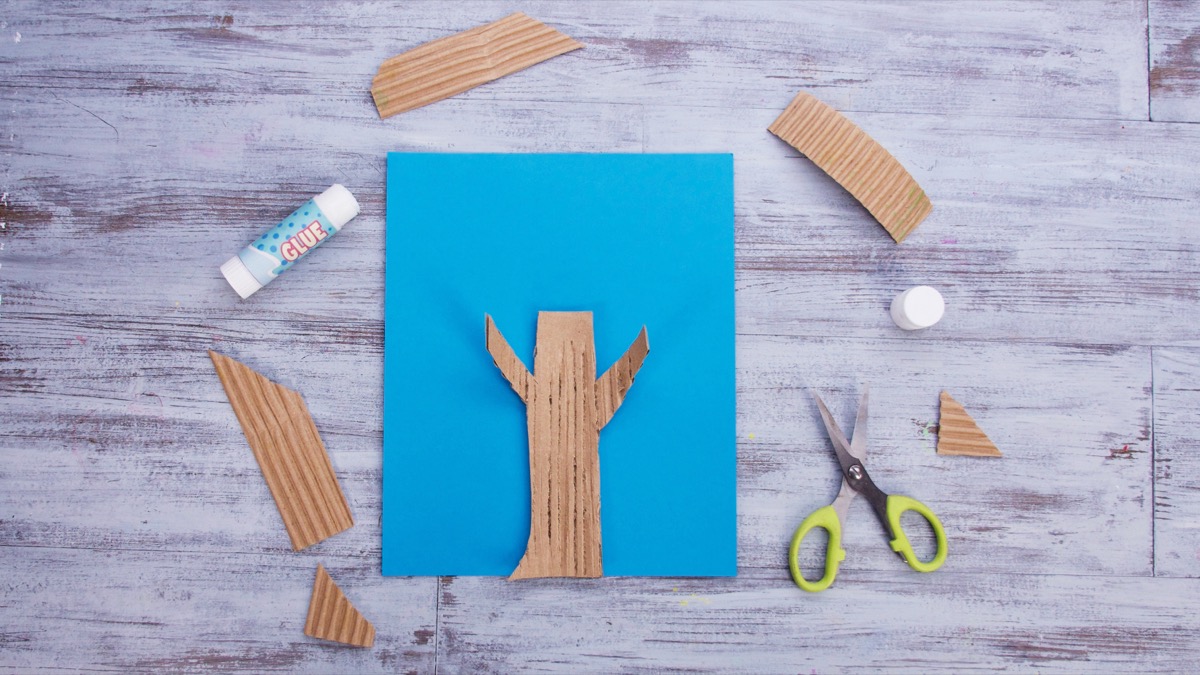
With a fork, scrape into the cardboard to make a tree bark texture (it is much easier to scrap if you go along with the grain of the cardboard). Once the texture is created, cut out the tree trunk shape for your tree. Glue the tree trunk to your construction paper background.
Leaves
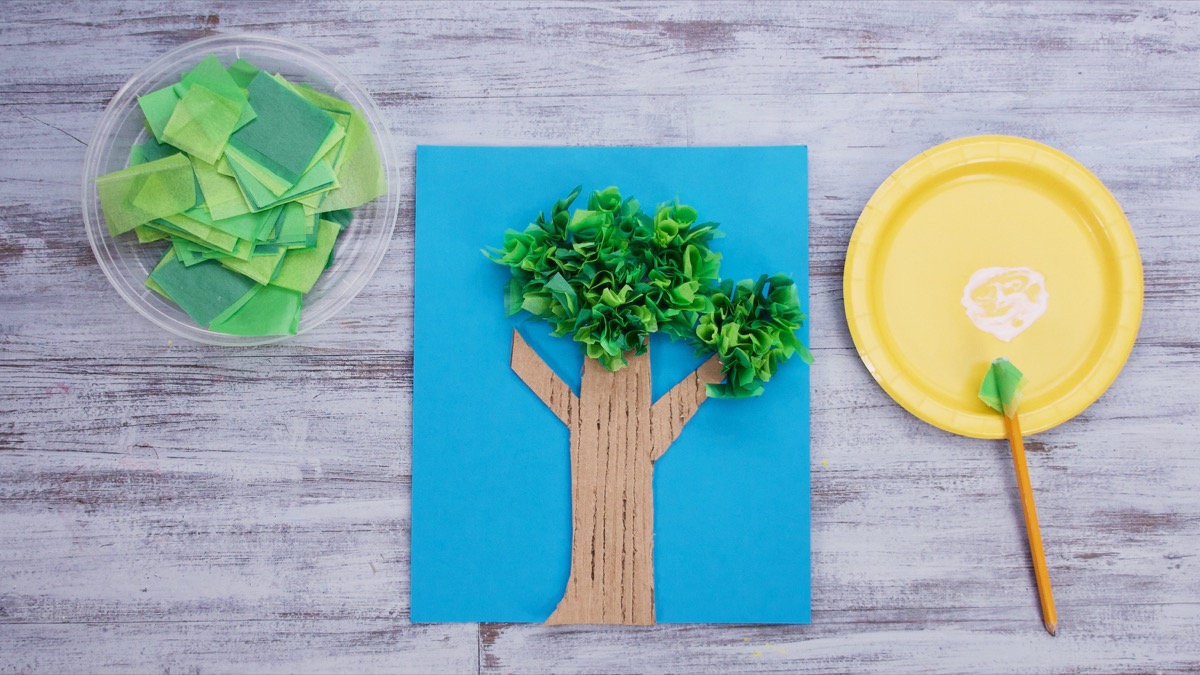
Cut tissue paper squares with sides about two inches. You can cut multiple sheets at the same time by folding them together. Fold a couple layers of the squares around the eraser tip of a pencil. Dip the pencil tip into some glue and stick onto your paper to make leaves! If it is easier for little hands, feel free to simply glue the tissue paper onto the paper to make the leaves!
Decorate
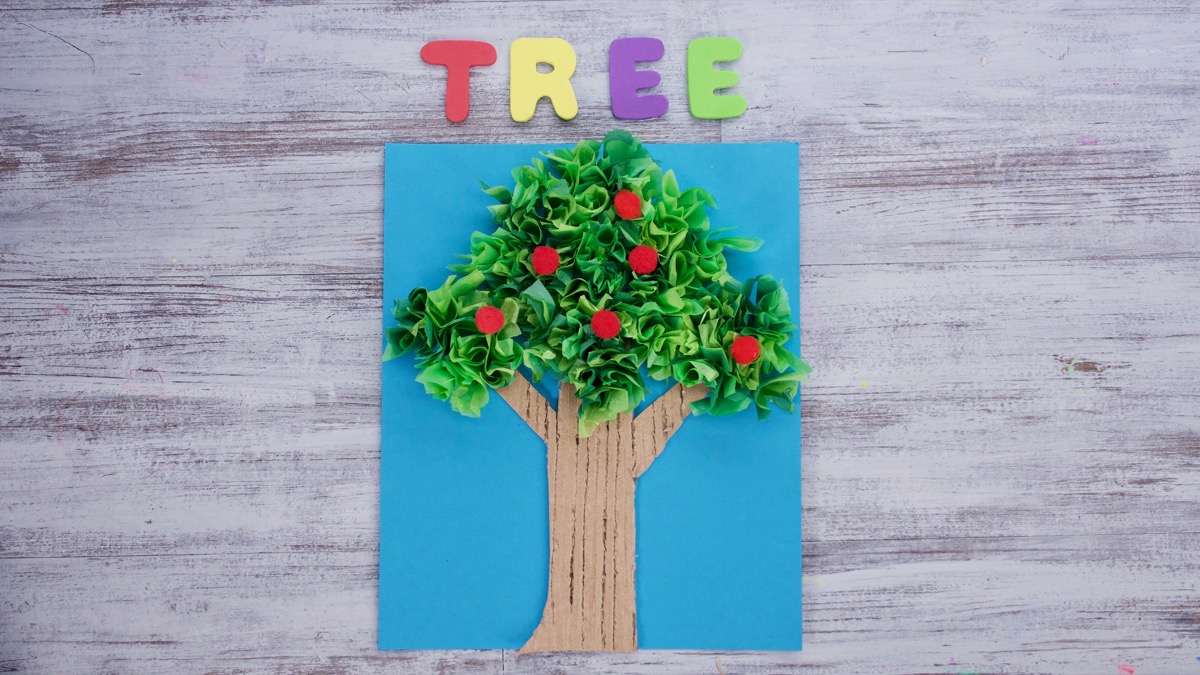
Once you’ve added all the leaves to your tree, you can decorate by using pom poms or buttons to make fruit that grows on trees!
For more fun crafts and activities about trees, join Caitie in Caitie’s Classroom! She has a whole episode about trees!
Don’t forget to follow us on Twitter, Instagram, Pinterest, and Facebook!

