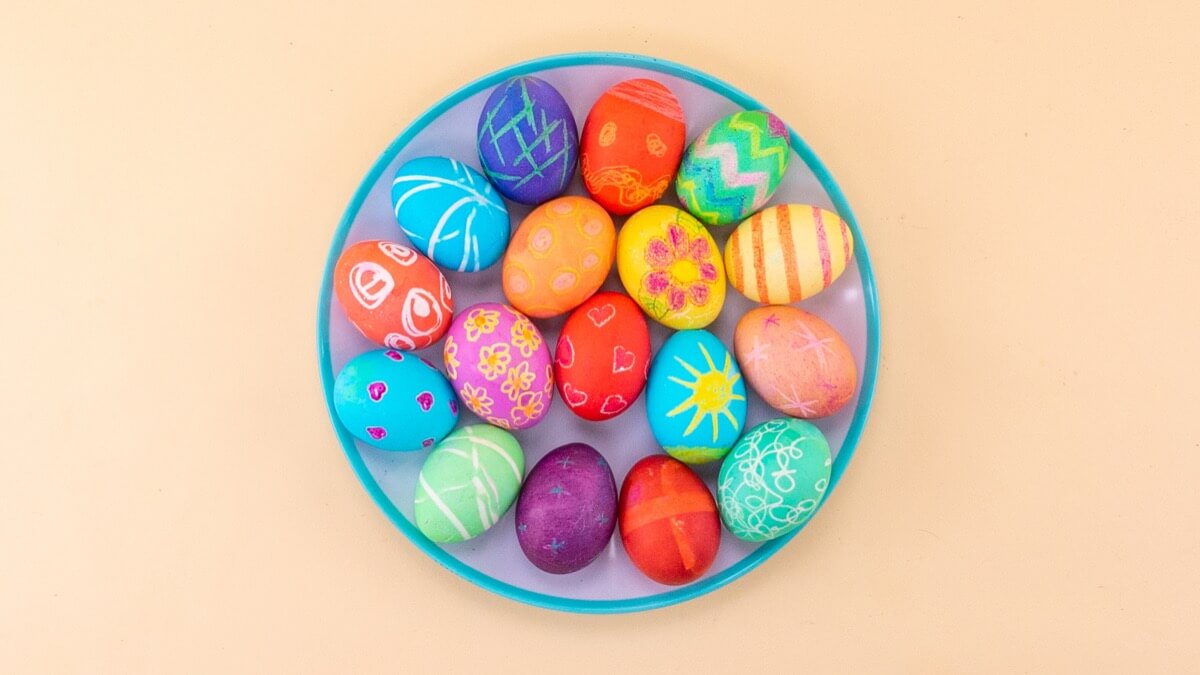
It’s almost Easter! Do you enjoy decorating eggs with your family or classroom? What about an Easter egg hunt outside or around the house? With a super simple recipe, this traditional activity will feel fresh, festive, and fun. Okay, Easter bunnies. Let’s “hop” to it!
Things you’ll need
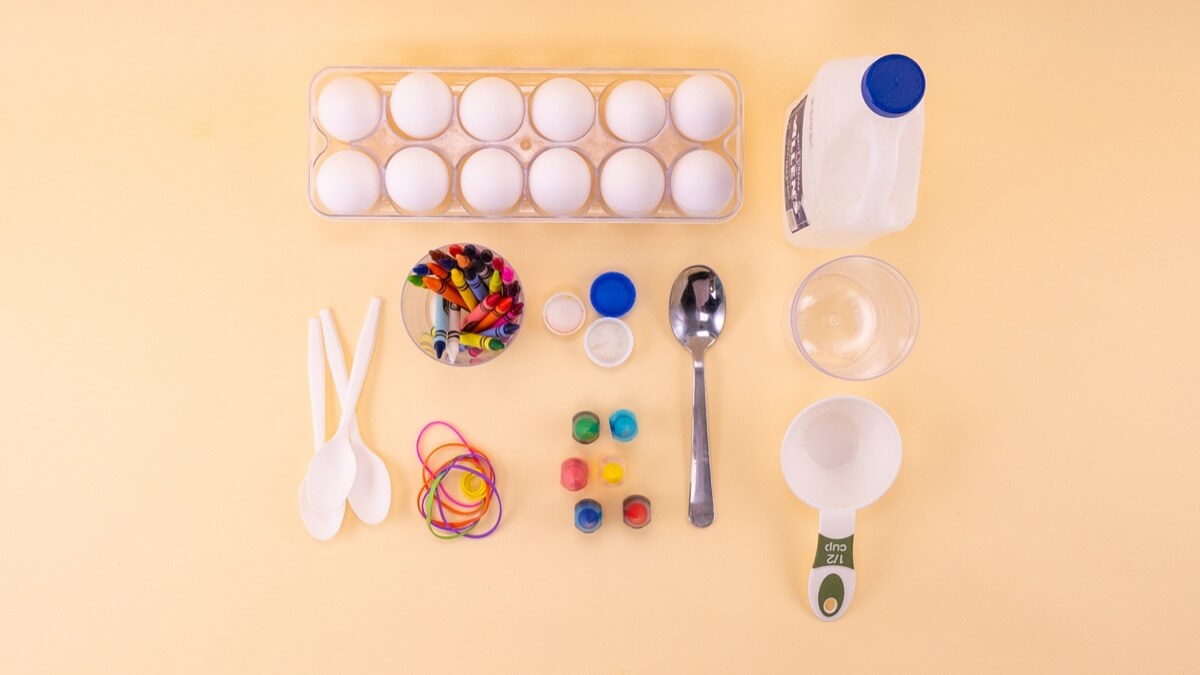
- Eggs (white shells work best)
- Water
- White vinegar
- Measuring cup 1/2 cup
- Individual clear cups
- Food coloring
- Timer
- Spoons for each color
- Crayons
- Rubber bands
- Bottle / Juice cap
- Tablecloth or newspaper
Steps
Boil the eggs:
Add your eggs to a large pot with enough water to cover them with one inch of water. Turn the heat on high and bring them to a boil. Turn off the heat and let them stand for about ten minutes. You can set your timer for this part.
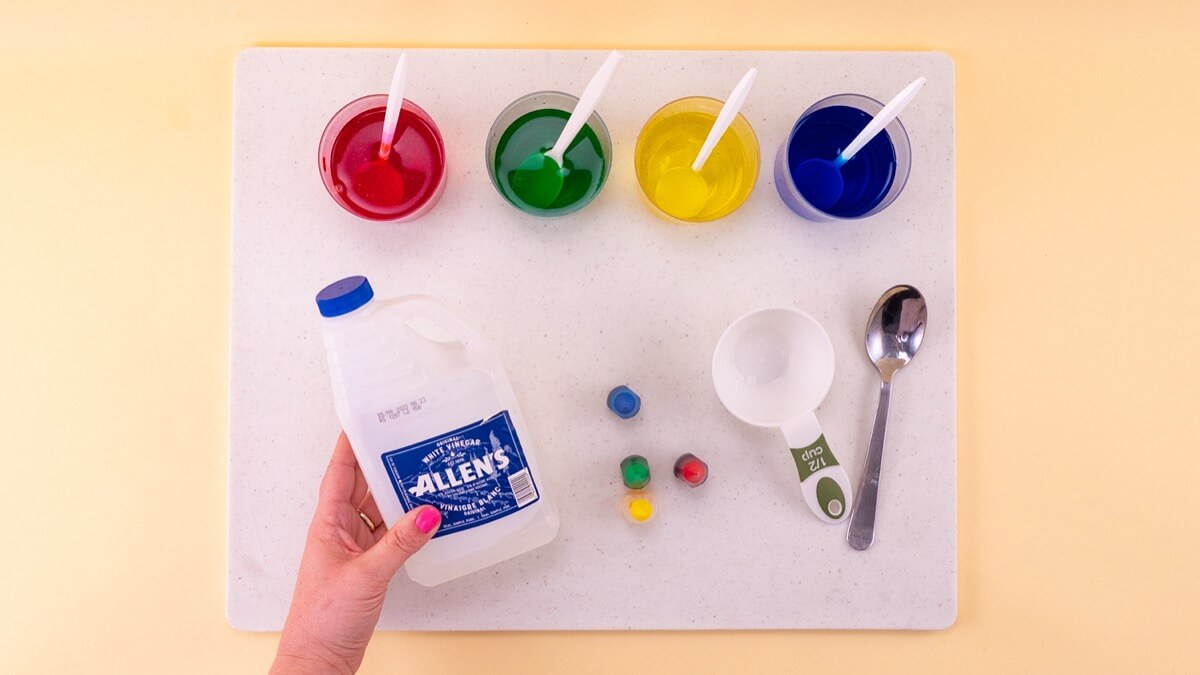
Prepare the colors:
Cover your work surface with an old tablecloth or some newspaper. Set up one clear cup and one spoon for every color you are working with. Place a bottle cap in front of each cup- this is where your egg can be placed while it dries. In each cup, add half a cup of water. Next, add up to 20 drops of food coloring. Finally, add three tablespoons of vinegar to each cup. The vinegar will help the colors be vibrant. Mix the colors with their designated spoons.

More about dying eggs: When mixing secondary colors like green, orange, and purple, we recommend pre-mixing in their own cups. We made orange by blending 10 drops of red food coloring with 10 drops of yellow food coloring. When cross-dying eggs, start with your light colors and then move to your dark colors.
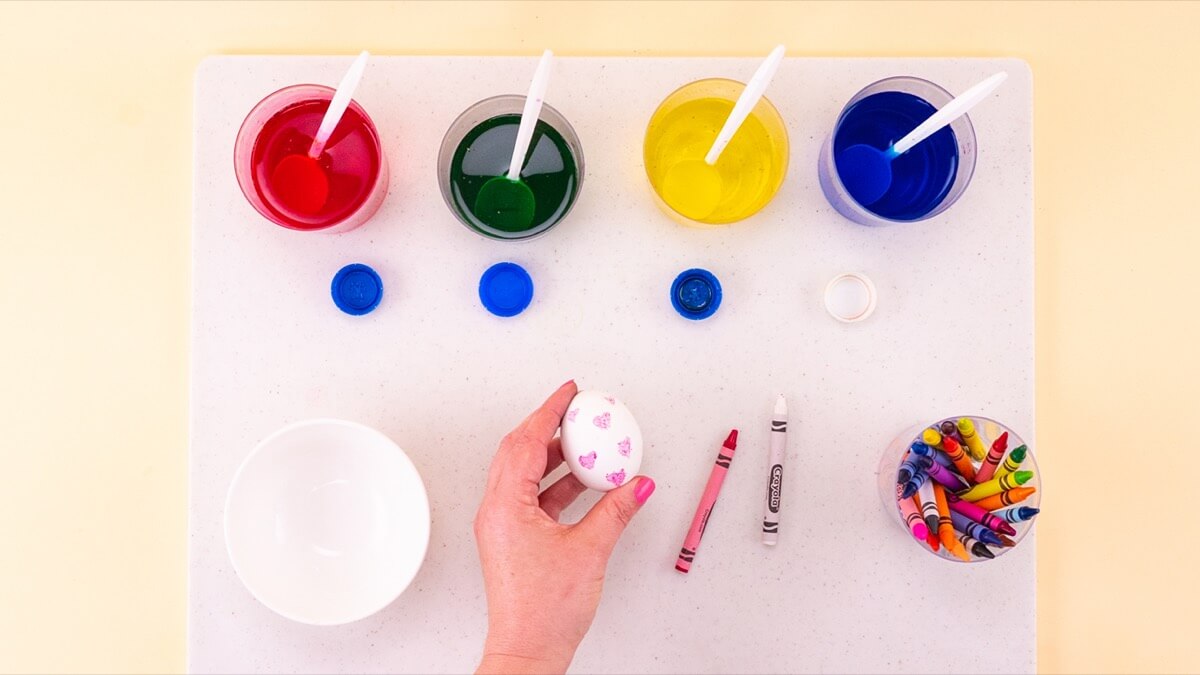
Now for the fun part! We have a few simple methods to decorate the eggs that we think look really cool. The first way is to draw some patterns on your eggs with crayons. ( If your eggs are nice and warm, the crayons will glide easily. If they are too hot, run them under some cold water first so little hands are safe, and so the crayons don’t melt too fast.)
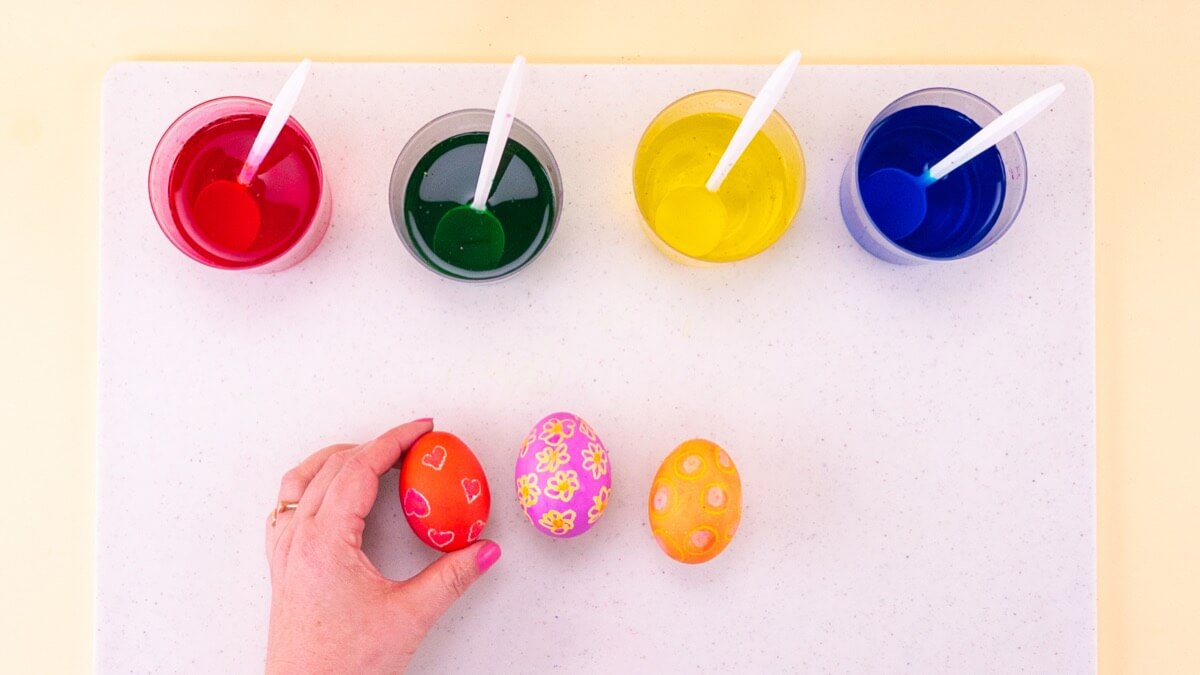
We experimented with a few different crayon colors and symbols. What do you think of our results? What patterns will you try? When it’s time to dye the eggs, dip them in the cups of food coloring and place them on the bottle caps so they can dry.
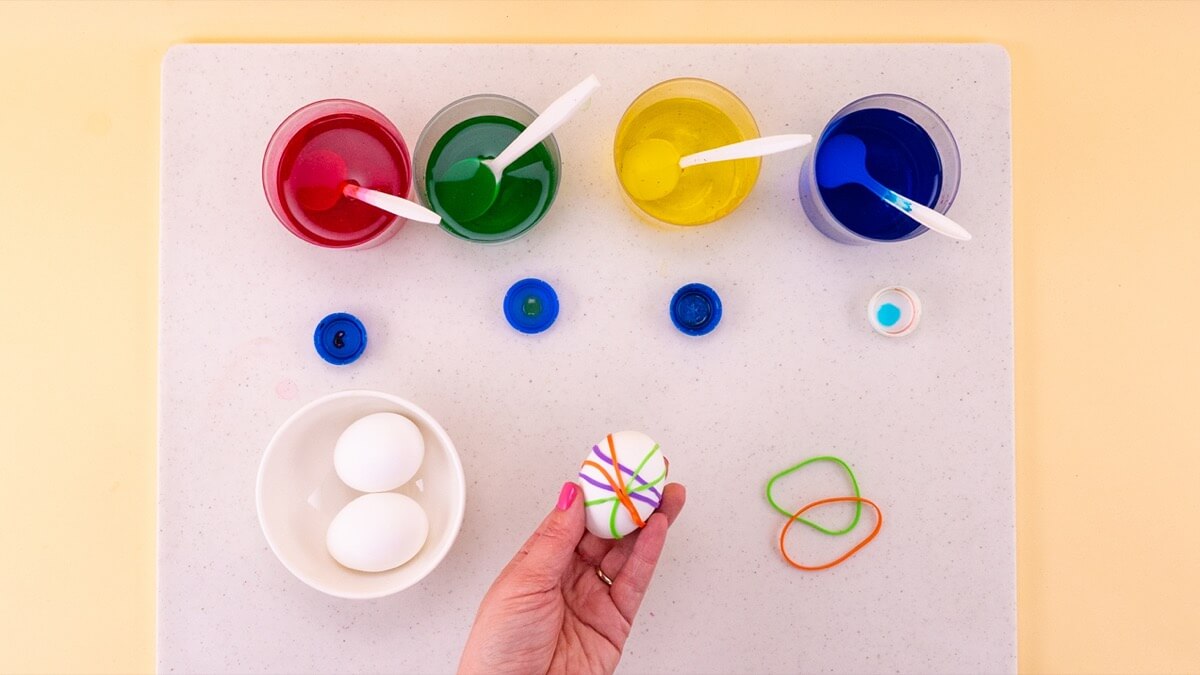
The other method of creating patterns on your eggs is by using some elastic bands. Wrap your egg with rubber bands and dip it in a color. Leave your egg in the cup of color for a few minutes to achieve a deep saturation.
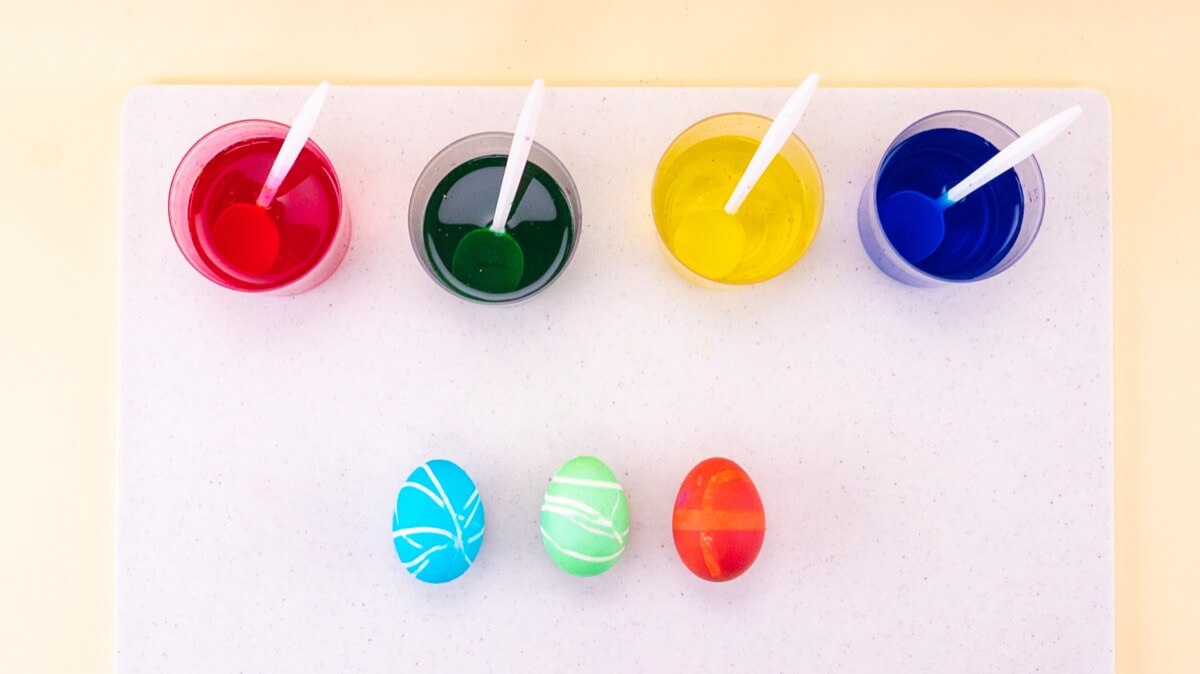
Let it dry on the bottle cap stand. Once dry, remove the rubber bands to reveal a cool pattern!

Place your eggs in an Easter basket if you like. Now they’re ready for a hunt, or to decorate the brunch table. Your Easter eggs look awesome!
TIP: Did you stain your fingers while making your lovely Easter eggs? Try scrubbing them with a dab of toothpaste for a few minutes. Rinse and repeat as needed.
For more Easter fun, learn How To Draw The Easter Bunny, or check out the song “Hot Cross Buns.”