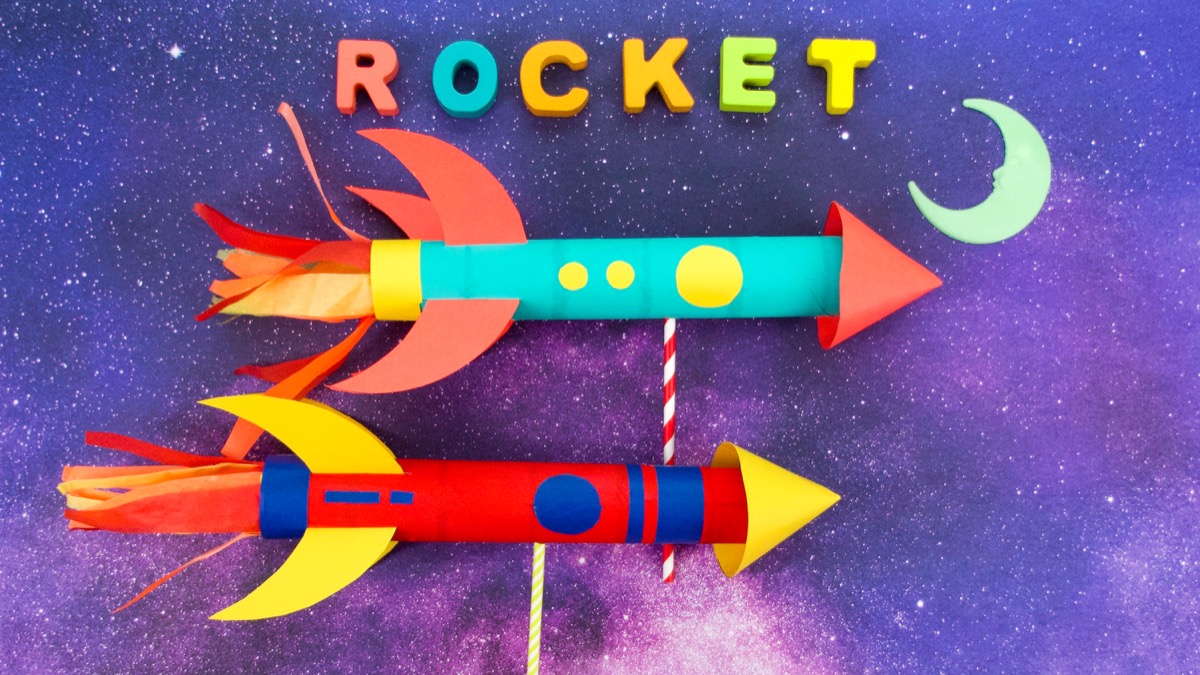
Three, two, one…blast off! This flying rocket ship craft is simple to make, and fun to play with! There are lots of great learning opportunities for little ones when making this craft – you can ask them what colors they want to make their rocket ship to practice color vocabulary, point out the different shape cut outs that are used on the rocket ship, and practice numbers with a big countdown! Plus it looks really great! Let’s get ready for lift off!
Things you’ll need
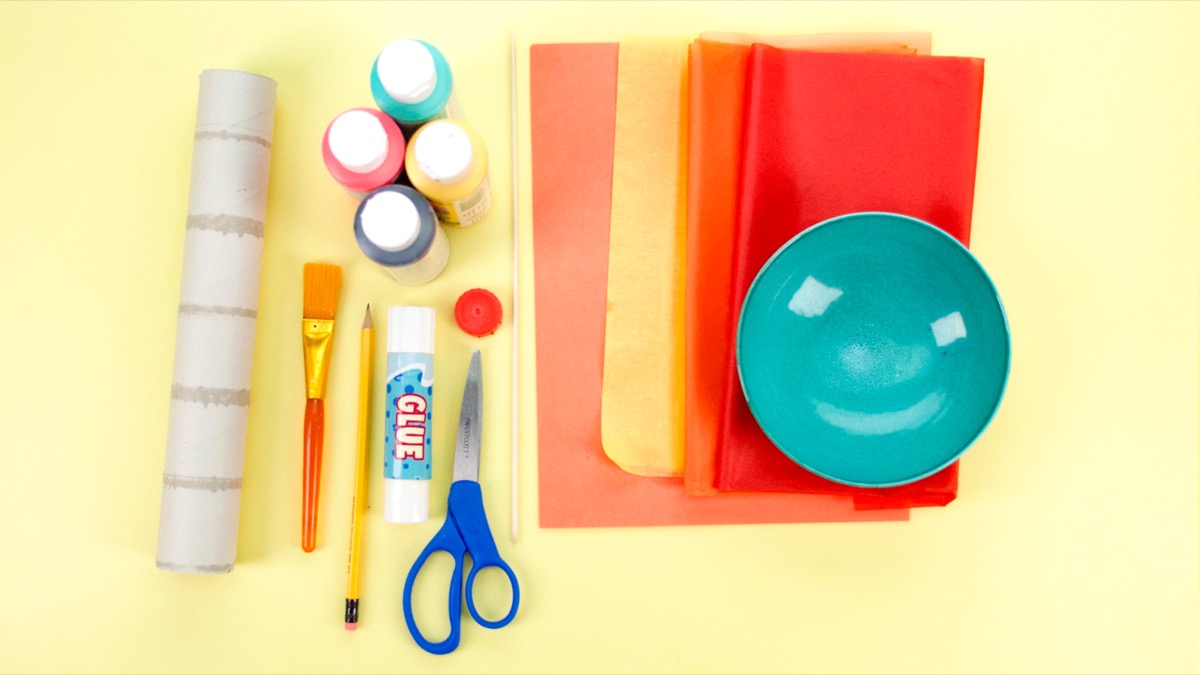
- craft paint
- cardboard tube
- paint brush
- glue stick
- tissue paper
- two sheets construction paper (any color!)
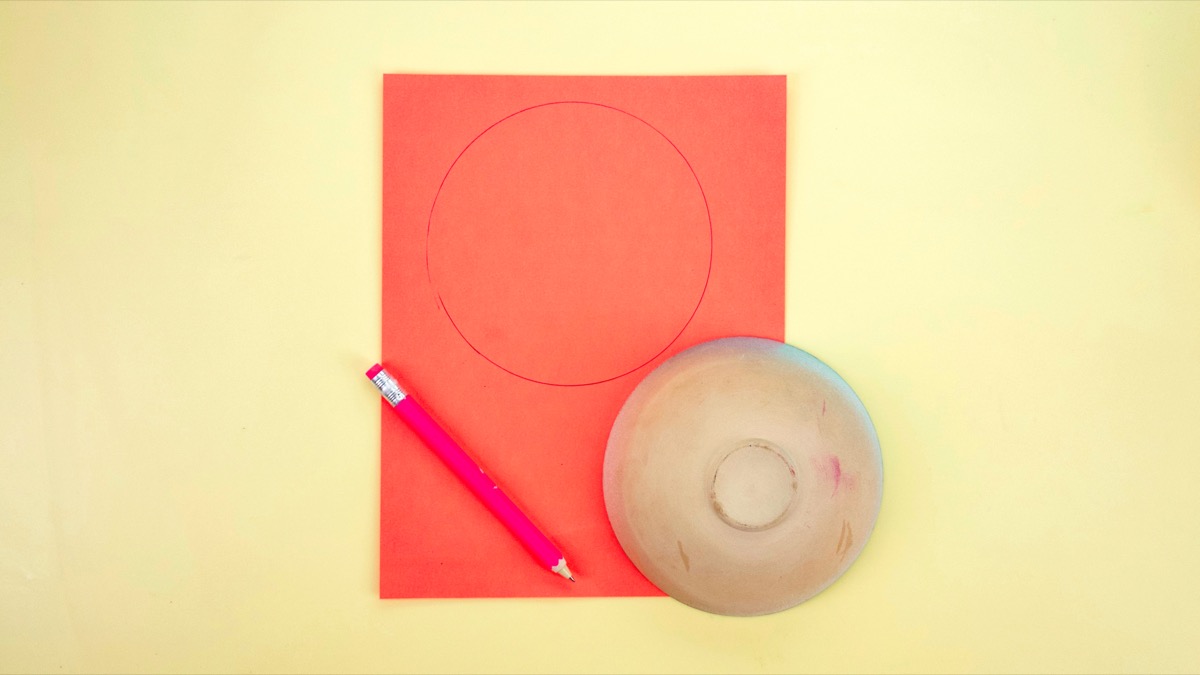
- bowl about 6” wide (for tracing a perfect circle)
- pencil
- tape
- straw (we used a paper straw)
- scissors
Steps
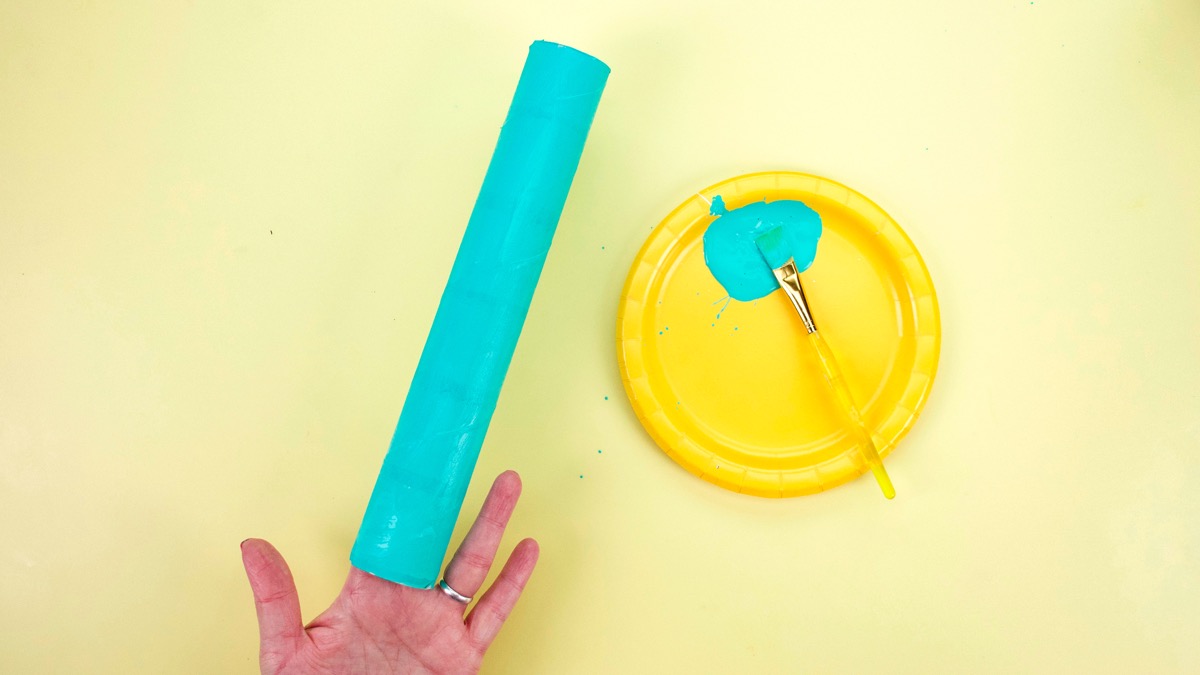
1. Paint your cardboard tube the color you would like for your flying rocket ship and then set it aside to dry. This part of a rocket ship is called the body tube!
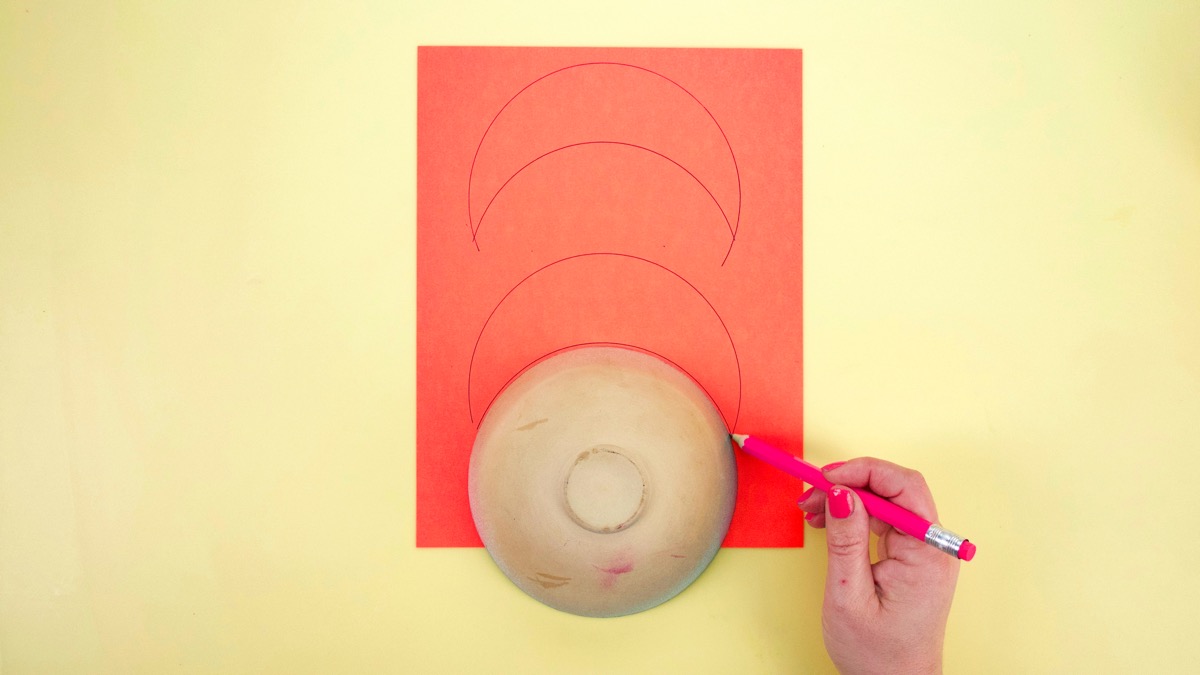
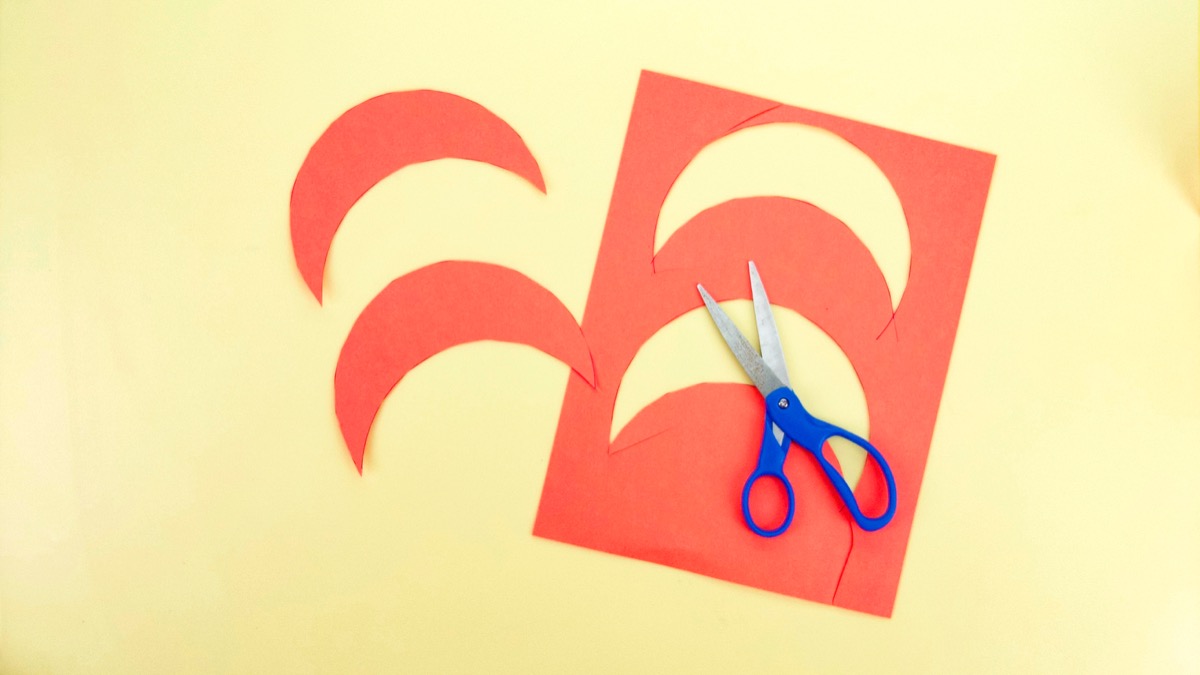
2. The bottom part of the rocket is called the fins! To make the fins, trace half of the bowl to make a half circle on a piece on construction paper. Then move the bowl down the page, and trace half of a circle again to make a crescent shape. You’ll need two of these shapes. Then cut them out!
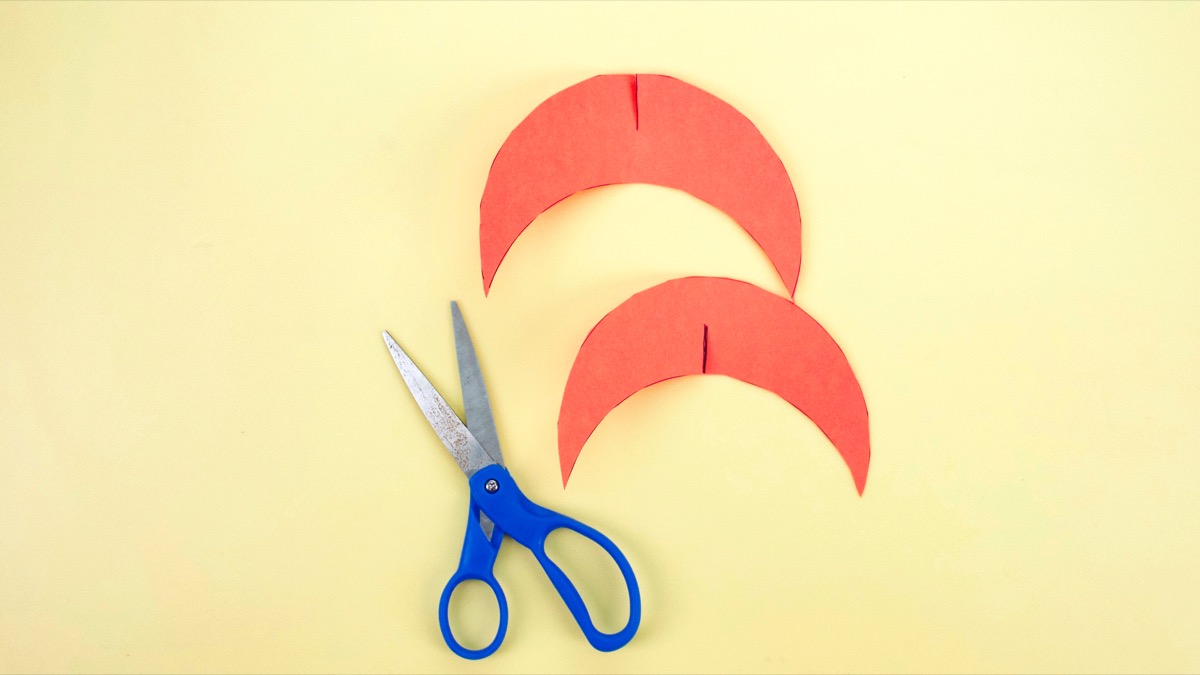
Take both pieces and fold them in half to find the centre. Unfold, and cut a line halfway up the folded centre line on one crescent, and make a cut half way down on the other.
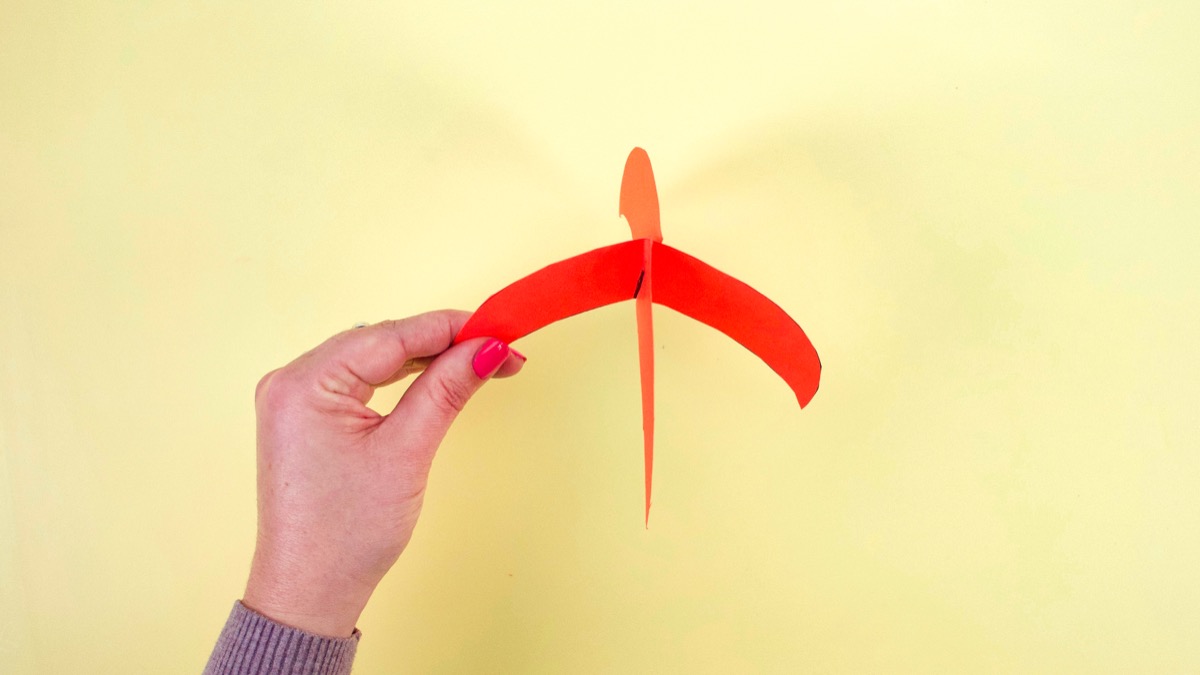
Carefully bring the two crescent shapes together by inserting one into the other using the cuts you made.
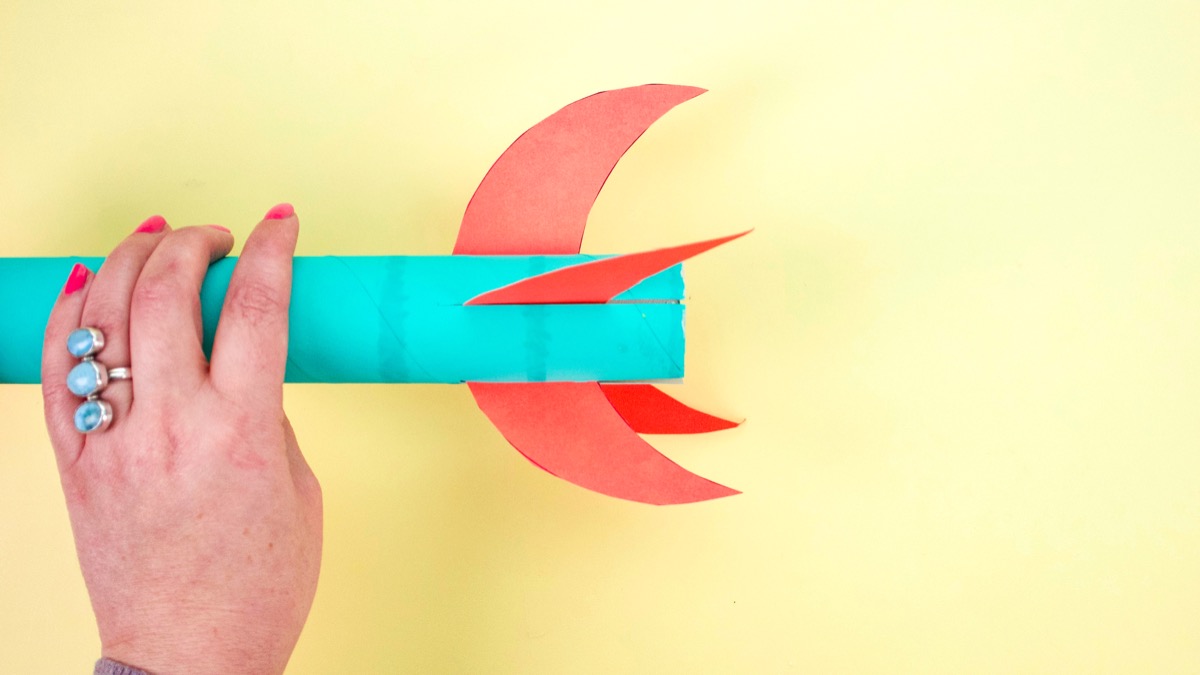
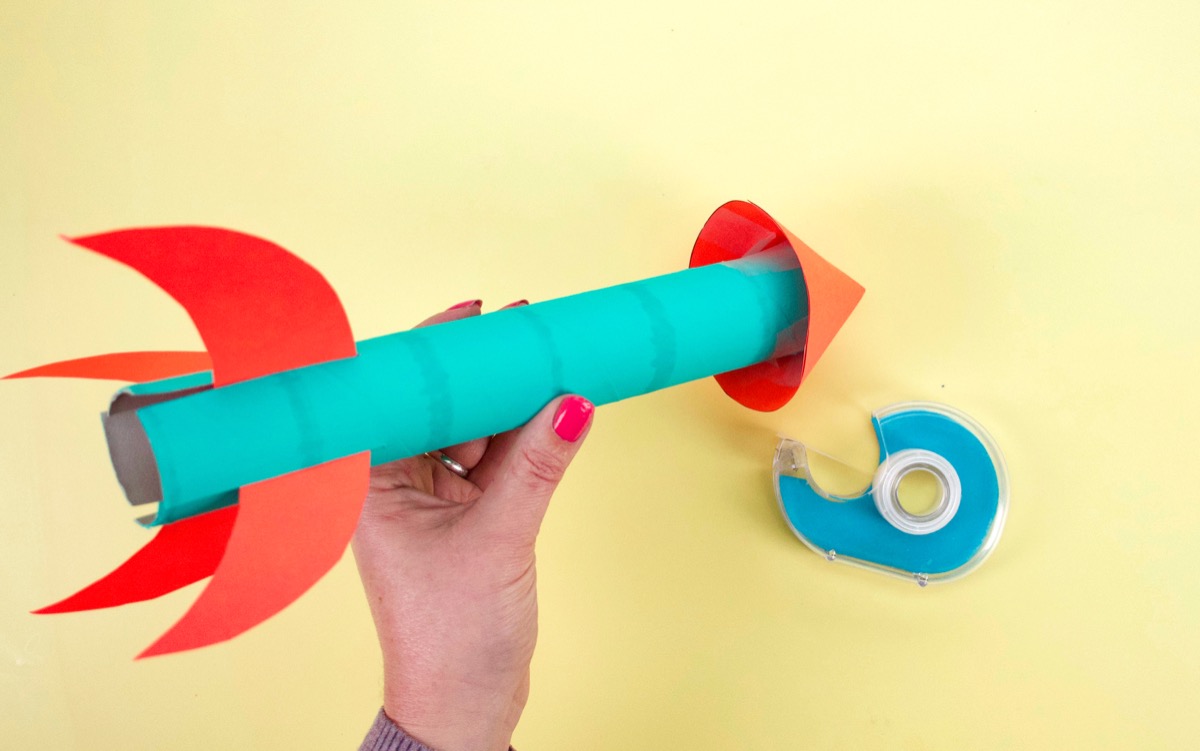
Using scissors, cut four 3” slits into one end of the paper tube, evenly spaced out. Then carefully slide the crescent shapes into the slits on the paper tube. Now you have your fins!
3. The top part of the rocket ship is called the nose cone! To make the nose cone, trace a circle onto a piece of construction paper and cut it out.
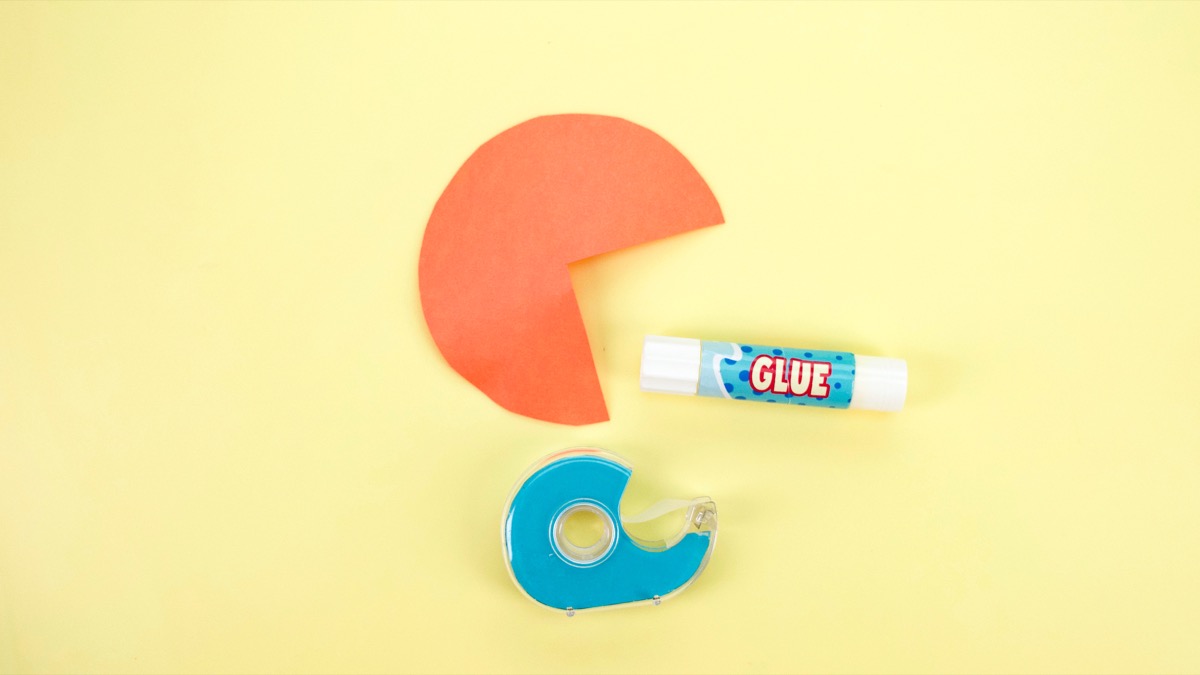
Then, cut away a 1⁄4 pie piece off of the circle.
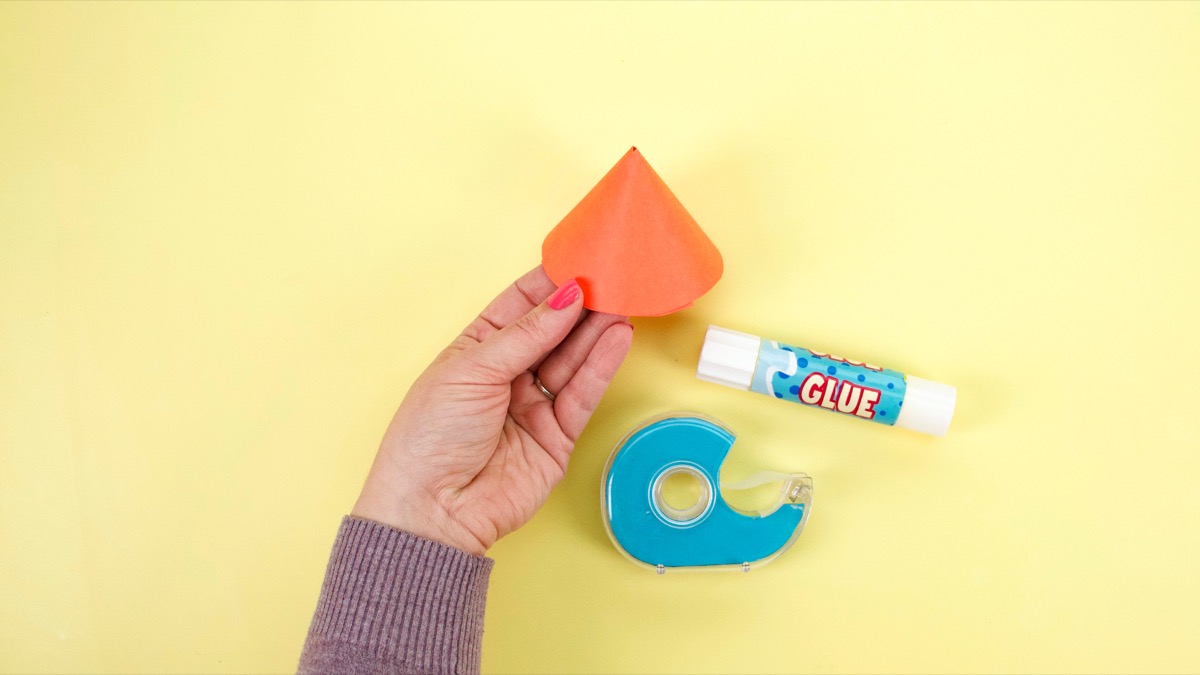
Roll the paper up to make a cone, then tape and glue together.
Add glue to the top of the cardboard tube’s rim so you cansecure the cone into place. Add extra tape underneath to make it extra secure!
4. Now let’s add some flames to our flying rocket! Cut long triangle shapes from tissue paper. We used red, yellow and orange tissue paper to best show the flames. You can cut all the triangles you need at the same time by stacking the tissue paper together.
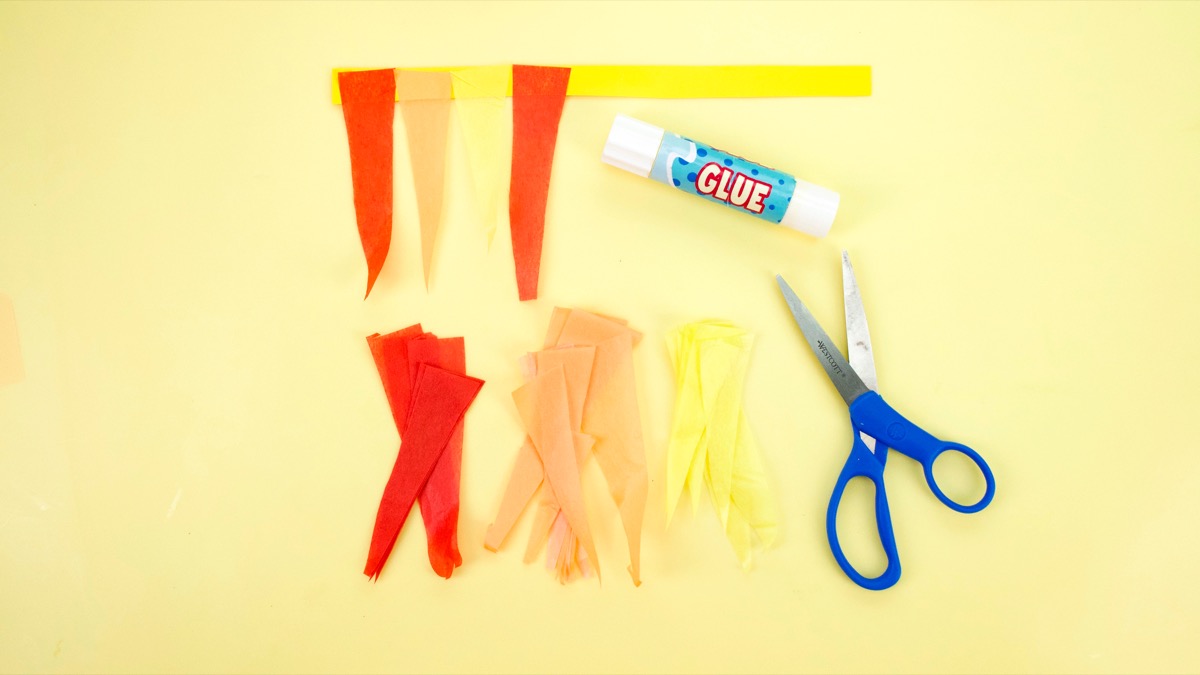
Cut out a strip of construction paper, and glue the triangles to the strip. Make sure you glue the bottom of the triangle to the strip of paper. Add glue to the bottom of the rocket ship and glue the strip along the outer edge.
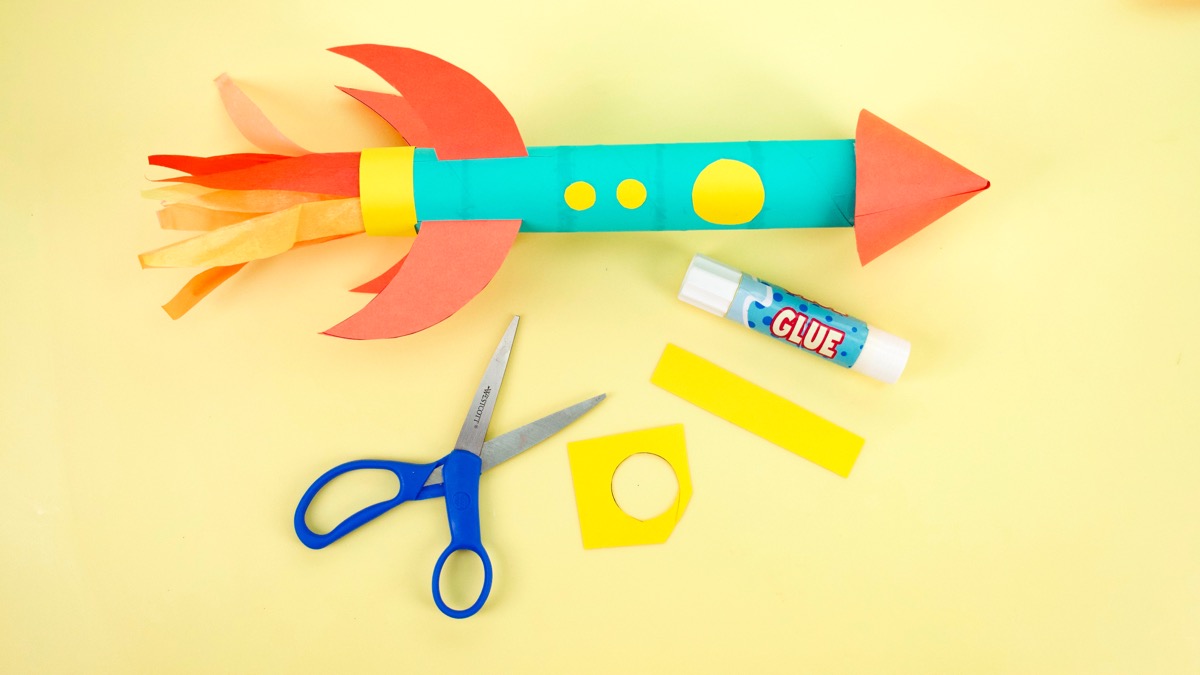
5. For the finishing touches, cut out some circles to make some windows! We traced a bottle cap and found that to be the perfect size for a rocket ship window. You can also use decorative tape, strips of paper, buttons or stickers… anything you like to decorate your rocket ship and make it your own!
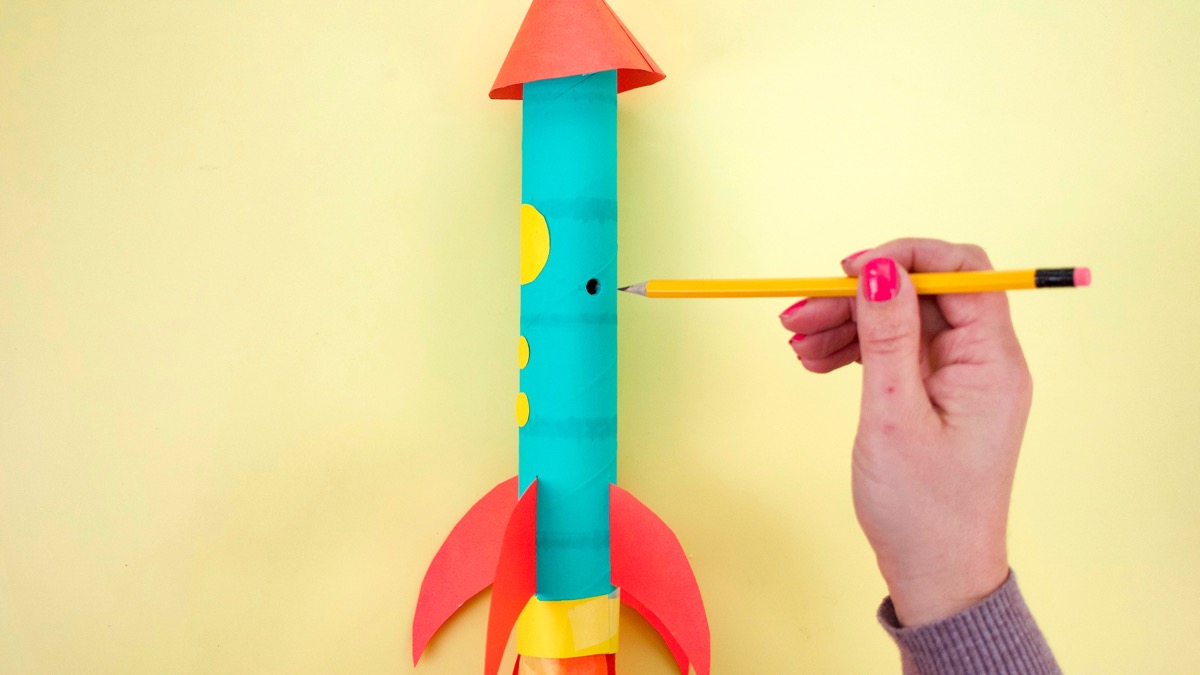
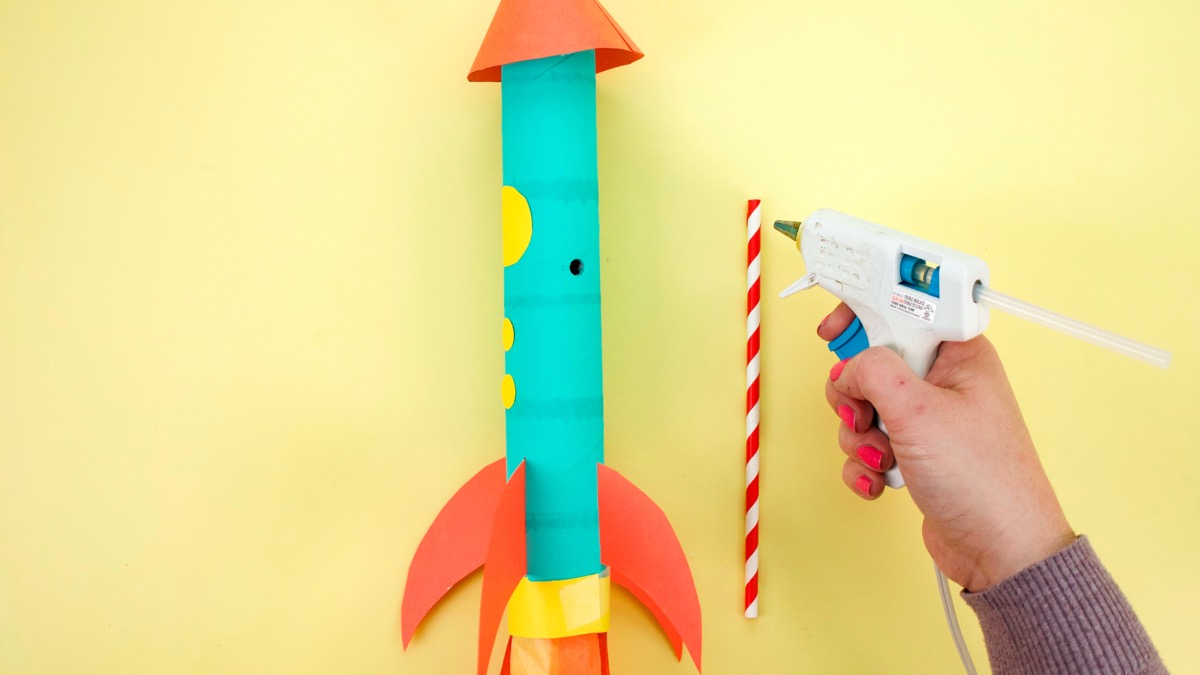
To make your rocket fly you can add a straw as a handle. Carefully pierce a hole into your cardboard tube with a pencil and glue a straw into place using hot glue.
Now your rocket ship is ready for take off! Three, two, one….

If you had fun blasting off into space with this craft, we would love to see your pictures! Please share your craft photos with us on Instagram, Facebook or send them through our website.
Don’t forget to follow us on Twitter, Instagram, Pinterest, and Facebook!
Original content © 2020 Super Simple. Not to be reprinted without express written permission. Terms of Service.