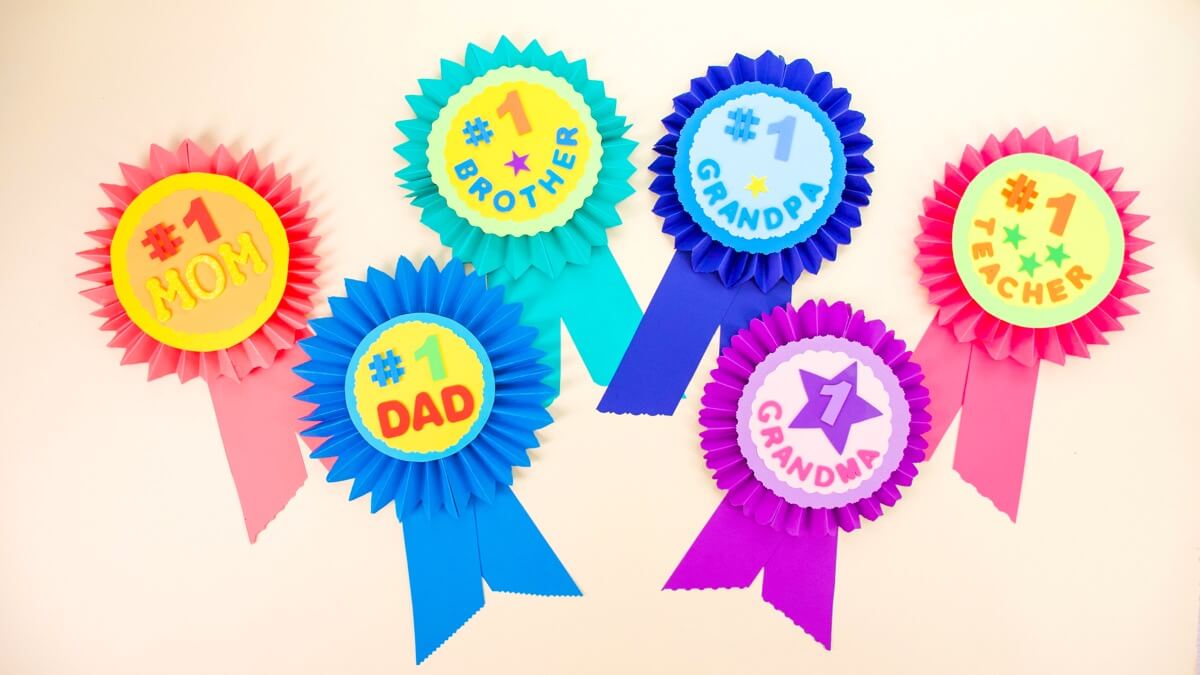
All of us have a reason to celebrate someone super special in our family or community, don’t we? Perhaps you have a special event, class activity or party game that requires a winning ribbon. Maybe you’re searching for the perfect message to share that doesn’t come in a card. How about making our Jumbo Prize Ribbon and customizing it however you like? A ribbon for any occasion: birthday, special day, or holiday!
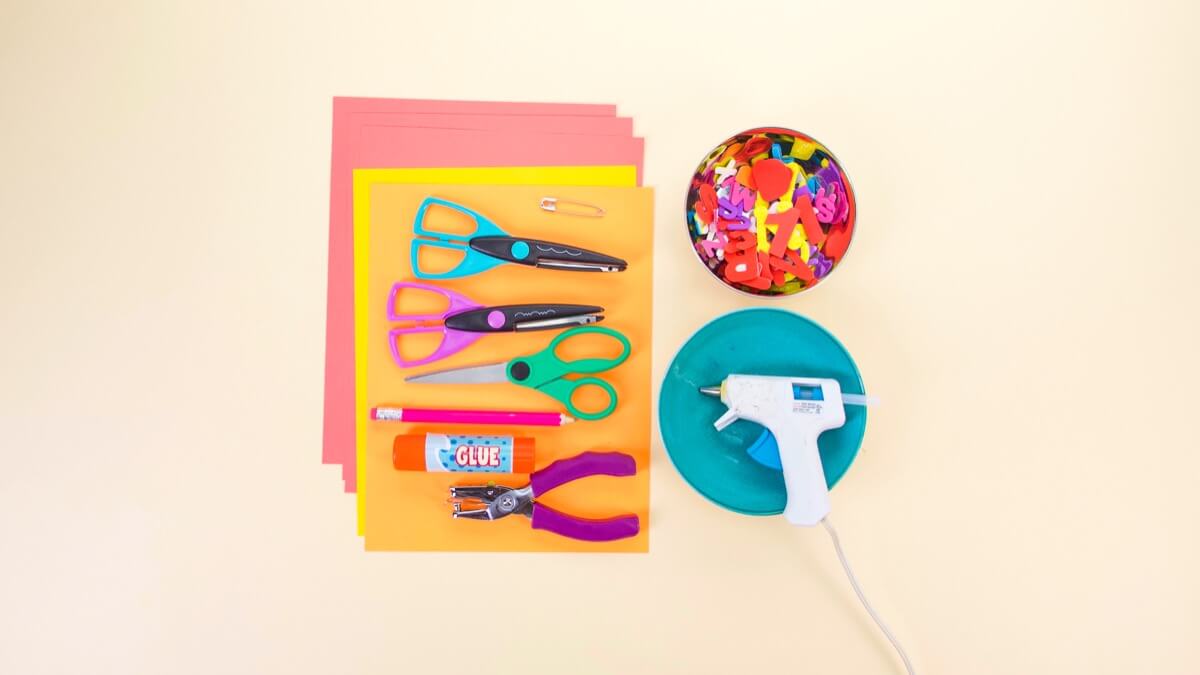
Things you’ll need
- 3 sheets of cardstock – same color
- 2 sheets of cardstock – alternate colors
- Letter stickers or markers
- Hole punch
- Hot glue
- Large safety pin
- Pencil
- Small bowl
- Glue stick
- Scissors
- Optional: fun shape scissors
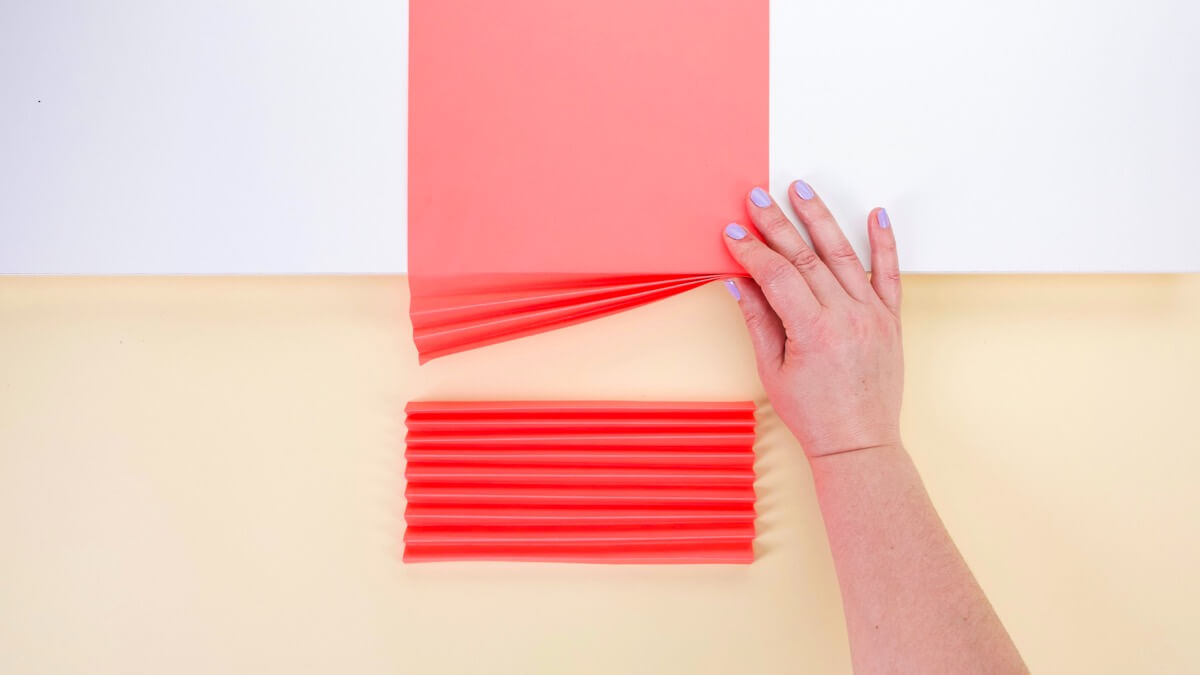
You can start by making the rosette center. Fold two sheets of paper into accordions, ensuring each fold is about ½ inch. (Folding tips: You can use the edge of your table to help make straight folds and use the side of a pen to go over the folds and sharpen them.)
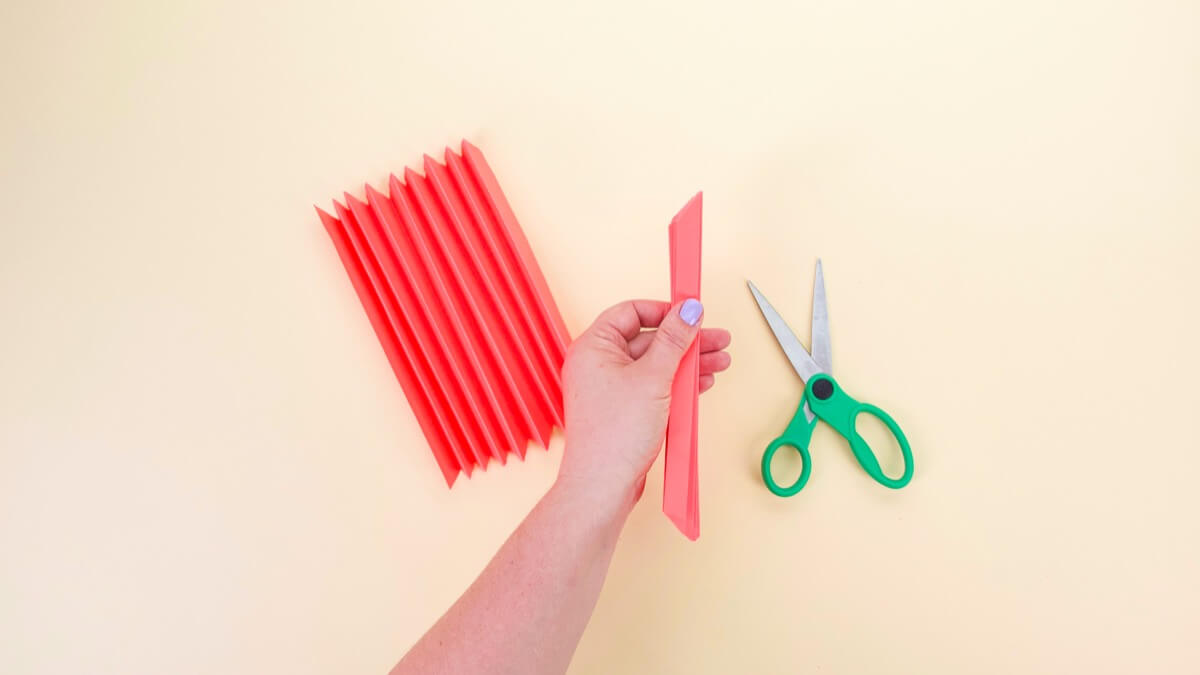
Once both sheets are folded, cut the ends on a diagonal. Make sure both pieces of folded paper are the same length.
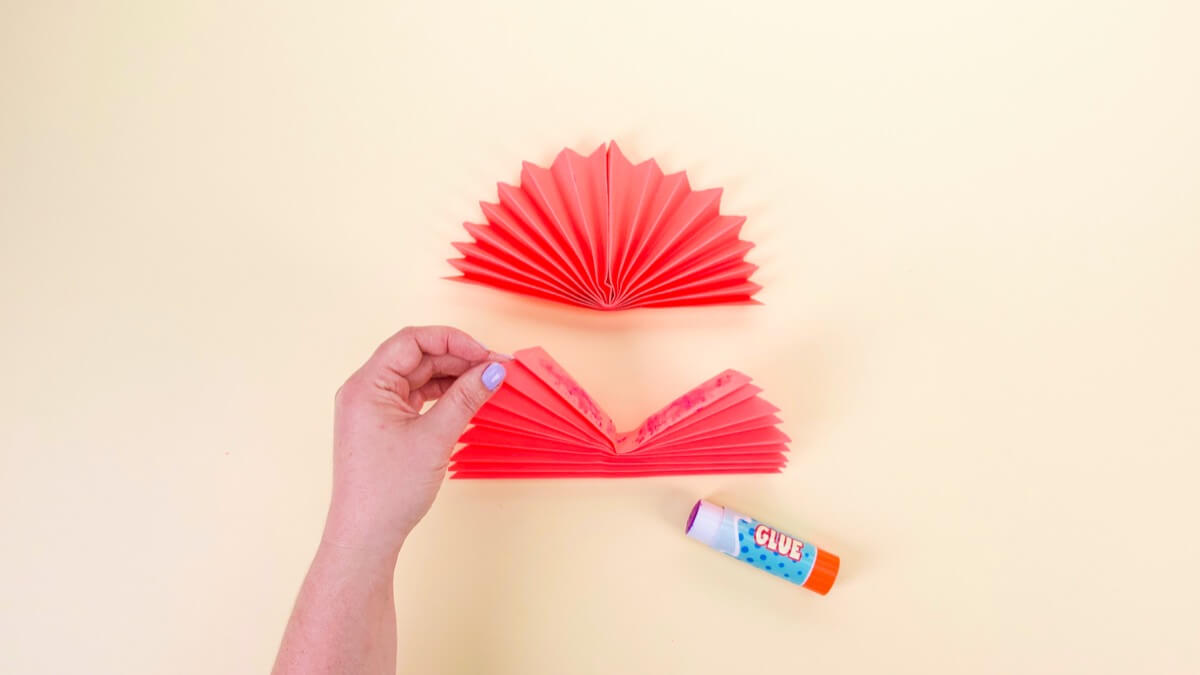
Next, fan out your accordions. Using a glue stick, adhere the edges together to make two semicircles.
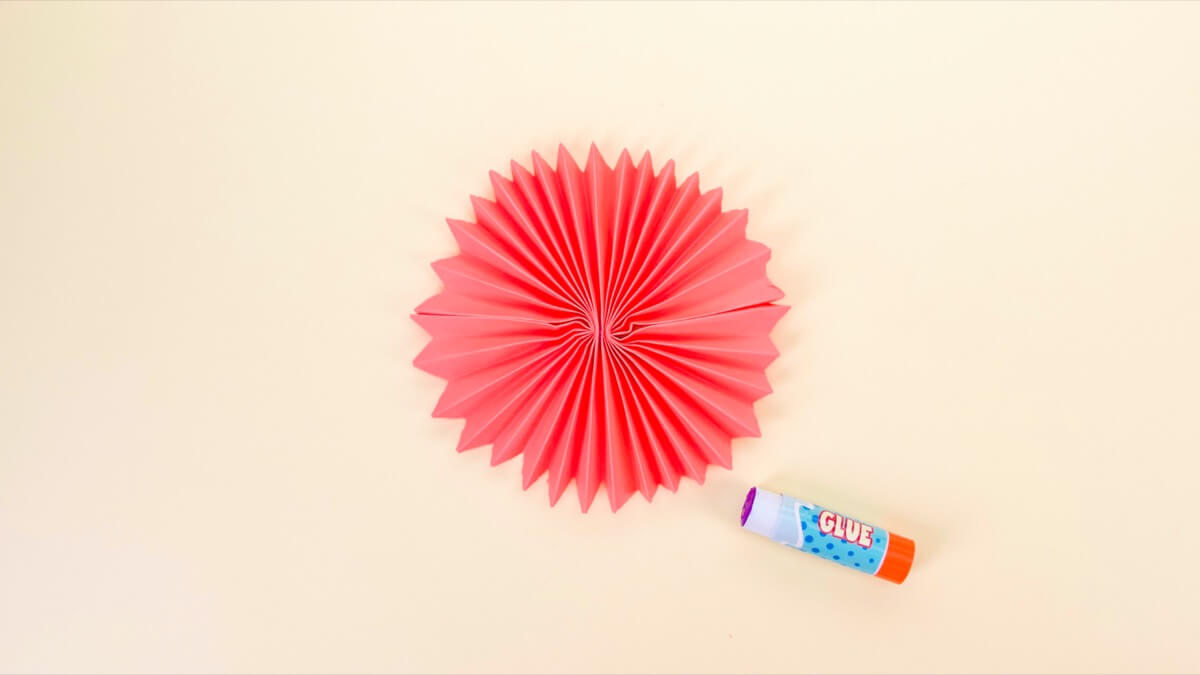
Glue these two semicircles together to make your rosette!
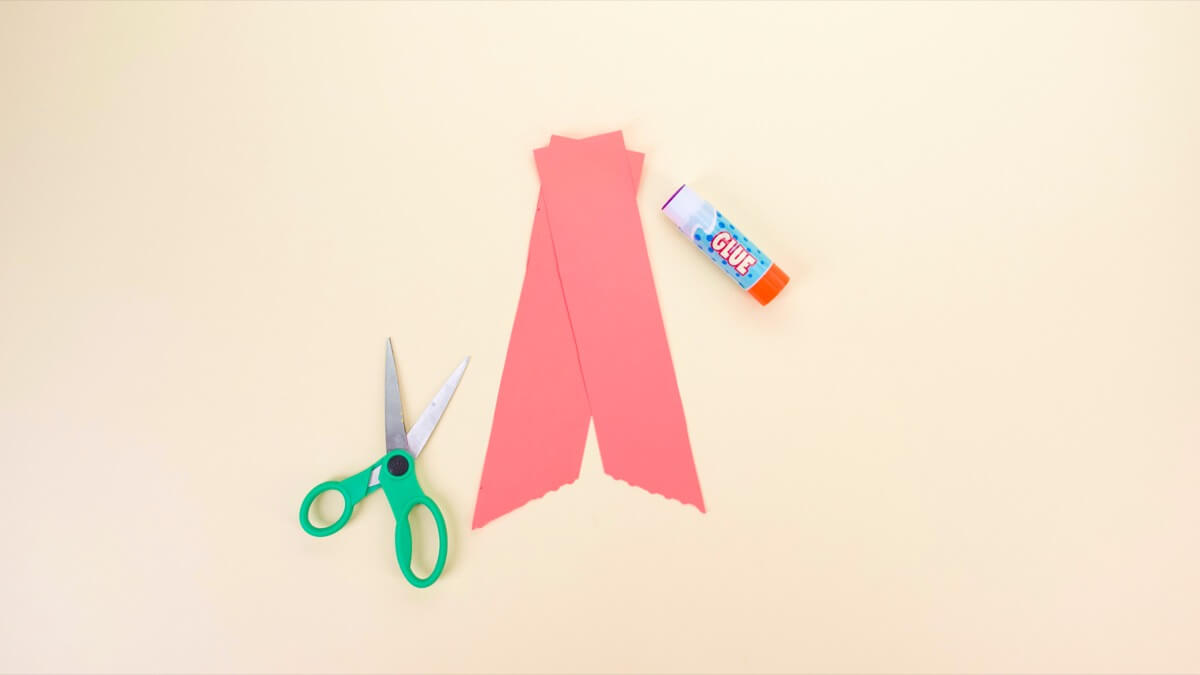
Cut out two long strips from the third sheet of paper about 2 ½ inches wide. Use your fun scissors to trim the ends if you like! Layer and glue them together.
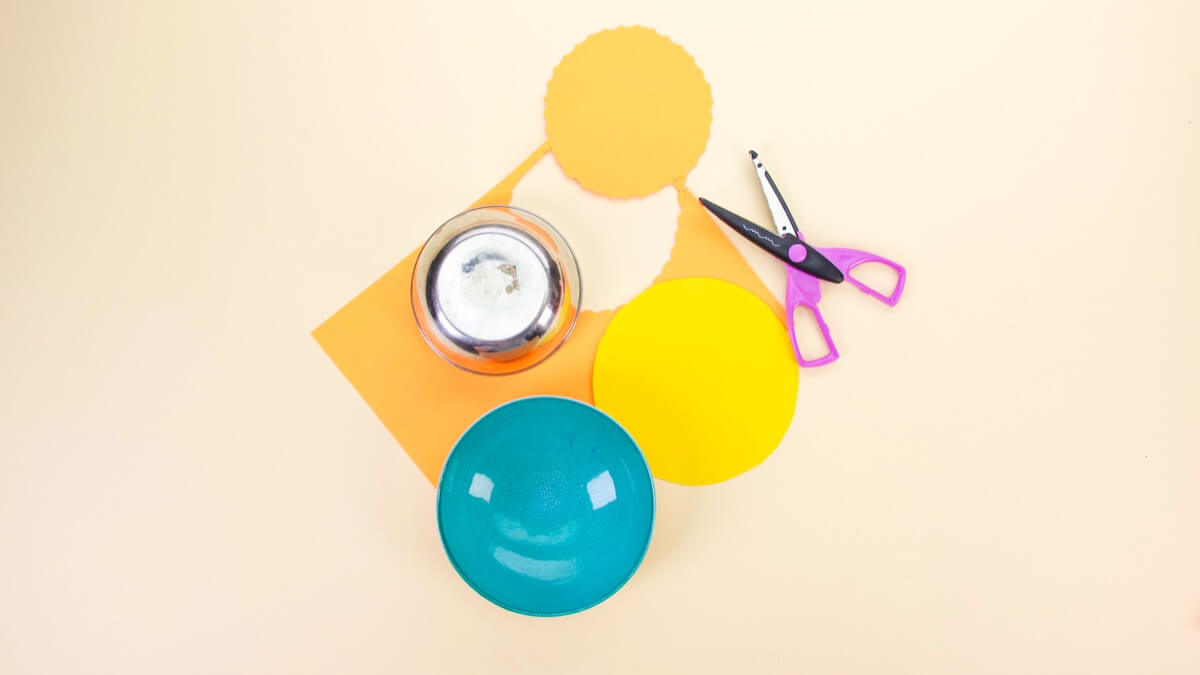
To make the center of your ribbon, choose two new shades of paper and trace two circles, one a little bigger than the other. Use fun shape scissors if you like! Stick these two layers together with your glue stick.
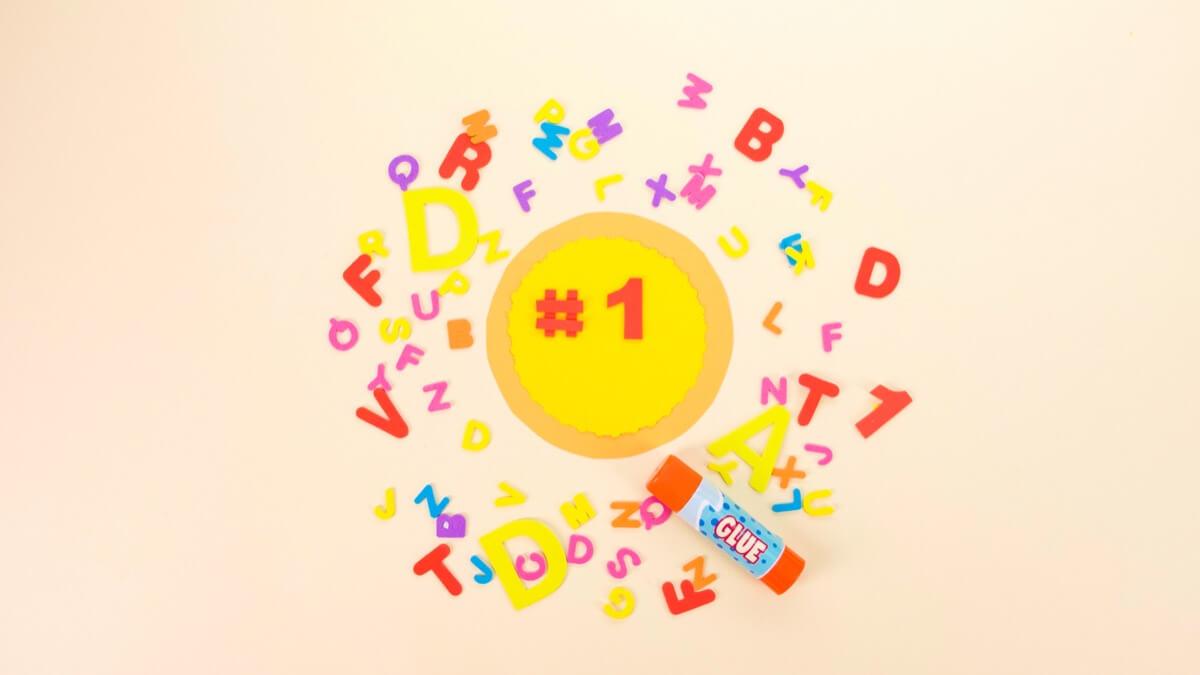
Now you can have fun making your message! Use markers or stickers to spell out your special prize message in the inner circle.
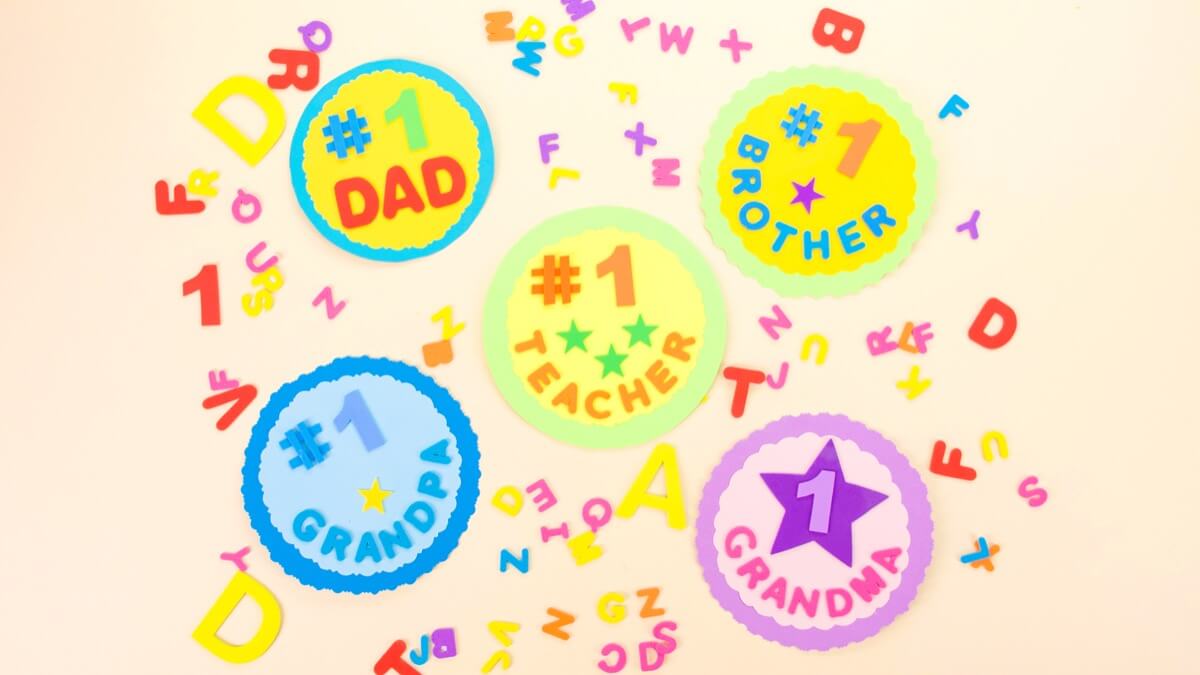
World’s Greatest Sister! Best Mom Ever! Best Dad In The Universe! Best Grandma In The World!
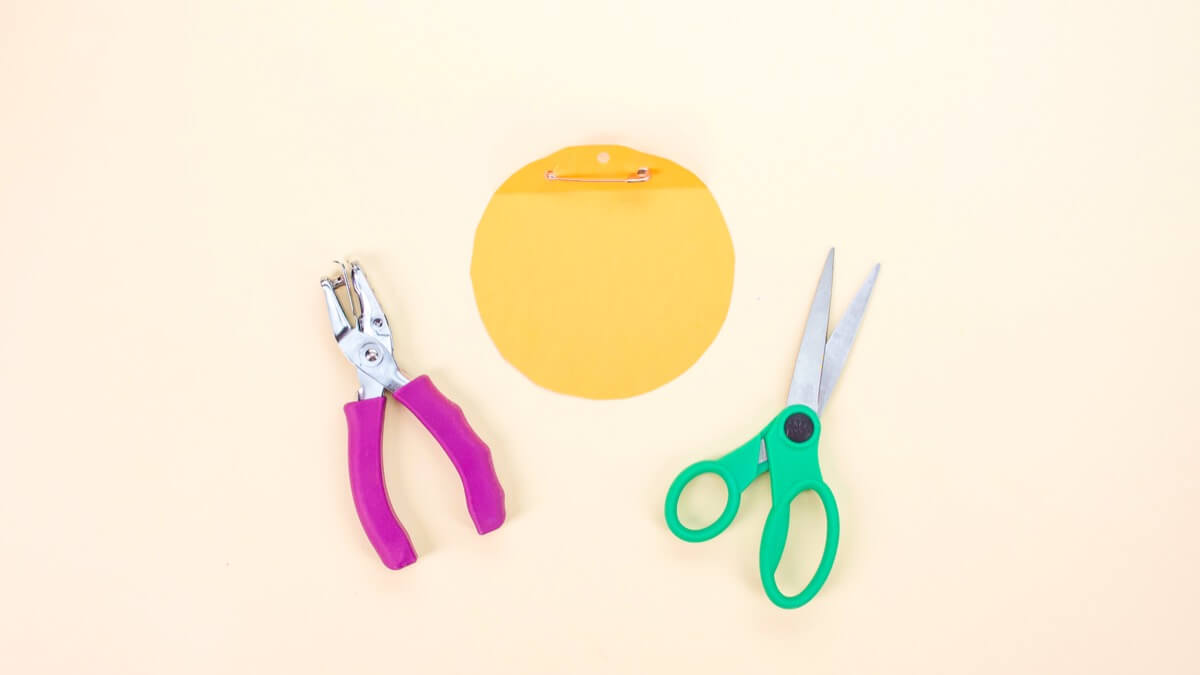
Now you’re ready to make the back of the ribbon. Cut out one more paper circle. Use your hole punch to punch one or two holes near the top of the circle. If you want to hang the ribbon with some string or a hook, punch one hole. If you’d like to attach a safety pin so it’s wearable, punch two holes.
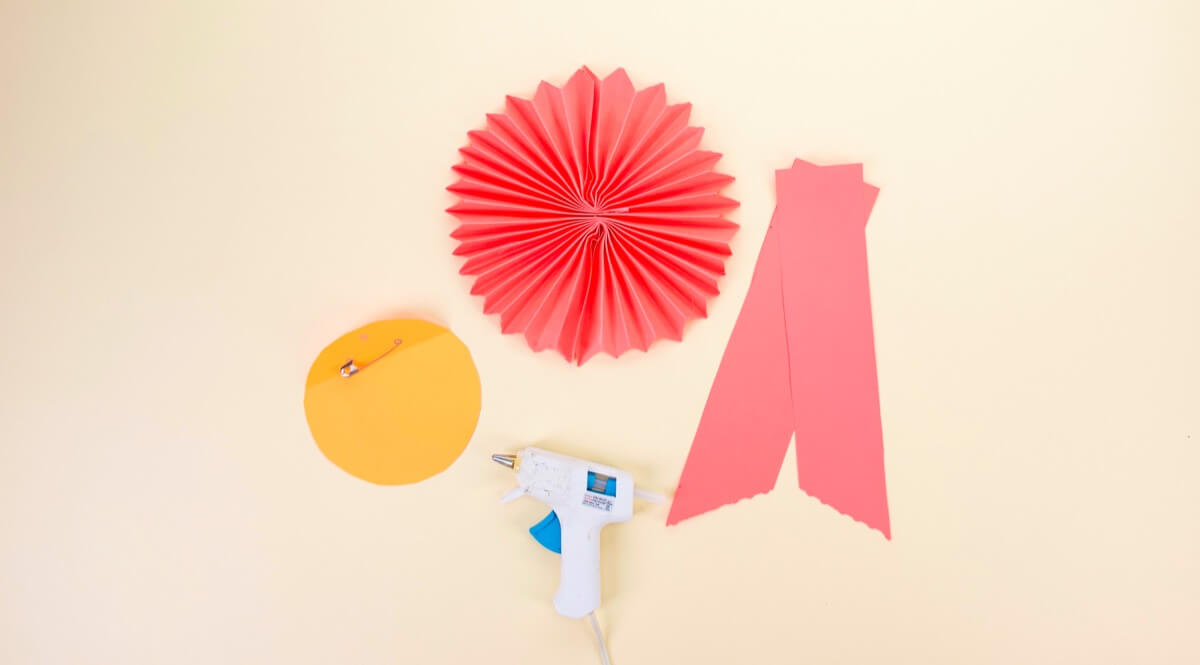
Now you can assemble your ribbon! These are the pieces you should have ready to go.
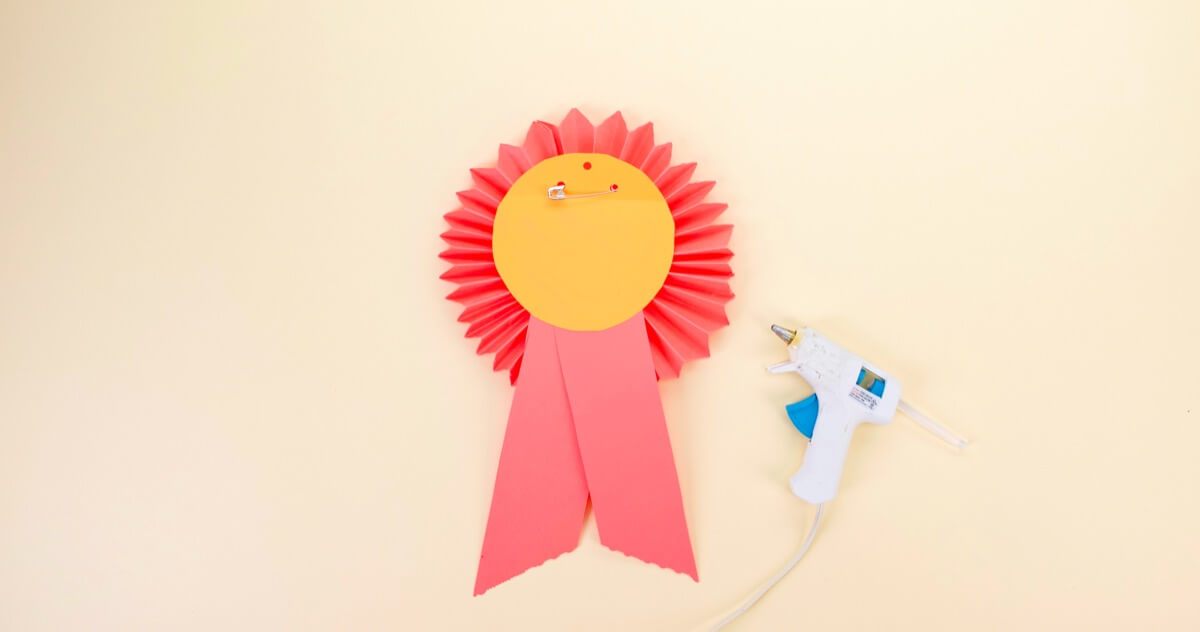
First, glue your long ribbon tails to the back of the rosette. Next, add a bit of hot glue to adhere the ribbon backing.

Finally, glue your front crest to the rosette.

Whatever it is you’re celebrating, JOB WELL DONE!
Make some DIY party hats!
Stay in party mode with our song Pizza Party!
Don’t forget to follow us on Twitter, Instagram, Pinterest, and Facebook!
Original content © 2020 Super Simple. Not to be reprinted without express written permission. Terms of Service.

