Each year, we bring out the Christmas boxes from the basement, garage or storage locker. We set up the tree, and unveil our Christmas decorations for another year. As we open the box and see the ornaments year after year, we are reminded that these boxes are filled not only with things but with memories.
Growing up, each Christmas ornament we hung on the tree had a special memory – ornaments that had been passed down for generations, special gifts from friends and family that hung on the tree, and homemade crafts made by myself, my brother, and sister. We would recall stories about when we made these special ornaments, or about who made them. Each year the ornaments stayed the same. They were made by our hands when they were much smaller, and as we grew older, they became more and more special to us.
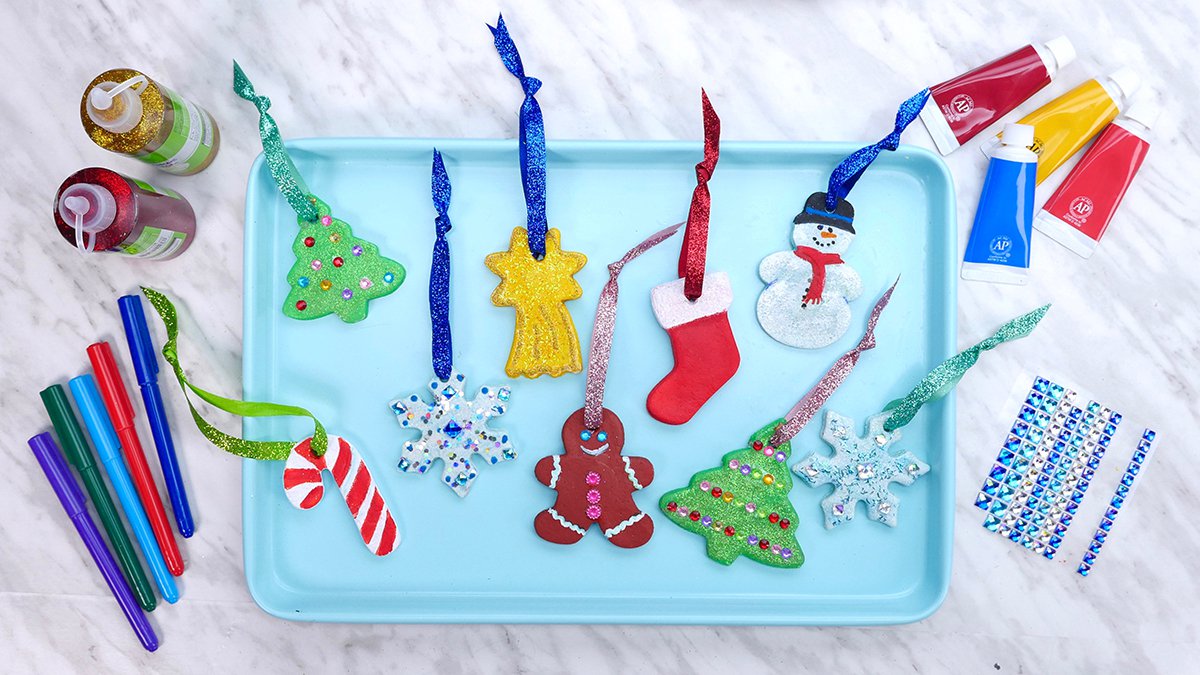
We have a few salt dough ornaments on our tree this year that I made when I was a little girl. They are still holding up, covered with paint and glitter, and filled with memories of Christmases past. You can make your own salt dough ornaments, (maybe even make it a holiday tradition!) to add new memories and to cherish the special moments that came before. Instructions below!
Ingredients
- 1 cup all-purpose flour
- 1/2 cup table salt
- 1/2 cup water
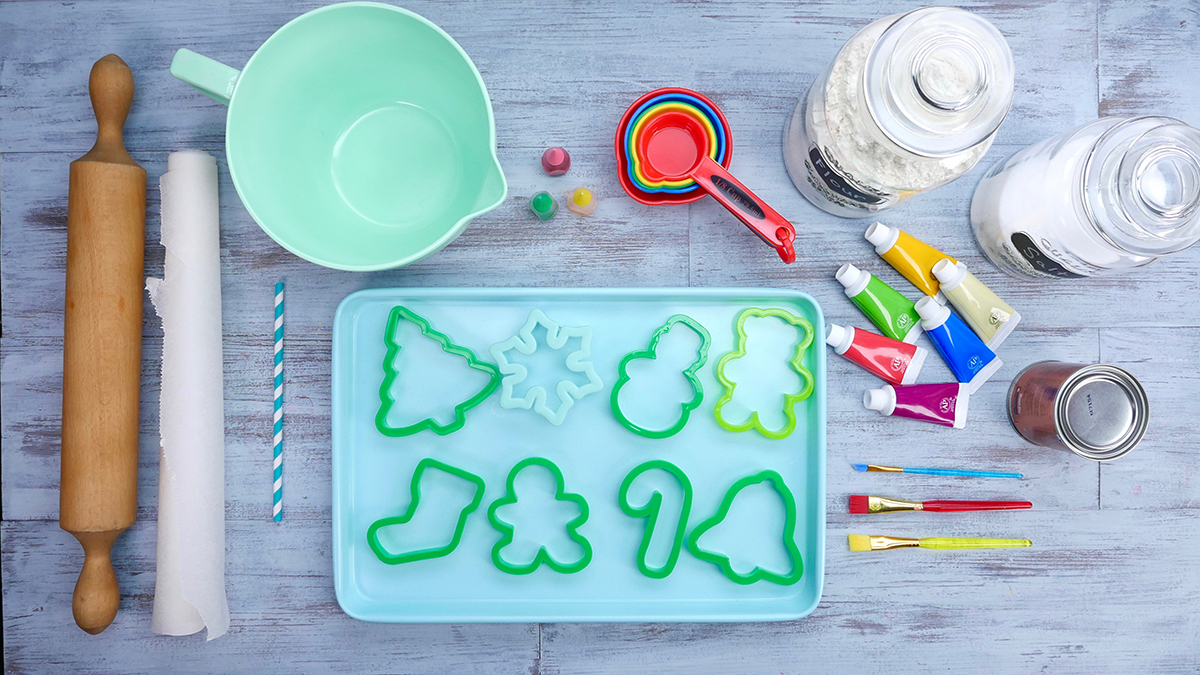
What you’ll need
- Mixing bowl
- Drinking Straw
- Rolling pin
- Cookie sheet
- Parchment paper
- Cookie cutters
- Spatula
- Food colouring (optional)
To Decorate
- Water-based varnish
- Acrylics paints
- Paintbrushes
- Glitter
- Ribbon
- Markers
Steps
1. Pre-heat oven to 200 degrees. In a bowl, mix together the salt and warm water, then add the flour. Mix together and kneed for a few minutes.
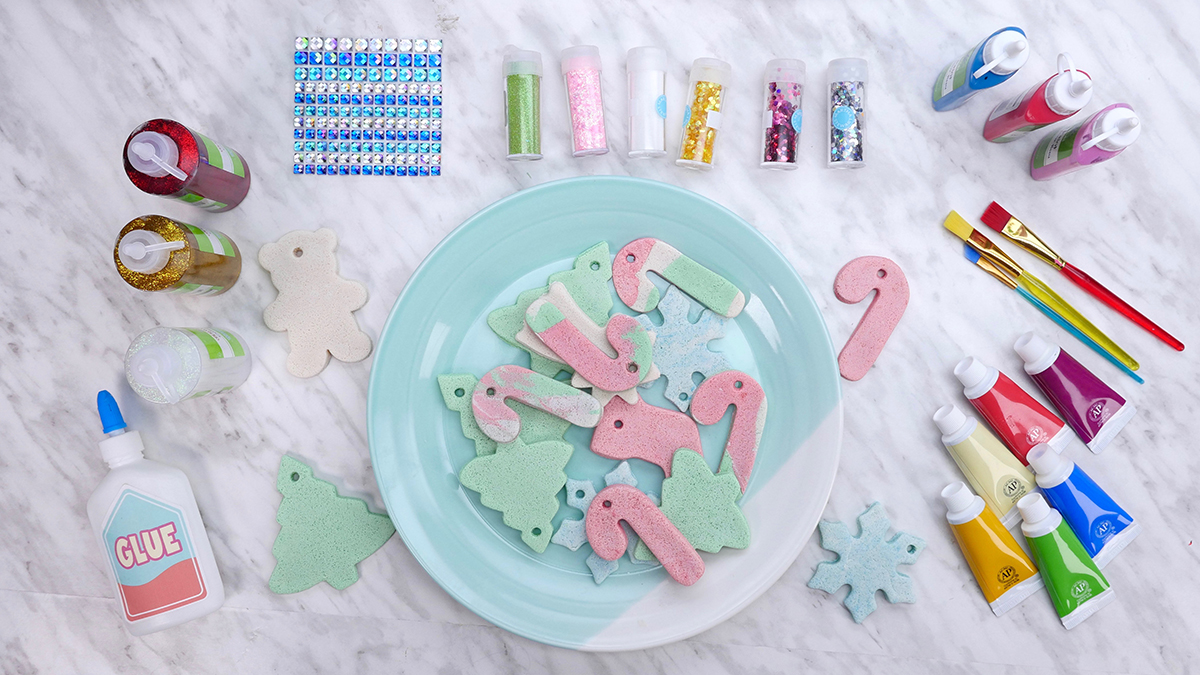
2. Divide your dough and add a couple of drops of food colouring to colour your dough. Knead and add colouring until you reached your desired colour. (Optional)
3. Roll out the dough to about 1/4” in thickness.
4. Use your favourite holiday cookie cutter shapes, and make a hole at the top of your shapes by using the tip of a straw.
5. Bake in the oven for 3 hours at 200 degrees. Flip over at halfway through baking. Remove from heat and leave to dry out overnight.
To Decorate
To help protect your cookies, seal the cookies with spray varnish once they are cool, and leave to dry. This will help moisture stay out of the cookie so they will last longer.
There are many ways to decorate your cookies! Here are some suggestions:
- Draw onto the cookie with markers, paint with acrylics paints.
- Paint on a layer of clear glue and sprinkle some sparkles.
- Add gem stickers or beads with clear glue
- Or all of the above!
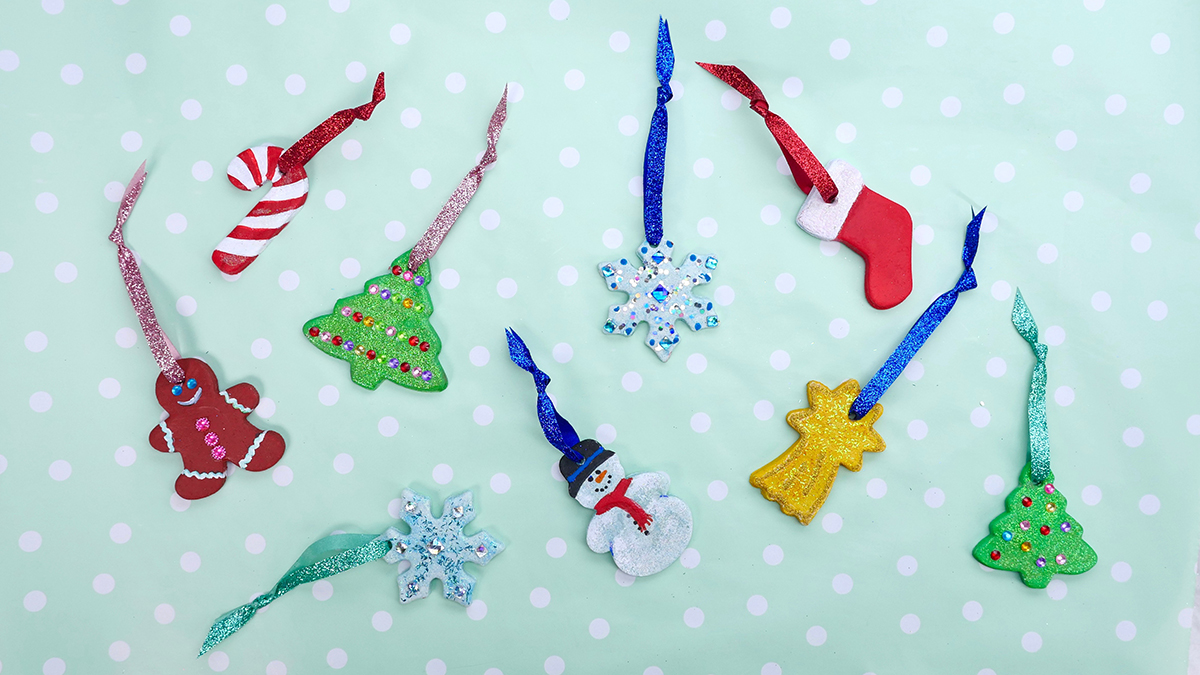
Once they are dry tie a ribbon to hang your piece.
Don’t forget to follow us on Twitter, Instagram, Pinterest, and Facebook!
 Contributor
This post accompanies a video from Caitie’s Classroom. Join Caitie in the classroom for kids songs, games, activities, stories, crafts, and much more! Catch up on past episodes and segments, follow Caitie on Facebook and Instagram, and subscribe to Super Simple Play so you never miss an episode. Don’t forget to ring the bell for notifications!
Original content © 2018 Super Simple. Not to be reprinted without express written permission. Terms of Service.